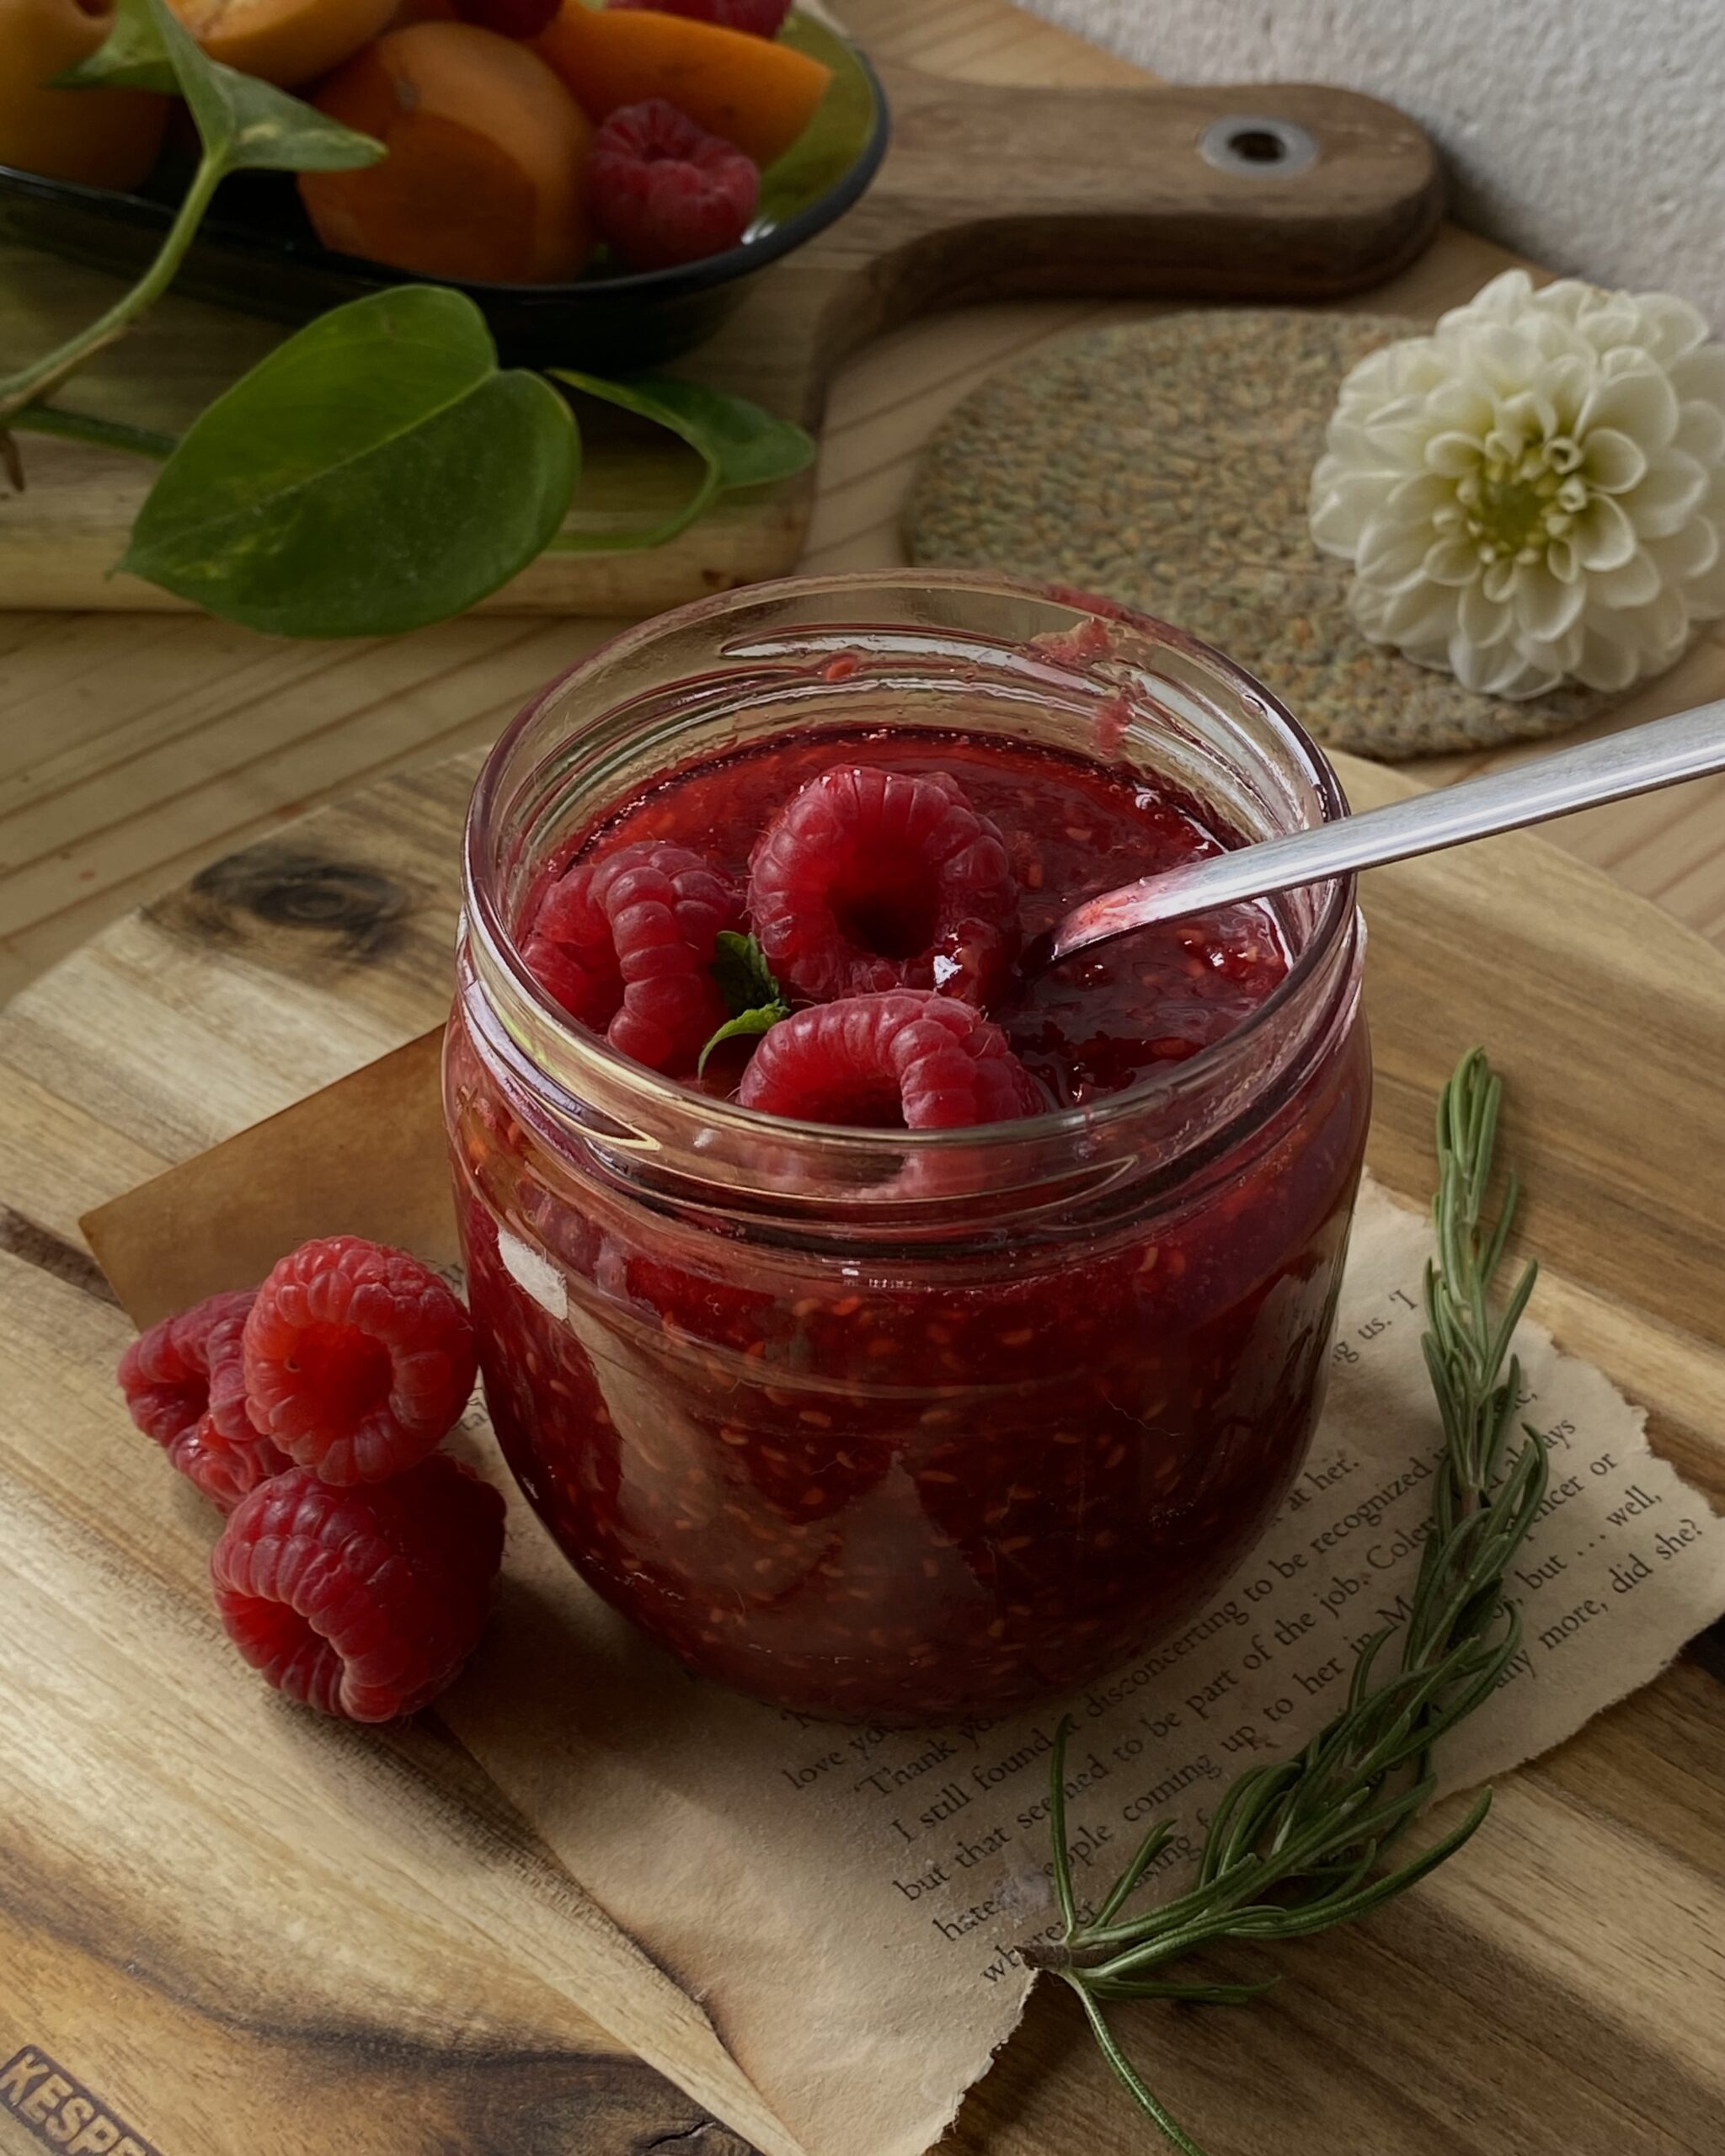
Sweet and simple Homemade Delight in minutes
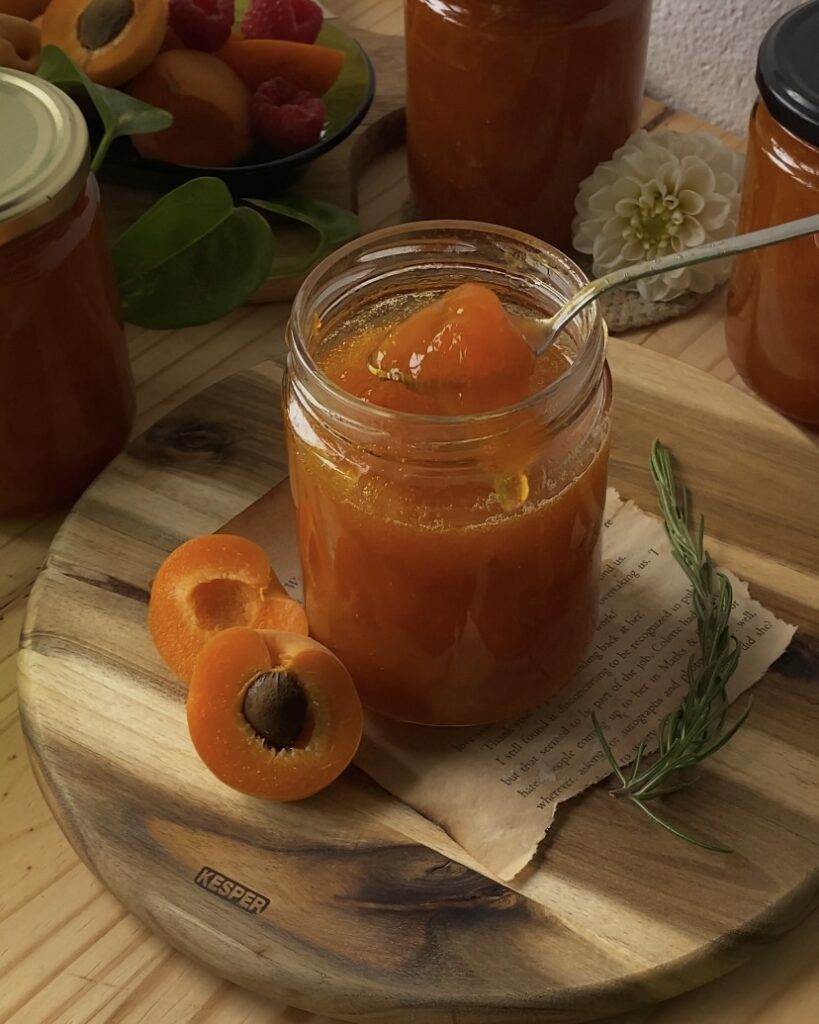
Discover the ultimate Easy Two-Ingredient Apricot Jam Recipe, that’s both quick and easy! With just ripe apricots and sugar you can create a delicious homemade jam without the need for pectin or gelatin. This simple recipe takes minimal effort, yielding four full jars of sweet flavorful apricot jam that is perfect for spreading on toast, topping desserts, or enjoying straight from the jar.
Experience the satisfaction of making your own apricot jam and savor the delightful taste of summer on every bite.
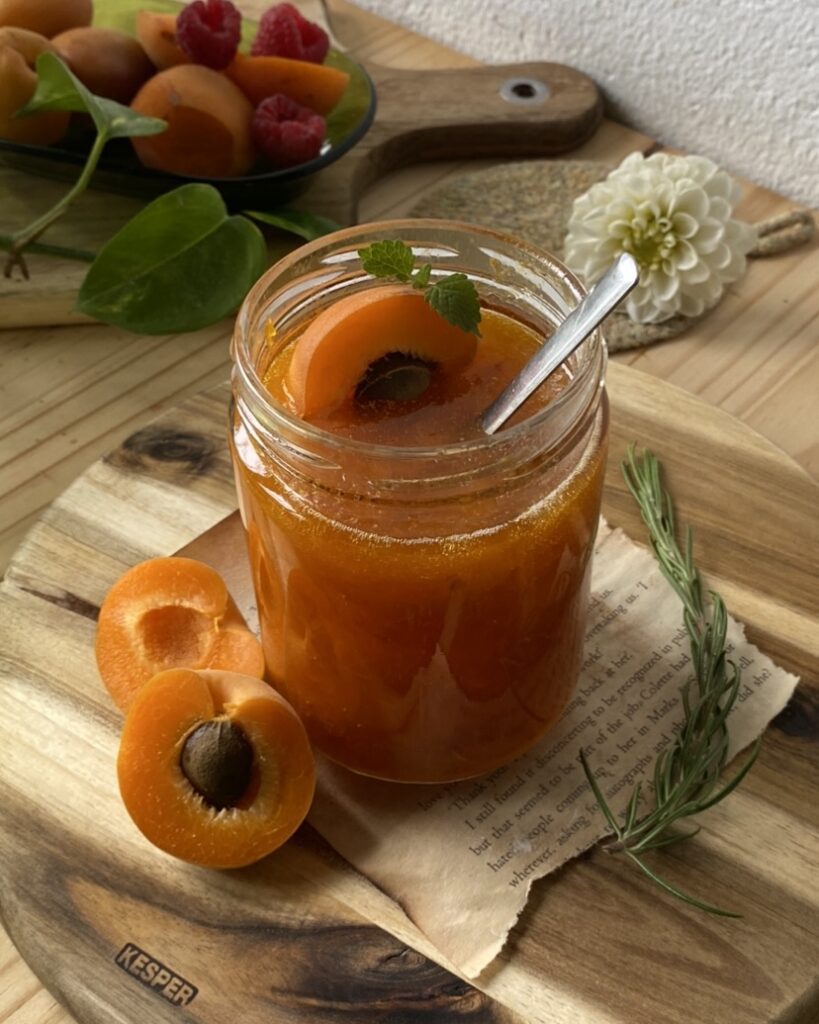
Recently, our dad discovered incredibly ripe apricots at the fruit market for just 0.50 euro per kilogram. A full bag was grabbed, and almost all of the apricots were enjoyed by us. However, a few were saved for this perfect project, making homemade apricot jam from scratch.
Making jam is considered one of the easiest tasks in the kitchen, it requires minimal time and only inexpensive ingredients making it budget friendly choice. Furthermore, the taste of homemade apricot jam is often regarded as far superior to store bough options.
Essential Cooking Tips for perfect homemade Apricot Jam
time, techniques and texture
To begin throughly clean the ripe apricots, ensuring they are free from dirt and debris. After washing, dry them gently and carefully remove the seeds, no seed should remain in your homemade apricot jam to ensure smooth and enjoyable texture.
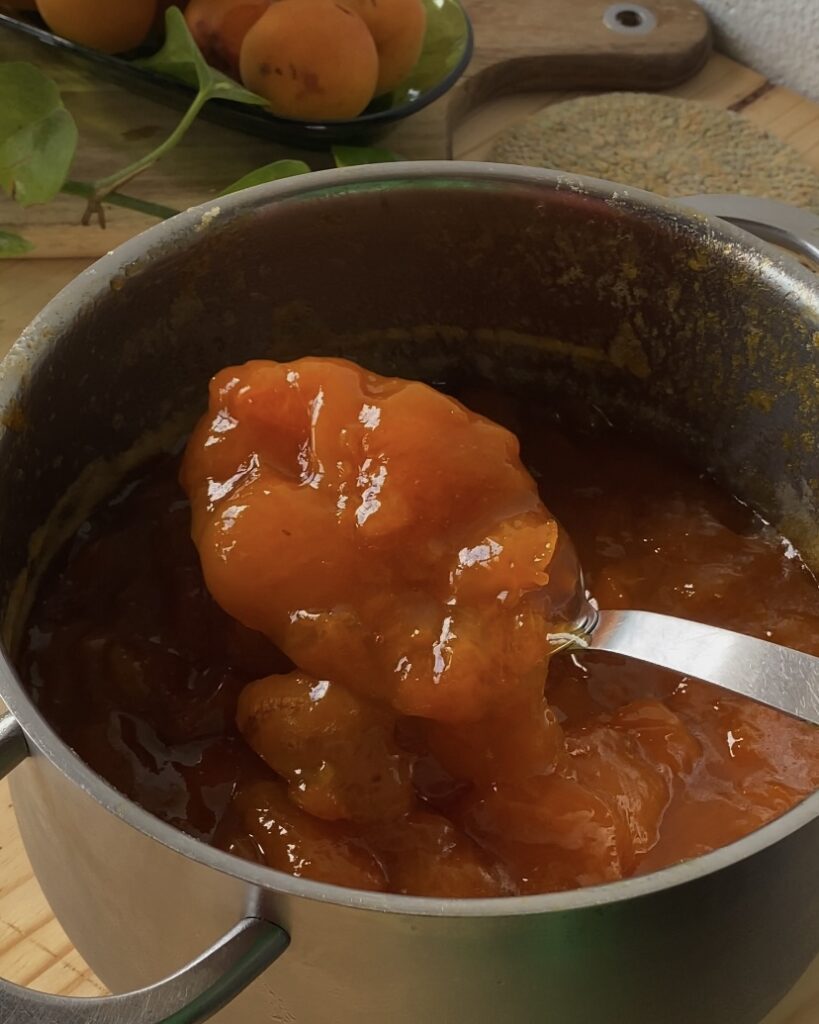
The cooking time for the Easy two-ingredient apricot jam recipe will be approximately 30 minutes over medium low heat. During this time it’s crucial to stir constantly to prevent burning and to ensure that al the fruit cooks evenly. This technique helps to release the natural sugars in the apricots, enhancing the flavor of your jam.
As the apricots cook you may notice the mixture thickening and bubbling, if you prefer a smooth texture you can blend the cooked jam using an inmersión blender or a regular blender after allowing it to cool slightly, for those who enjoy a more rustic approach, leaving the apricot chunks intact will provide a deliciously chunky jam that highlights the fruits natural character.
How to properly sterilize Jars for homemade apricot jam:
To ensure your homemade apricot jam is safe for consumption and stays fresh follow these essential steps for sterilizing your jars.
– Use clean and dry jars, Begin with fully clean and dry glass jars, this prevents contamination and ensures longevity of your jam.
– Fill the jars, pour the hot jam into the jars, filling them until the jam reaches the very top, almost touching the lid. This helps create a vacuum seal that keeps the air out.
– Seal tightly, close each jar tightly with a clean lid. A secure closure is vital for proper preservation.
– Prepare a water bath, in a large pot place the kitchen towel on the bottom to cushion the jars. Arrange the filled jars upright in the pot and cover them completely with water. This water bath method is essential for sterilization.
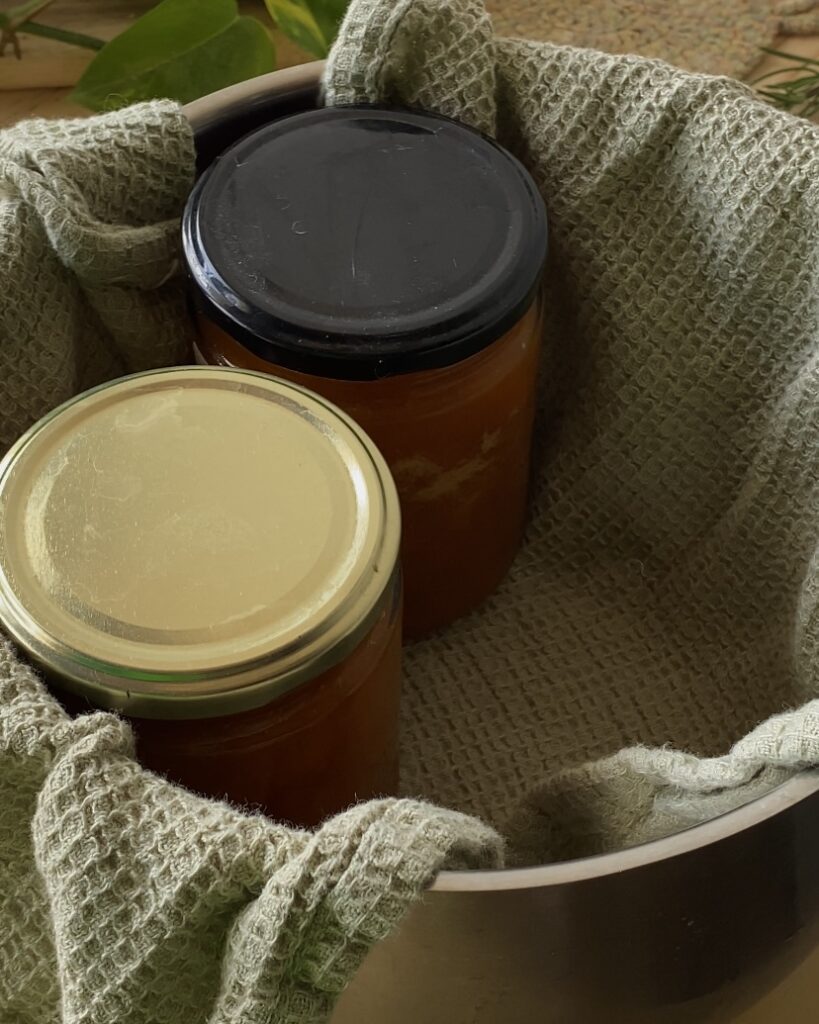
– Boil the jars, Set your stove to high heat and bring the water to a rolling boil. Once boiling set a timer for 40 minutes. This process ensures that the jars are throughly sterilized, which is crucial for food safety.
– After the timer goes off, carefully remove the jars from the water bath and allow them to cool completely. Once cooled store the jars in a dark place. There’s no need to refrigerate them, your apricot jam can last up to 1.5 years when stored properly.
more recipes
process


Choosing the right Apricots for your jam
When making homemade apricot jam it’s ideal to use really ripe apricots four the best flavor. Ripe apricots are naturally sweeter, resulting in a deliciously rich jam that captures the essence of summer. However, if you don’t have access to fully ripe apricots can still use them.
”Using less ripe apricots” if your apricots are slightly under ripe the jam will have a tangier more acid taste. This can be a delightful option if you enjoy a bit of tartness in your spread, this acidity can add a unique flavor profile that pairs well with various foods, such as cheese or yogurt.
Versatile fruit options for your jam
One of the great things about making homemade jam is the versatility it offers. You can easily substitute apricots with other fruits such as strawberries, raspberries or any fruit you prefer. The sugar to fruit ratio remains the same, typically a 2:1 ratio for every 2 kilograms of fruit you’ll want to use 1 kilogram of sugar.
important tips on sugar use
Avoid excess sugar, using too much sugar can lead to crystallization and an overly sweet jam. Remember, fruits contain natural sugars and when cooked, they will release their sweetness. The purpose of adding sugar is primarily for preservation, helping to extend the shelf life of your jam.
The cooking process enhances the fruits natural sweetness, so adjust your sugar according to your taste preference. This balance ensures that your jam is both flavorful and preserves well.
RECIPE
Recipe in cups and grams. You can find the cup measurements in the printable recipe scrolling down at the end.
ingredients
- 800 grams ripe apricots
- 400 grams granulated sugar
step by step
1)First step, prepare your jars
You can choose to buy brand new jars or reuse old ones. If you are using old jars ensure that the lids close securely and are not broken. Clean and dry the jars throughly, paying special attention to the insides to ensure they are super clean.
2)Second step, prepare The apricots
Wash the apricots throughly, then dry them with paper towels. Remove the seeds completely to avoid any in your apricot jam.

3)Third step, cook the jam
In a large pot, combine the cleaned apricots with sugar. Cook the mixture over medium low heat for about 30 minutes stirring constantly to prevent it from sticking to the pan and burning. Cook until you reach your desired consistency for the jam.


4)Forth step, fill the jars
Once the jam is ready, fill the jars to the top ensuring the jam almost reaches the lid. There should be minimal space left in each jar. After filing, close the jars tightly to maintain freshness.

5)Fifth step, sterilize the Jam
To sterilize your jam, place a kitchen towel or cloth at the bottom and sides of a large pot. This cushioning will prevent the jars from breaking during the boiling process. Arrange the filled jars upright in the pot and cover them completely with water, ensuring the water level is above the jars. Heat the pot on high until the water reaches a roiling boil, then set a timer for 40 minutes. It’s essential to maintain a continuous boil throughout this time.
After the sterilization process, allow the jars to cool before storing them in a dark place. There’s no need to refrigerate the jam if it’s not opened. Store in the fridge once you open the jar of jam.


Easy two-ingredient Homemade Apricot jam
- Yield: 4 Jars 1x
Description
Discover the ultimate Easy Two-Ingredient Apricot Jam Recipe, that’s both quick and easy! With just ripe apricots and sugar you can create a delicious homemade jam without the need for pectin or gelatin. This simple recipe takes minimal effort, yielding four full jars of sweet flavorful apricot jam that is perfect for spreading on toast, topping desserts, or enjoying straight from the jar.
Ingredients
- 800 grams ripe apricots
- 400 grams granulated sugar
Instructions
1)First step, prepare your jars
- You can choose to buy brand new jars or reuse old ones. If you are using old jars ensure that the lids close securely and are not broken. Clean and dry the jars throughly, paying special attention to the insides to ensure they are super clean.
2)Second step, prepare The apricots
- Wash the apricots throughly, then dry them with paper towels. Remove the seeds completely to avoid any in your apricot jam.
3)Third step, cook the jam
- In a large pot, combine the cleaned apricots with sugar. Cook the mixture over medium low heat for about 30 minutes stirring constantly to prevent it from sticking to the pan and burning. Cook until you reach your desired consistency for the jam.
4)Forth step, fill the jars
- Once the jam is ready, fill the jars to the top ensuring the jam almost reaches the lid. There should be minimal space left in each jar. After filing, close the jars tightly to maintain freshness.
5)Fifth step, sterilize the Jam
- To sterilize your jam, place a kitchen towel or cloth at the bottom and sides of a large pot. This cushioning will prevent the jars from breaking during the boiling process. Arrange the filled jars upright in the pot and cover them completely with water, ensuring the water level is above the jars. Heat the pot on high until the water reaches a roiling boil, then set a timer for 40 minutes. It’s essential to maintain a continuous boil throughout this time.
- After the sterilization process, allow the jars to cool before storing them in a dark place. There’s no need to refrigerate the jam if it’s not opened. Store in the fridge once you open the jar of jam.
Nutrition
- Calories: 481
- Sugar: 118
- Sodium: 3
- Fat: 1
- Saturated Fat: 0.1
- Carbohydrates: 122
- Fiber: 4
- Protein: 3
Archersfood
Recipes from my family to yours

