Today, we are making another red velvet-inspired dessert, red velvet Nutella rolls, inspired by our chocolate Nutella rolls and our Nutella duo rolls. They are fluffy, delicious, and have a deep red color.

We love creating different rolls recipes; we have shared savory rolls, sweet rolls, but we have never shared any red velvet roll recipe.
Add to your shopping list
- Granulated sugar: It will sweeten the dough, and it also helps the dough grow in the oven faster. If you add too much, it will slow down the proofing of the dough.
- Active dry yeast: make sure it is a fresh yeast, not expired, not old. I store mine in the fridge so it stays fresh longer.
- Milk: warm milk to help activate the yeast. Water would be a great substitute, too.
- All-purpose flour: gives structure to the dough.
- Cocoa powder: We are using a 100% no sugar-added cocoa powder. It has an intense flavor and doesn’t add extra sweetness to the dough. Use a good quality cocoa powder like Cacao Barry Rouge ultime.
- Butter: it should be soft, room temperature, unsalted butter. We used Kerrygold butter for this recipe.
- Egg: Make sure to use room temperature eggs.
- Salt: great to enhance the flavor of the dessert in general. We add just a little; we don’t want it to be a savory roll.
- Red food coloring: one with a good quality pigment, so you don’t need to add a lot to have a nice red colour.
- Nutella: that’s the star of this roll recipe. We will spread a nice thick layer on top of the thin dough, and then after it is baked, we will add a dollop of Nutella on each one, which will act as an icing.
- Heavy whipping cream: A splash of whipping cream will make your rolls softer in the oven.
shop the ingredients
 Buy Now →
 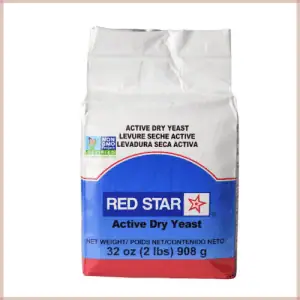 Buy Now →
 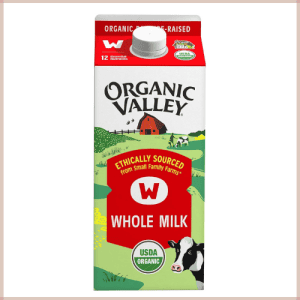 Buy Now →
 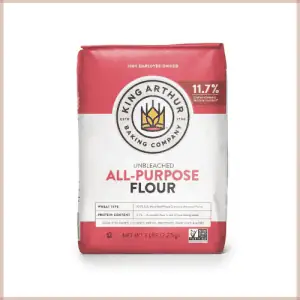 Buy Now →
  Buy Now →
  Buy Now →
 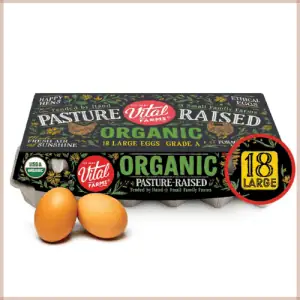 Buy Now →
  Buy Now →
  Buy Now →
 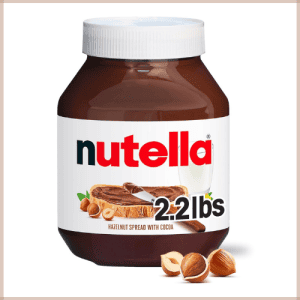 Buy Now →
  Buy Now →
 How to make red velvet dough
We start by preparing the yeast mixture. This is very important because if at this point you notice the yeast is not active, you know not to continue using the same yeast as it won’t proof the dough.
To activate the yeast, we mix it with warm (not hot!) milk and sugar. After 10-15 minutes, you should see bubbles or foam on the top.

We knead all the ingredients minus the butter. We leave the butter for the last 10 minutes of kneading to have a nice and strong dough that can rise properly.
Best temperature to proof the dough
Proofing dough at the right temperature is super important. At the right temperature, this dough will proof in 1h and a half hours. If the environment were cold, if it were windy, it would take much longer to do so.
I have a dough proofer machine that I LOVE. I set the temperature to about 27 C (80F) and let it proof without having to worry about the cold.
Try to find a warm environment or next to the fireplace to proof them, it will help with growing.


The temperature of the milk is very important; if you touch it and it hurts, it burns, it will kill the yeast.
- Ideal milk temperature to activate the yeast: 110F-115F (43C-46C). At this temperature, the yeast will be activated. It will feel warm to the touch, but it doesn’t burn.
- Too cold: under 100F (38 °C), the yeast won’t be activated; it’s sleeping.
- Too hot: at 120F (49 °C) the yeast will be killed. You will need to start from zero as the yeast is not going to be active.
Best way to cut rolls
There are different methods; everyone has their own favorite. I’ll explain to you all the options you have that I know of so you can choose whatever is your preferred method.

- Cut into strips. Roll out the dough, cut into strips and then, spread the Nutella. I love this method, so I have more control over the final shape of the roll. I don’t worry about squishing or flattening the rolls accidentally.
- The traditional way, or simply the one I have seen the most online, is to roll out the dough, spread the Nutella, roll the dough tightly into a log, and then slice with a knife. It’s fast and efficient. The only thing I don’t like about this method is how you squish the shape too much, and if the dough is too soft, you will struggle with giving the shape back, or if it has a very moist filling.
- Using a kitchen twine or unscented dental floss. Roll out the dough, spread Nutella, roll the dough tightly into a log, grab a long piece of twine, and put it under where you want to cut the roll. Bring the tops together and cross them, applying pressure; this will cut the rolls.
The Nutella is very sticky and messy, that’s why for this recipe we decided to cut the dough first into strips and then very carefully spread the Nutella.

Make sure you don’t melt the Nutella; it has to be slightly warm so you can spread it, but if it’s too warm, it will be a horrible mess to work with the dough. it will leave the rolls, it will end up all of it in the work table instead of inside this yummy red velvet dessert.
How to store Nutella red velvet rolls and enjoy
We all know homemade enriched doughs are not the same after a couple of days. The first day, it’s super soft and pillowy. The next day, it’s drier and just not as soft. If you reheat it properly, you can have it taste fresh every day.

I personally recommend you freeze it. Any leftover brioche rolls you have, freeze them and then microwave them from frozen to defrost. This is my favorite way of reheating any doughy dessert, donuts, rolls, or breads. It always tastes just like fresh.
If you choose to store it in the fridge, it’s good to enjoy it for up to 4 days. Make sure to reheat them every time before you eat the Nutella roll so it has the best flavor and texture.
Any food you freeze needs to have a date and a name added to the container or freezer-safe bag. Make sure you are storing it in a bag or container made to go to the freezer so it can stay safe.

Grab the right tools
- Mixing bowl, or the same stand mixer bowl. We need a bowl so we can prepare the yeast mixture, and we can use the same bowl after kneading the dough. If you have a stand mixer, I recommend you use the whole time the same stand mixer bowl.
- Rollin pin. We need to roll out the dough, then cut it into strips and spread the Nutella.
- Offset spatula or spoon. To spread the Nutella, I love using an offset spatula because it is gentler with the dough.
- Knife. Or a pizza cutter works too. It’s to cut the dough into strips.
- Ruler. I like to measure the dough to make sure all the rolls are about the same size.
- Thermometer. Might be useful if you’d like to check if the dough is ready, but if you follow the recommended time in the recipe, it should be ready about the time I mention.
- Baking tray. We need a tray so we can bake the rolls. Use anything of your choice that is safe in the oven.
- Parchment paper. It will make cleaning so much easier and faster. It also helps with the rolls not sticking to the pan.
- Dough proofer: optional but amazing to use for any dough recipes.
shop the tools
 Buy Now →
 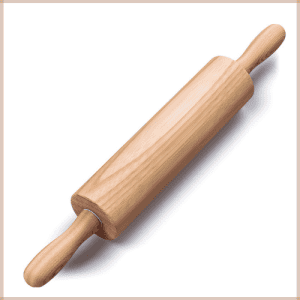 Buy Now →
 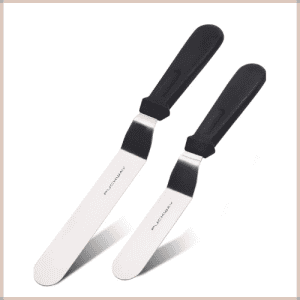 Buy Now →
 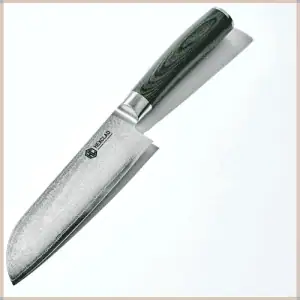 Buy Now →
 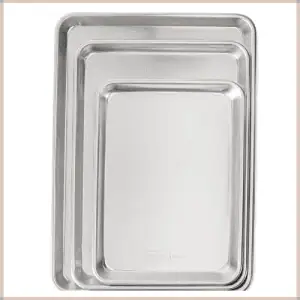 Buy Now →
 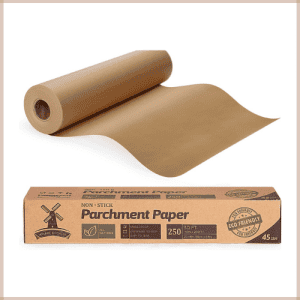 Buy Now →
 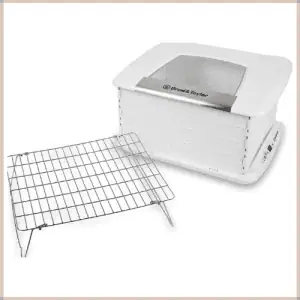 Buy Now →
 Best tips to make red velvet rolls
- Knead the dough at a slow speed for about 20-25 minutes. I recommend using a stand mixer so it can do so. In the last 10 minutes, we add the butter; we don’t add it at the beginning as we want to have a strong dough that can proof properly.
- Proofing temperature matters. I proof my doughs always from 26° C (78.8F) to 30 °C (86F), depending on what I am making. The dough grows beautifully every time.
- Don’t rush the proofing times. This dough needs to be proofed twice, once after we knead the dough, which is the longest time, it takes about 1 hour and 30 minutes, and another time after we shape it, which takes about 30 minutes. When we proof the dough, we want to see the dough growing in size; it will become soft to the touch and airy.

Heavy whipping cream in rolls
Why do we add heavy whipping cream to rolls? We add it before baking, which will make your rolls extra fluffy and soft. You don’t have to add a lot, just a small splash directly into each roll. If you add to muuch heavy whipping cream, it will just be very wet in the bottom and soggy.

How to freeze brioche rolls
You can freeze the brioche roll individually, so it makes it perfect to grab one when needed. They’re already portioned into rolls, so that’s something you don’t have to do again. All you have to do is separate it from the rest of the dough.
Place them in a tray lined with parchment paper. freeze for 2-4 hours until it’s slightly hard.
Place them in a freezer-safe bag or inside a freezer-safe container. I like to do both at the same time, the bag inside the container, only to be extra careful. You want to add the name of the food and the date of the day you made it. For example, red velvet rolls with Nutella. Day/month/year or month/day/year.
They’re safe in the freezer for 2-3 months. After that, they might get freezer-burnt or have a weird freezer taste, which we all hate. I can immediately taste a food that has not been stored properly.
That’s the whole recipe. Thank you so much for trusting us with another pancake recipe. Don’t forget to leave a rating for this recipe if you try it. You can find us on social media, Instagram, Facebook, YouTube, and TikTok!
Print
Red velvet Nutella rolls
- Cook Time: 20-25 minutes
- Total Time: 0 hours
- Yield: 6 rolls
- Category: Baking, Dessert
- Method: Baking
- Cuisine: American
Description
Delicious, soft, and fluffy. Red velvet Nutella rolls. This recipe for rolls gives you fluffy rolls with Nutella. They will become a favorite in your house.
Ingredients
DOUGH
- 1 tsp granulated sugar
- 2 tsp (6 g) active dry yeast
- Slightly over ½ cup (130 ml) of milk
- 2 eggs
- 1 tbsp red food coloring
- 2 ½ cups plus 2 tbsp (315 g) all-purpose flour
- 2 tbsp cocoa powder
- 2 ½ tbsp (35 g) granulated sugar
- ½ tsp salt
- 3 ½ tbsp (50 g) unsalted, soft room temperature butter
FILLING
- ¾ cup (220 g) Nutella
TO COOK
- 6 tbsp heavy whipping cream
DECORATE
- ½ cup (150 g) Nutella
Instructions
- Start by preparing the yeast mixture. In a mixing bowl or the mixing bowl from your stand mixer, mix 1 tsp granulated sugar, 2 tsp (6 g) active dry yeast, and slightly over 1/3 cup (130 ml) of warm milk. Let this mixture sit for 10-15 minutes or until it turns frothy; it will have like bubbles on the top.
- To this mixture, add 2 eggs, 1 tbsp red food coloring, 2 ½ cups plus 2 tbsp (315 g) all-purpose flour,2 tbsp cocoa powder, 2 ½ tbsp (35 g) granulated sugar, and ½ tsp salt. Knead the mixture using a stand mixer on medium-low speed. Use the dough hook attachment, which looks like a tail. Knead for 15 minutes.
- After 15 minutes, add 3 ½ tbsp (50 g) unsalted, soft room temperature butter. Knead for 10 minutes.
- Proof the dough for 1 hour and 30 minutes in a warm environment. After 1 hour and 30 minutes, the dough should be doubled in size.
- Roll out the dough. Cut into 6 equal sized strips. Spread ¾ cup (220 g) Nutella all over the dough. Roll each one individually. Place in a baking tray lined with parchment paper and proof again for 30-45 minutes.
- Preheat the oven to 355°F 180 °C. Add 1 tbsp of heavy whipping cream on top of each one of the rolls. Bake for about 20-25 minutes.
- After they come out of the oven, let them rest for 5 minutes. Then, add ½ cup (150 g) of Nutella. Add it to the tops of each one, and then once it warms up with the heat from the rolls, spread it carefully.
ARCHER'S FOOD
Easy and delicious recipes