This no-bake Oreo cheesecake bars recipe is a delightful and indulgent dessert that combines the classic flavors of Oreo cookies with creamy cheesecake. Featuring a crunchy crust, a velvety cheesecake filling infused with Oreo goodness, and a rich milk chocolate ganache topping, these bars are guaranteed to satisfy your sweet tooth. Best of all, there’s no need for gelatin or an oven—just simple ingredients and a little patience!

Why You’ll Love These No-Bake Oreo Cheesecake Bars
These no-bake cheesecake bars are loved for so many reasons:
- No baking required: Perfect for hot summer days when you want to avoid turning on the oven.
- Rich and creamy texture: The cheesecake filling is silky smooth, with the perfect amount of sweetness.
- Classic Oreo flavor: With Oreos in the crust, filling, and topping, it’s a triple dose of chocolatey goodness.
- Beginner-friendly: Straightforward steps and tips make this recipe foolproof for any skill level.
- Customizable: You can easily adjust the recipe to suit your taste preferences or dietary needs.
Whether you’re a cheesecake lover, a chocolate enthusiast, or just a fan of quick and easy desserts this recipe is for you!
Equipment you’ll need to make No bake Oreo cheesecake bars
- measuring cups and spoons For precise ingredient measurements.
- food scale For accurate weighing of ingredients, ensuring consistent results.
- mixing bowl To combine and mix the cheesecake filling and crust ingredients.
- silicone spatula Perfect for folding the whipped cream into the filling without deflating it.
- ziplock bag Ideal for crushing Oreo cookies into crumbs without a food processor.
- food processor A quicker alternative for turning Oreos into fine crumbs.
- rolling pin Use alongside a ziplock bag to crush Oreos if you don’t have a food processor.
- electric hand mixer / whisk / stand mixer To whip the heavy cream to soft peaks.
- Microwave safe bowl To melt butter for the Oreo crust easily.
- Pan, For building your no-bake Oreo cheesecake bars.
- Small pan, To gently heat heavy cream for the chocolate ganache topping.
- parchment paper, Ensures easy removal of the bars from the pan and prevents sticking.
Click here to find the link of all the equipment we used for this recipe
Tips for Perfect No-Bake Oreo Cheesecake Bars
- Chill time: Let the cheesecake set in the fridge for at least 6 hours, preferably overnight, to ensure it holds its shape.
- Parchment paper trick: Soak the parchment paper in water, squeeze out excess, and line the pan. This prevents wrinkles and makes removing the bars easier.
- Chop the Oreos evenly: For consistent bites of Oreo in the filling, chop the cookies into uniform pieces.
- Let ganache cool: Ensure the ganache is slightly cooled before pouring it over the filling to avoid a runny mess.
Creative Twists on No-Bake Oreo Cheesecake Bars
- Double-stuffed delight: Use double-stuffed Oreos for extra creaminess.
- Mint Oreo version: Swap regular Oreos with mint-flavored ones for a refreshing twist.
- Peanut butter lovers: Drizzle melted peanut butter over the ganache for a decadent addition.
Why These Bars Are a Must-Try
No-bake Oreo cheesecake bars are versatile, easy, and crowd-pleasing. Whether you’re celebrating a birthday or just need a no-fuss dessert, these bars will impress every time.
How to Store Your No-Bake Oreo Cheesecake Bars
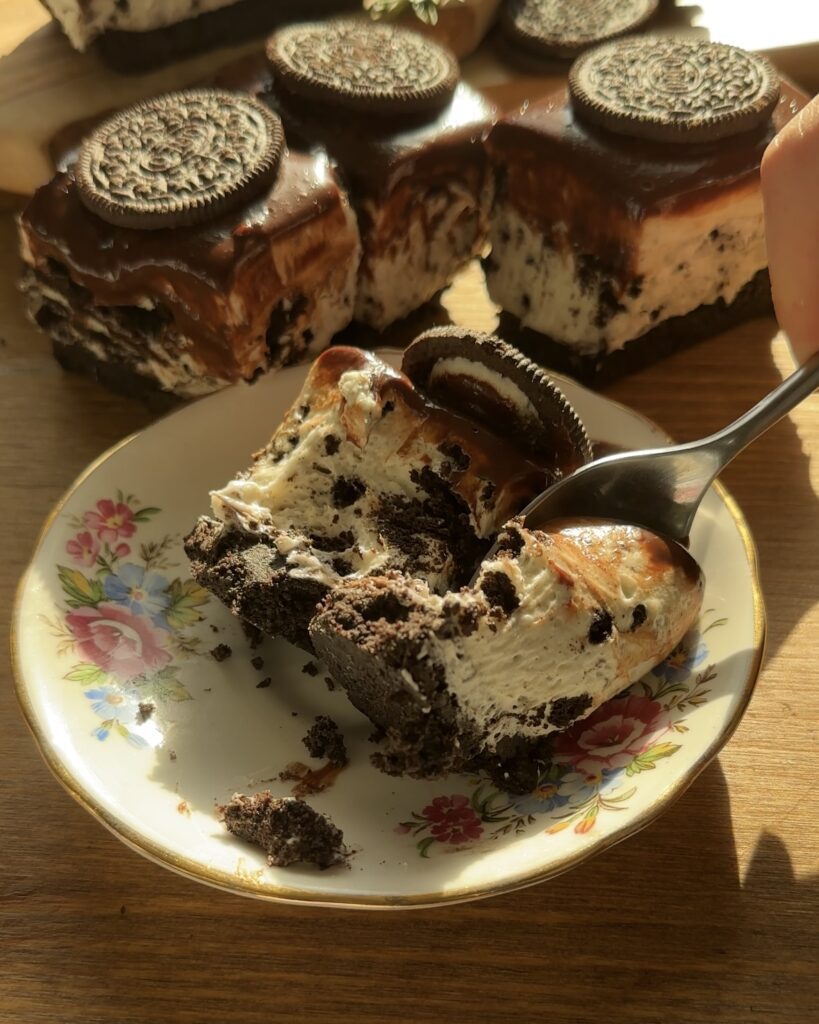
These Oreo cheesecake bars store beautifully:
- In the fridge: Keep them in an airtight container for up to 5 days.
- In the freezer: Wrap each bar individually and freeze for up to 2 months. Thaw in the fridge before serving.
FAQ for no bake Oreo cheesecake bars
Can I freeze this no bake oreo cheesecake?
Yes, you can freeze these no-bake Oreo cheesecake bars for up to three months. To make them convenient for later use:
Alternatively, freeze the cheesecake as a whole and cut portions when needed.
For best results, wrap the bars tightly in plastic wrap or aluminum foil before placing them in an airtight container to prevent freezer burn.
Portion the bars and place them in a container, ensuring enough space between each piece for easy removal.
How Do I Ensure the Cheesecake Filling is Smooth and Creamy?
- Beat the cream cheese with an electric hand mixer or stand mixer until it’s completely smooth and creamy before incorporating other ingredients.
- Ensure the cream cheese is at room temperature before starting. Cold cream cheese can result in a lumpy texture.
Can I Use Another Type of Chocolate Ganache?
Yes, you can experiment with different types of chocolate ganache to customize your no-bake Oreo cheesecake bars. Here are some options:
- White chocolate ganache for a lighter, sweeter option.
- Dark chocolate ganache for a more intense, bittersweet flavor.
- Milk chocolate ganache for a classic, creamy sweetness.
Process


Yes, you can freeze no-bake Oreo cheesecake bars for up to three months. Place individual portions in an airtight container, separated by parchment paper, to make them easy to remove when needed.
These cheesecake bars stay fresh for up to 5 days when stored in an airtight container in the refrigerator.
You can use classic Oreos, Double Stuf Oreos, or even flavored Oreos to customize the taste of your no-bake cheesecake bars.
No, this recipe does not require gelatin. The cream cheese and whipped cream provide a firm, creamy texture without the need for additional stabilizers.
Yes, you can customize the ganache topping with dark chocolate, milk chocolate, or white chocolate, depending on your preference.
More recipes
–cheesecake with homemade raspberry jam
Recipe to make No bake oreo cheesecake bars
Recipe in cups and grams. You can find the cup measurements in the printable recipe scrolling down at the end.
Ingredients
crust
- 18 oreo cookies ( only the biscuit )
- 60 grams melted butter
cheesecake filling
- 300 grams cream cheese
- 70 grams granulated sugar
- 18 oreo cookies ( only the filling )
- 150 grams heavy whipping cream ( 35 % )
- 10 chopped oreos
- 3 whole oreos
decorate
- 150 grams milk chocolate
- 50 grams heavy whipping cream
- 3 oreos
Step-by-Step Instructions to Make No-Bake Oreo Cheesecake Bars
1) step one, prepare the oreo crust
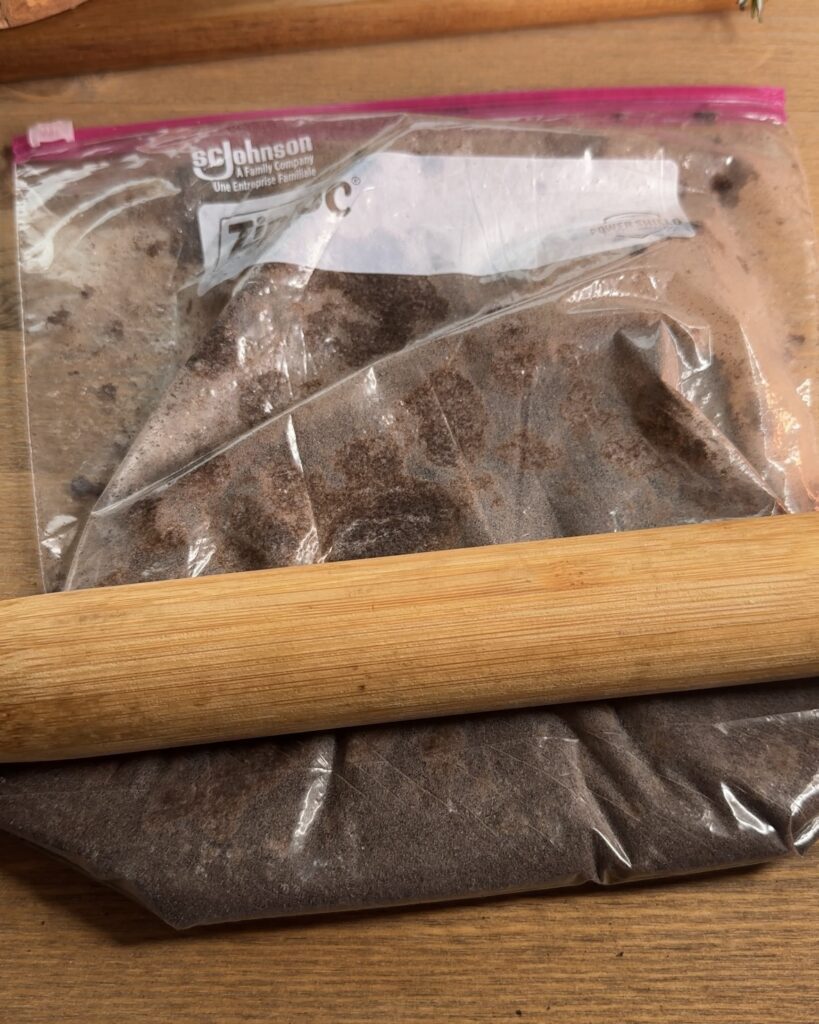
Start by separating the Oreo cookies and setting the cream filling aside. Place the Oreo biscuits in a ziplock bag and crush them into crumbs using a rolling pin. In a mixing bowl, combine the crushed Oreos with melted butter and mix until everything is well coated. This will form the crust for your no-bake Oreo cheesecake bars.

2) step two, press the oreo crust into the pan
Grease your pan and cut a piece of parchment paper to fit. Soak the parchment paper in water, then gently squeeze out any excess water, trying to keep it as smooth as possible. Place the soaked parchment paper in the pan to prevent the cheesecake from sticking. Next, press the Oreo crust mixture firmly into the bottom of the prepared pan, ensuring it’s even and compacted for a solid base.

3) step three, prepare the cream cheese filling
In a stand mixer or using a hand mixer, beat the room temperature cream cheese until it’s smooth and creamy. Once the cream cheese is well blended, add the reserved Oreo cream filling and continue mixing until the mixture is smooth and fully combined.

4) step four, whip the heavy cream
In a separate bowl or a clean, dry stand mixer bowl, whip the heavy cream with the sugar until it’s almost ready to form stiff peaks. Be careful not to overwhip, as this can cause the cream to turn into butter. The whipped cream should hold its shape but still be soft and smooth.


5) step five, combine the filling ingredients together
Gently fold the whipped cream into the cream cheese mixture, being careful not to deflate the whipped cream. Once combined, fold in the chopped Oreos, ensuring they’re evenly distributed without over-mixing. This will keep the filling light and airy, with bits of Oreo throughout.

6) step six, layer the no bake oreo cheesecake
Spread half of the Oreo cheesecake filling evenly over the prepared Oreo crust. Place three Oreo cookies on top of the filling, then carefully add the remaining cheesecake filling on top. Smooth the top with a spatula to create an even layer. Cover the pan with plastic wrap and refrigerate overnight for the best results, allowing the cheesecake to set and develop its full flavor.


7) step seven, prepare the chocolate ganache
In a clean, dry bowl, add the chocolate. In a small saucepan, heat the heavy cream until it begins to boil. Remove the saucepan from the heat and pour the hot cream over the chocolate. Stir the mixture until the chocolate is completely melted and the ganache is smooth. Allow the ganache to cool slightly, but not so much that it thickens. You want it to cool just enough so it won’t melt the cheesecake when poured over the top.

8) step eight, decorate the cheesecake
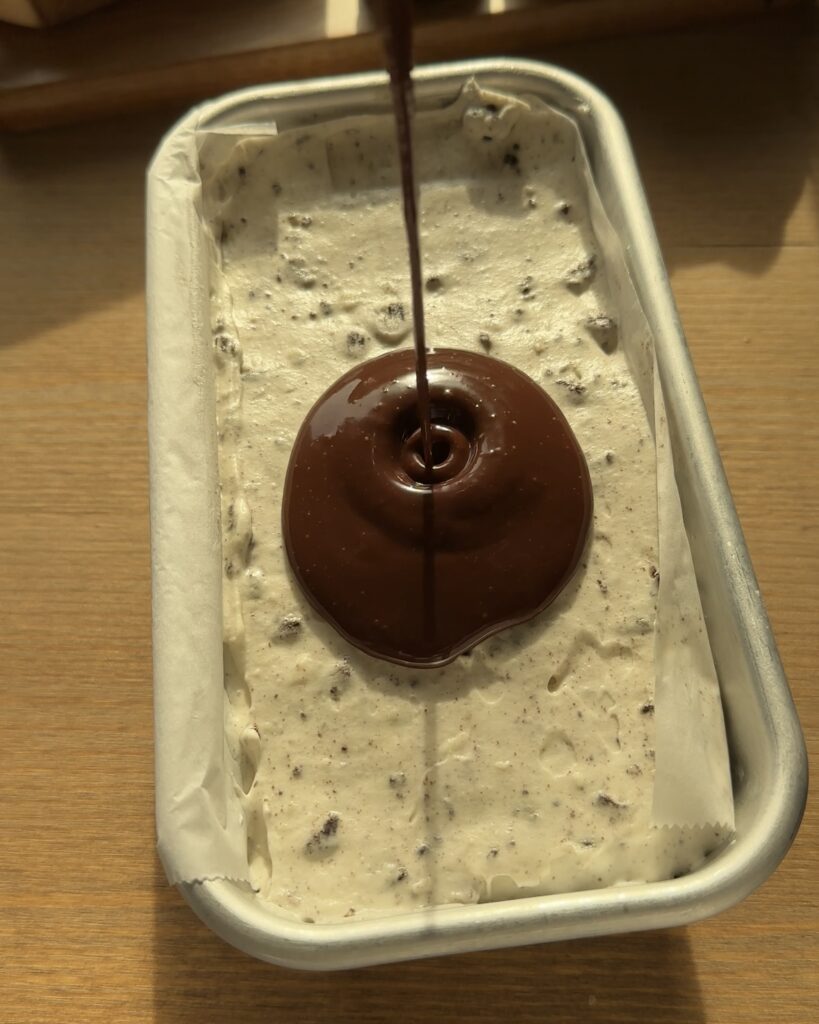
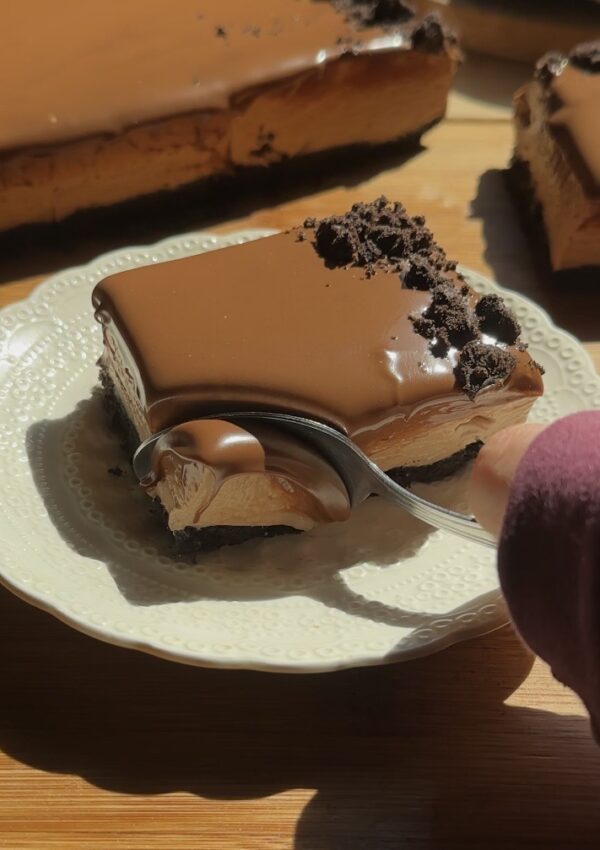
Pour the slightly cooled chocolate ganache over the chilled cheesecake, spreading it evenly across the top. Make sure the ganache covers the entire surface. Refrigerate the cheesecake for at least 30 minutes to allow the ganache to set and firm up before serving.

9) step nine, serve and enjoy
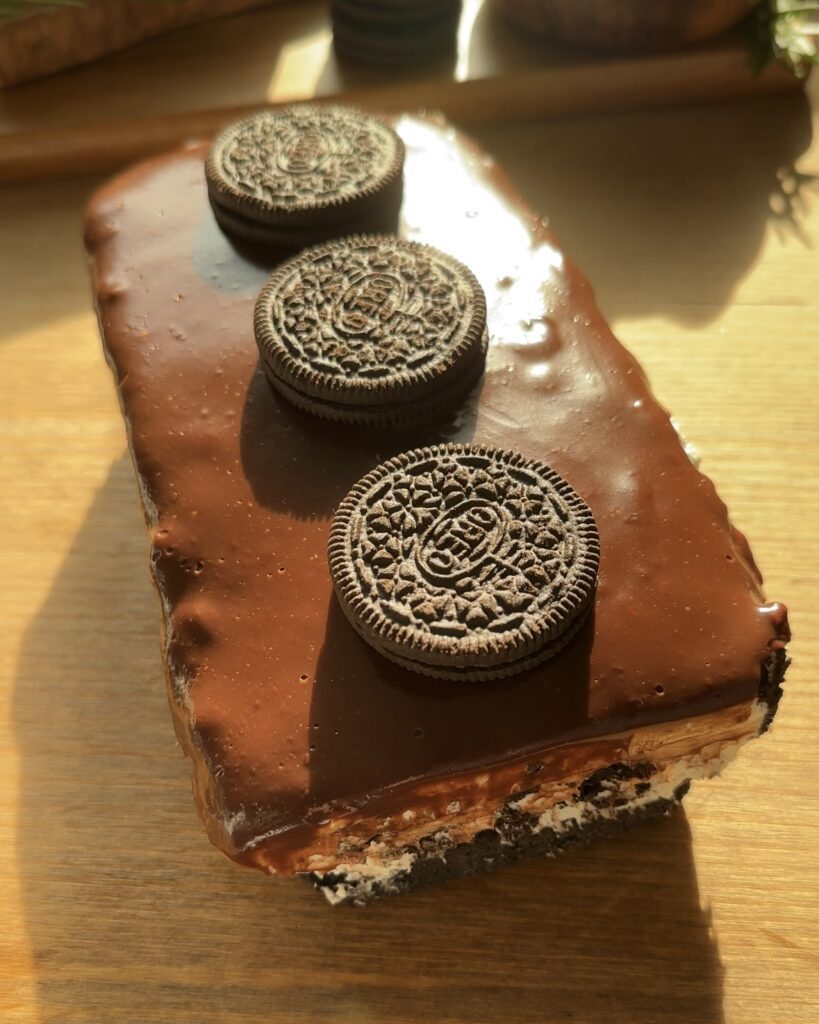
Decorate the cheesecake by placing 3 Oreos on top, separating each cookie in half for a fun and decorative touch. Once decorated, slice the cheesecake into bars, serve, and enjoy the delicious no-bake Oreo cheesecake bars!

No bake Oreo cheesecake bars
- Prep Time: 45 minutes
- Total Time: 6 hours 45 minutes
- Yield: 6 1x
Description
This no-bake Oreo cheesecake bars recipe is a delightful and indulgent dessert that combines the classic flavors of Oreo cookies with creamy cheesecake.
Ingredients
crust
- 18 oreo cookies (only the biscuit)
- 60 grams melted butter
cheesecake filling
- 300 grams cream cheese
- 70 grams granulated sugar
- 18 oreo cookies (only the filling)
- 150 grams heavy whipping cream (35 %)
- 10 chopped oreos
- 3 whole oreos
decorate
- 150 grams milk chocolate
- 50 grams heavy whipping cream
- 3 oreos
Instructions
step one, prepare the oreo crust
- Start by separating the Oreo cookies and setting the cream filling aside. Place the Oreo biscuits in a ziplock bag and crush them into crumbs using a rolling pin. In a mixing bowl, combine the crushed Oreos with melted butter and mix until everything is well coated. This will form the crust for your no-bake Oreo cheesecake bars.
step two, press the oreo crust into the pan
- Grease your pan and cut a piece of parchment paper to fit. Soak the parchment paper in water, then gently squeeze out any excess water, trying to keep it as smooth as possible. Place the soaked parchment paper in the pan to prevent the cheesecake from sticking. Next, press the Oreo crust mixture firmly into the bottom of the prepared pan, ensuring it’s even and compacted for a solid base.
step three, prepare the cream cheese filling
- In a stand mixer or using a hand mixer, beat the room temperature cream cheese until it’s smooth and creamy. Once the cream cheese is well blended, add the reserved Oreo cream filling and continue mixing until the mixture is smooth and fully combined.
step four, whip the heavy cream
- In a separate bowl or a clean, dry stand mixer bowl, whip the heavy cream with the sugar until it’s almost ready to form stiff peaks. Be careful not to overwhip, as this can cause the cream to turn into butter. The whipped cream should hold its shape but still be soft and smooth.
step five, combine the filling ingredients together
- Gently fold the whipped cream into the cream cheese mixture, being careful not to deflate the whipped cream. Once combined, fold in the chopped Oreos, ensuring they’re evenly distributed without over-mixing. This will keep the filling light and airy, with bits of Oreo throughout.
step six, layer the no bake oreo cheesecake
- Spread half of the Oreo cheesecake filling evenly over the prepared Oreo crust. Place three Oreo cookies on top of the filling, then carefully add the remaining cheesecake filling on top. Smooth the top with a spatula to create an even layer. Cover the pan with plastic wrap and refrigerate overnight for the best results, allowing the cheesecake to set and develop its full flavor.
step seven, prepare the chocolate ganache
- In a clean, dry bowl, add the chocolate. In a small saucepan, heat the heavy cream until it begins to boil. Remove the saucepan from the heat and pour the hot cream over the chocolate. Stir the mixture until the chocolate is completely melted and the ganache is smooth. Allow the ganache to cool slightly, but not so much that it thickens. You want it to cool just enough so it won’t melt the cheesecake when poured over the top.
step eight, decorate the cheesecake
- Pour the slightly cooled chocolate ganache over the chilled cheesecake, spreading it evenly across the top. Make sure the ganache covers the entire surface. Refrigerate the cheesecake for at least 30 minutes to allow the ganache to set and firm up before serving.
step nine, serve and enjoy
- Decorate the cheesecake by placing 3 Oreos on top, separating each cookie in half for a fun and decorative touch. Once decorated, slice the cheesecake into bars, serve, and enjoy the delicious no-bake Oreo cheesecake bars!
Notes
Chill time: Let the cheesecake set in the fridge for at least 6 hours, preferably overnight, to ensure it holds its shape.
Parchment paper trick: Soak the parchment paper in water, squeeze out excess, and line the pan. This prevents wrinkles and makes removing the bars easier.
Chop the Oreos evenly: For consistent bites of Oreo in the filling, chop the cookies into uniform pieces.
Let ganache cool: Ensure the ganache is slightly cooled before pouring it over the filling to avoid a runny mess.
Nutrition
- Calories: 847
- Sugar: 55
- Sodium: 498
- Fat: 59
- Saturated Fat: 32
- Carbohydrates: 79
- Fiber: 3
- Protein: 9
- Cholesterol: 110
Archersfood
Recipes from my family to yours

[…] No bake oreo cheesecake bar […]