
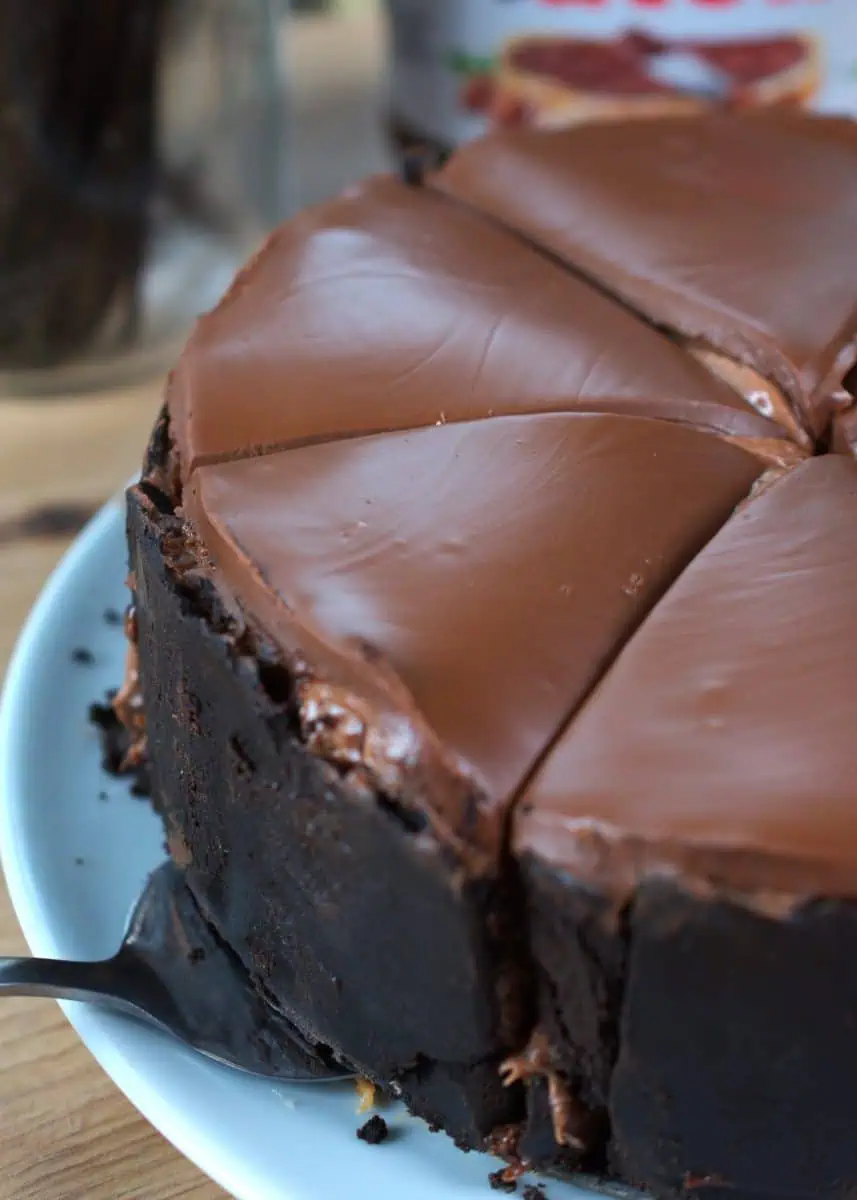
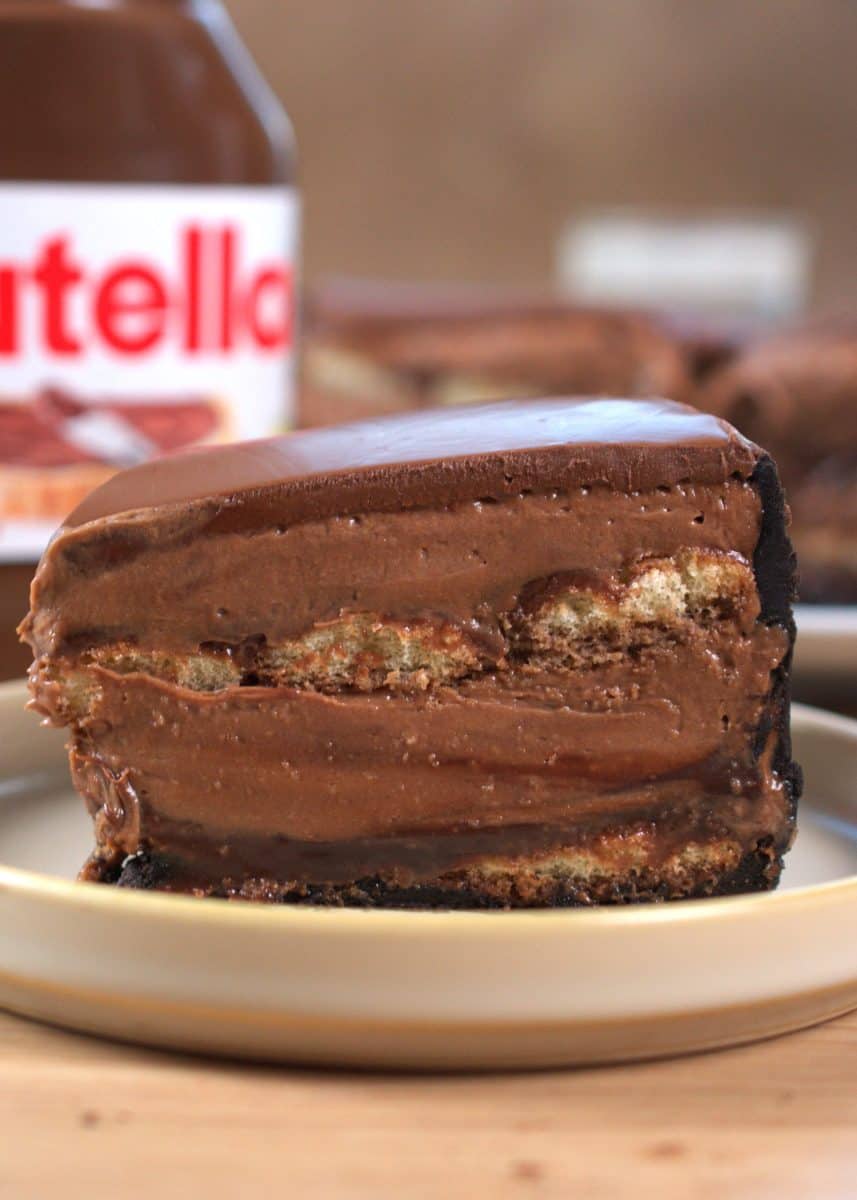
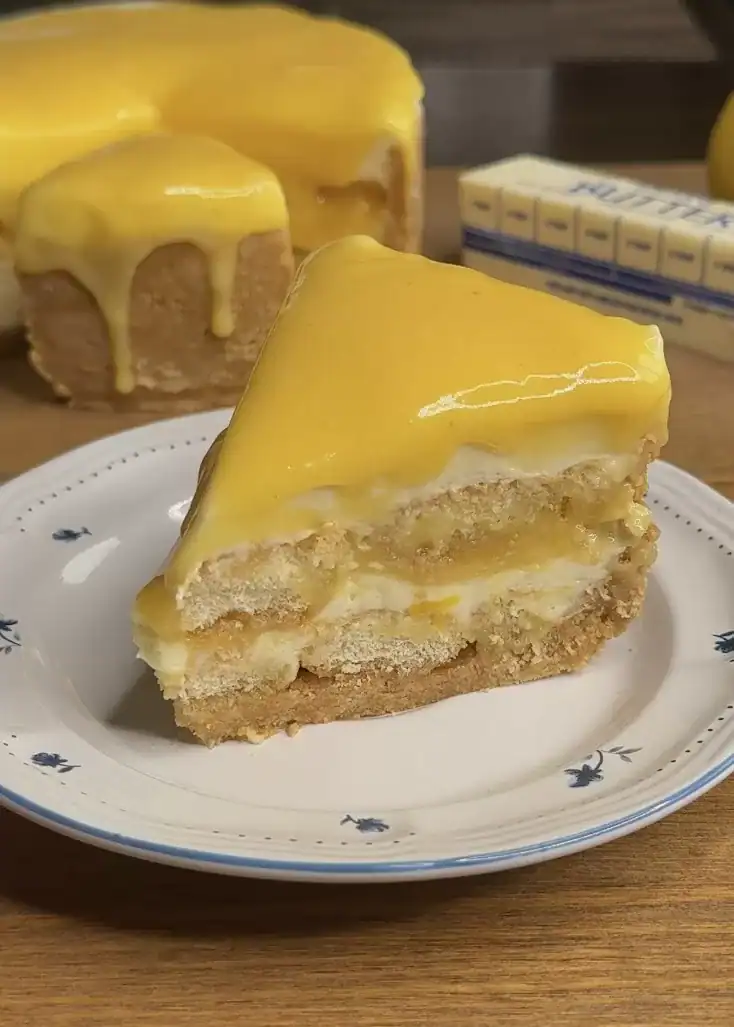
Nutella Tiramisu Cake
A rich and delicious Nutella tiramisu cake. A creamy filling, soaked ladyfingers in chocolate milk, and layers of Nutella.
This recipe was so popular last year, and we decided to remake it to change some of the pictures and adjust some quantities in the recipe.
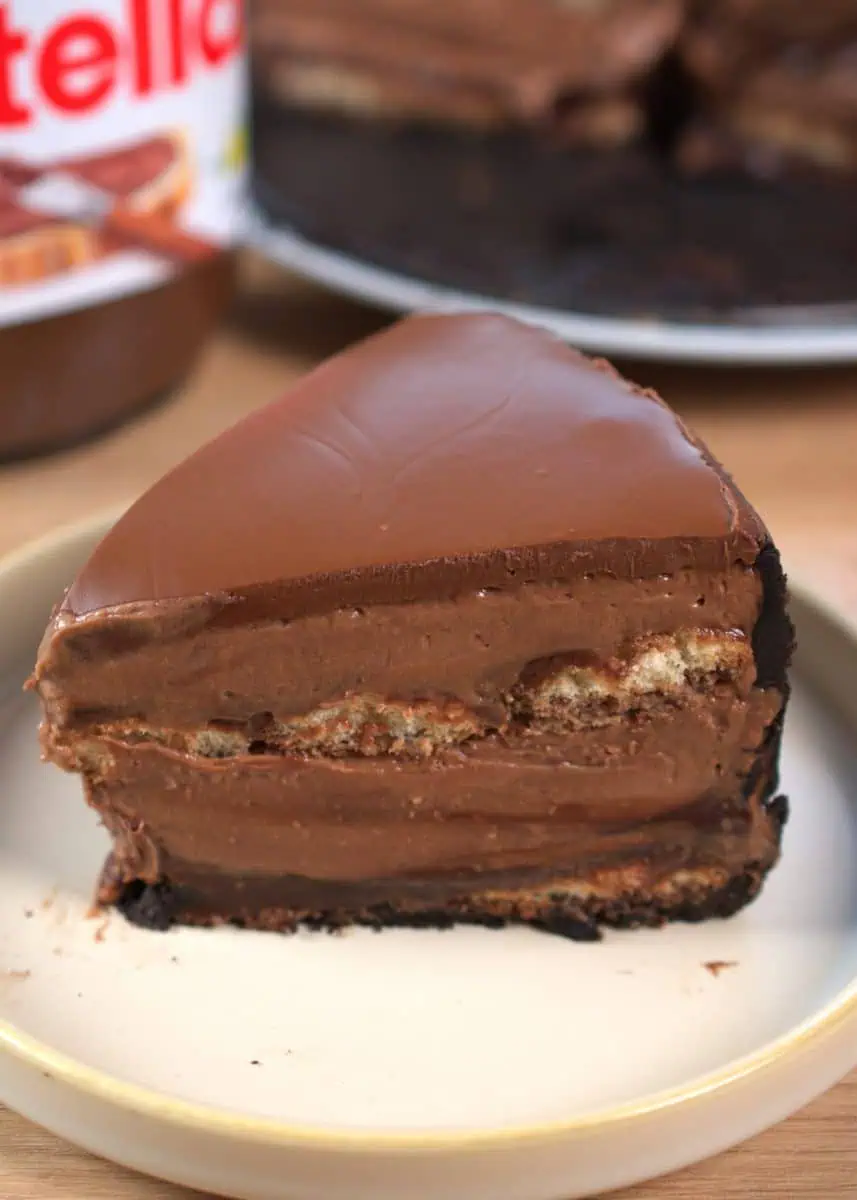
This Nutella dessert combines a layered tiramisu with a cheesecake with a nice and buttery Oreo crust. It’s egg-free, gelatin-free, and oven-free! We used an Oreo crust for our delicious Nutella cheesecake squares and our Nutella cheesecake.
Add to your shopping list.
The list of ingredients you need to prepare this recipe is SHORT; most of the ingredients you can find in the grocery store. Some countries don’t sell mascarpone cheese, or it is quite pricy, so you can substitute it for cream cheese.
We are using some of the same ingredients we used in our vanilla pistachio tiramisu and our Oreo tiramisu dessert.
- Oreos: we will blend them until fine crumbs, which will create our cookie crust. To crush the cookies, you will need to use a food processor, blender, or a sealed bag, and a rolling pin.
- Butter: unsalted and melted. I recommend using unsalted butter so you can have better control over the amount of salt that goes into your dessert. We want to enhance the flavor of the Nutella tiramisu cake, not make it salty.
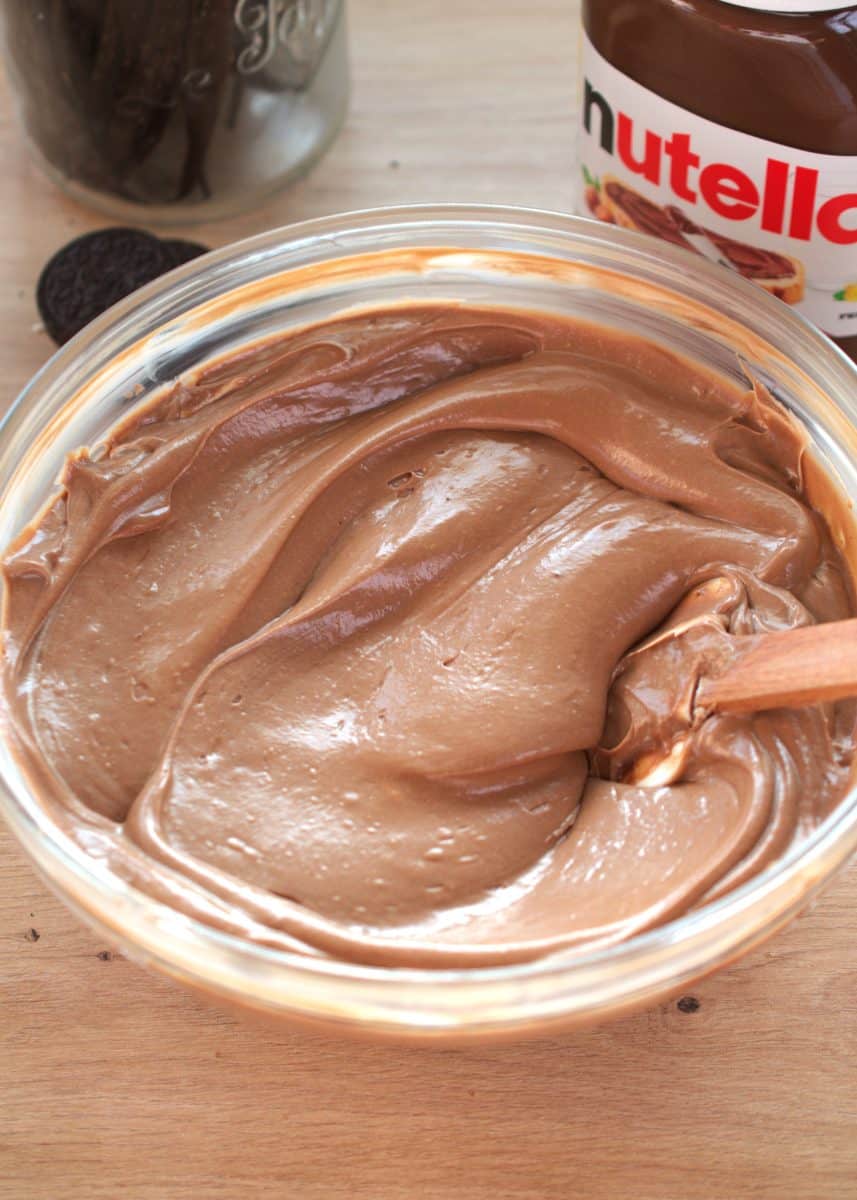
- Mascarpone cheese and cream cheese: both will form the base of our tiramisu cake, creating a creamy and delicious dessert. We are using both because we want to achieve the perfect texture. Since we are not adding eggs to our Nutella no-bake cake, we need to add cream cheese to adjust that texture.
- Heavy whipping cream: We will whip it into soft peaks. This helps with the structure of the dessert. Use one with a 35 % content of fat.
- Powdered sugar: not a lot of it will be used in this recipe, just enough.
- Nutella: any chocolate spread will work, but I recommend you use Nutella if that’s accessible to you. The rich chocolate hazelnut flavor is unmatched.
- Salt: just a little to make this recipe even better.
shop the ingredients
 Buy Now →
  Buy Now →
  Buy Now →
 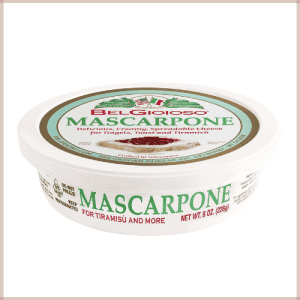 Buy Now →
  Buy Now →
  Buy Now →
 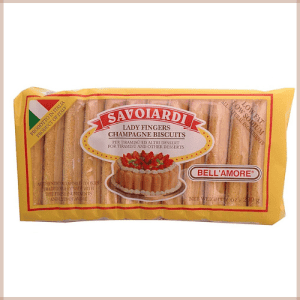 Buy Now →
  Buy Now →
  Buy Now →
 How to fix over-whipped cream
Yes, it happens to all of us. You blink, and the whipping cream you are making is already whipped when you needed it to be at soft peaks, and now if you add it to the rest of the ingredients, you KNOW it’s going to curdle. That’s why you need to fix it, don’t start again from zero.
All you need is more non-whipped cream. Like straight from the bottle.
- Option one would be adding more cream to the overwhipped cream. Add a large splash of new cream. Then, carefully using a spatula, fold it in.
- Warm up a part of the over-whipped cream and then add it to the cream.
*Important to mention that if your whipped cream has reached the stage where it has separated the liquid from the fat, there’s no way to fix it. This only works when it’s whipped to stiff peaks when you needed it to be whipped to soft peaks.
When you fix over-whipped cream, it’s easier to over-whip it again; that’s why you should not use a whisk to incorporate the new cream; you should use a silicone spatula to GENTLY fold it in.
Best tips to make a Nutella tiramisu cake
At this point, if you have seen our recent cheesecake or tiramisu posts, you will notice how we are constantly sharing new recipes on our website. All because we LOVE preparing no-bake desserts.
After making so many desserts, here is everything we know that can be very useful for this recipe or any other no-bake recipe from our site, like our biscoff bars.
- Try not to over-whip the cream, but if you do, you can easily fix it. We want to whip the cream until it forms soft peaks. This way, when we combine it with the rest of the ingredients, it won’t curdle.
- Keep the cream cheese and mascarpone cheese at room temperature; this way, you can easily work them with the rest of the ingredients and avoid lumps.
- Don’t keep the mascarpone cheese on the counter for too long; temperature changes in the mascarpone cheese can affect the final texture.
- Chill this dessert for long enough. You don’t want it to melt you need it to set.
- Don’t over-soak the ladyfingers in the chocolate milk, or they will become too soggy.
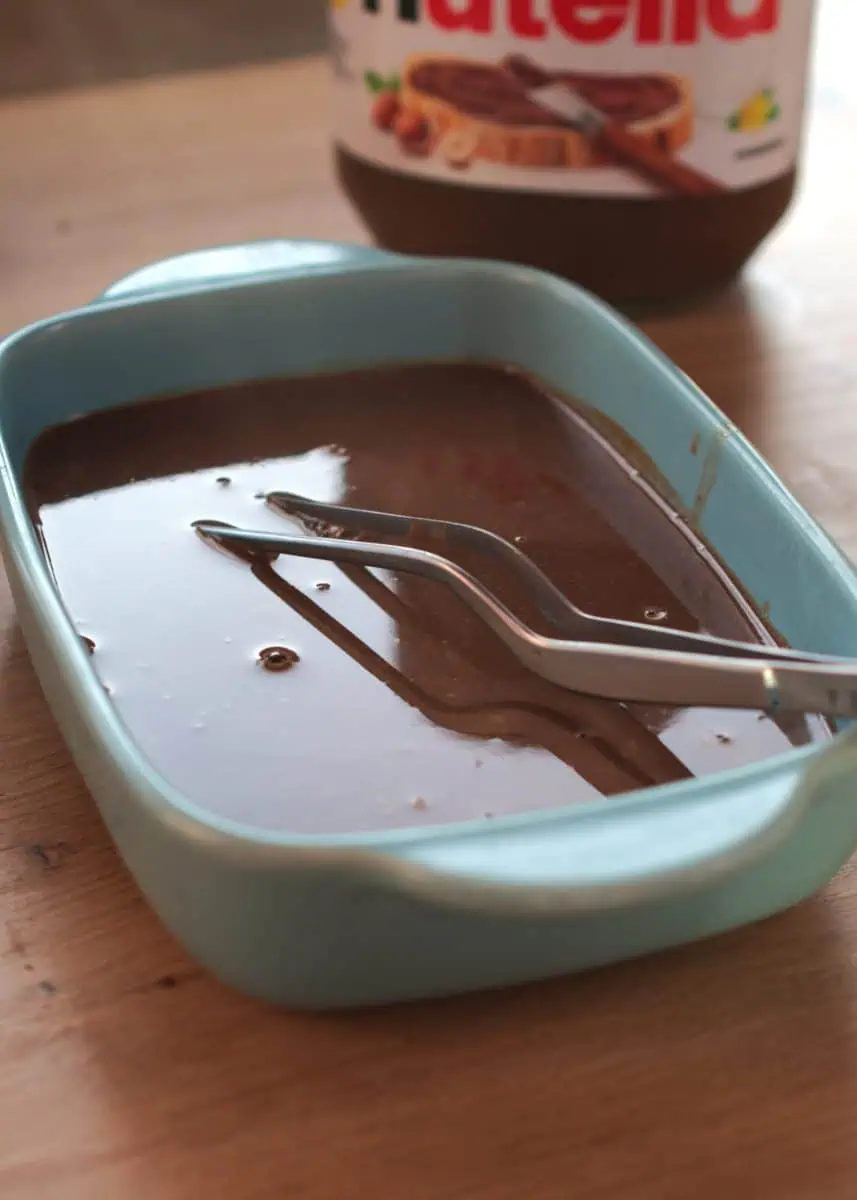
Chocolate milk for your Nutella tiramisu
For this recipe, we are not soaking the ladyfingers in coffee; we are using chocolate milk that we will make ourselves. This edited recipe makes the chocolate milk more chocolatey than the old recipe.
Start by simmering the milk so it’s warm enough for the Nutella to melt, then add the Nutella and mix it until it’s fully melted. Let it cool slightly before using, because we don’t want the ladyfingers to melt, we just want to soak them slightly so they are soft.
How to make a perfect Oreo cookie crust
This recipe is not a normal tiramisu; it’s built on top of a cookie crust. to create the perfect Oreo crust you need the following ingredients: Oreos and butter.
Tools you need to make a oreo crust: food processor or blender
I normally always use a blender for my cookie crust as it makes thinner crumbs.
When we make a crust, what we want is for the mixture of butter and cookies to have a wet sand texture. Not too wet because it creates a paste, and not too dry because it crumbles.
Tools you need
For this recipe, you will need some of the same tools we used for our Caramel Biscoff cheesecake or our No-bake vanilla bean pistachio cheesecake.
- Mixing bowl: will be needed to combine ingredients together.
- Whisk, stand mixer or an electric hand mixer: to whip the heavy cream.
- Spatula: fold and scrape the bowl.
- Springform pan: 8-inch 20 cm round pan.
- Off set spatula: smooth out the layers.
- Pan: to prepare the chocolate milk mixture.
buy your tools
 Buy Now →
  Buy Now →
  Buy Now →
  Buy Now →
 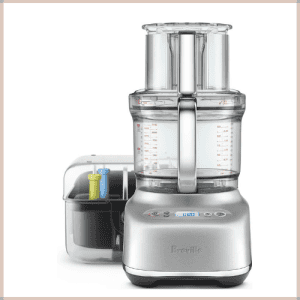 Buy Now →
  Buy Now →
 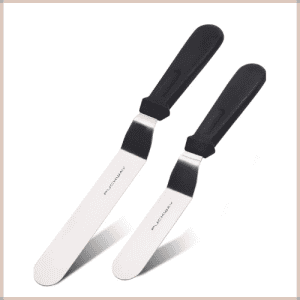 Buy Now →
 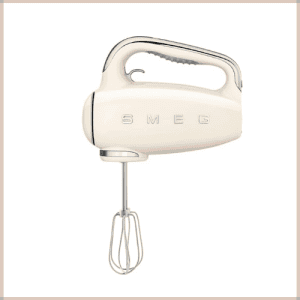 Buy Now →
  Buy Now →
 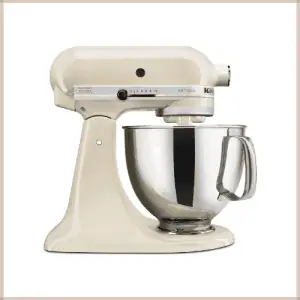 Buy Now →
 How to store this nutella dessert
This Nutella tiramisu cake needs to be refrigerated at all times. If it stays at room temperature, it will be unsafe to eat and also will start losing its structure. It has heavy cream and cream cheese/mascarpone that with warm temperature start melting.
Keep it in a food-safe container in the fridge for up to 3 days. If you prepare this dessert and don’t plan on finishing all of it, you can always freeze it. Make sure to freeze it when it’s still fresh.
How to freeze a tiramisu cake
When freezing a tiramisu cake, we follow the same rule as many other no-bake desserts, like our vanilla bean cheesecake with oreo crust.
Start by slicing the Nutella cake into 8 slices. Place them all in a freezer-safe tray lined with parchment paper and freeze it for 5 hours, just to make sure they’re hard enough not to fall apart.
After 5 hours, transfer it into a freezer bag or a container. Since they have been previously frozen, they won’t get stuck to each other, and you will easily be able to grab one. When needed, thaw in the fridge overnight, don’t microwave, or it will melt.
This dessert is safe in the freezer for up to 3 months. Make sure to add the name of the food and the date of the day you made it!
Q: What’s your favorite tiramisu flavor?
Print
Nutella Tiramisu Cake
- Prep Time: 50 minutes
- Chill time: 8 hours
- Total Time: 8 hours 50 minutes
- Yield: 8 slices
- Category: Dessert
- Method: No bake
- Cuisine: Italian inspired
Description
A delicious No-bake Nutella tiramisu cake. It’s rich, creamy, and doesn’t need any gelatin.
Ingredients
CRUST
- 30 whole (300 g) Oreo crumbs
- 2 ½ tbsp (35 g) Unsalted melted butter
TIRAMISU FILLING
- Slightly over ¾ cup (220 ml) heavy whipping cream
- ¼ cup (30 g) powdered sugar
- 1/4 tsp salt
- 2 cups (450 g) mascarpone cheese
- 3 ½ tbsp (50 g) cream cheese
- 1 cup (275 g) Nutella
CHOCOLATE MILK
- ¾ cup (200 ml) milk
- 5 tbsp (90 g) Nutella
LAYERS
- 6 tbsp (115 g) Nutella
- 15 ladyfingers
DECORATE
- ½ cup (150 g) Nutella
Instructions
- Start by preparing the Oreo crust for our Nutella Tiramisu Cake. In a food processor, blend 30 whole Oreo cookies (300 g) until fine crumbs. Once crushed, mix it with 2 ½ tbsp (35 g) unsalted melted butter.
- Press the mixture into an 8-inch (20 cm) springform pan. First, bring the cookie mixture from the sides to the bottom of the pan. Refrigerate while you prepare the rest of the recipe.
- Prepare the Nutella tiramisu filling. Whip slightly over ¾ cup (220 ml) of heavy whipping cream with ¼ cup (30 g) powdered sugar. Whip on high speed until it reaches soft peaks.
- In a mixing bowl, combine 2 cups (450 g) mascarpone cheese with 3 ½ tbsp (50 g) cream cheese and ¼ tsp salt. Use a spatula. Add 1 cup (275 g) Nutella and mix.
- Add the whipped cream and fold it using a spatula only until just incorporated.
-
Prepare the chocolate milk to soak the ladyfingers. In a saucepan, warm up ¾ cup (200 ml) of milk until it starts simmering. Turn off the stove and add 5 tbsp (90 g) Nutella. stir until it’s melted.
-
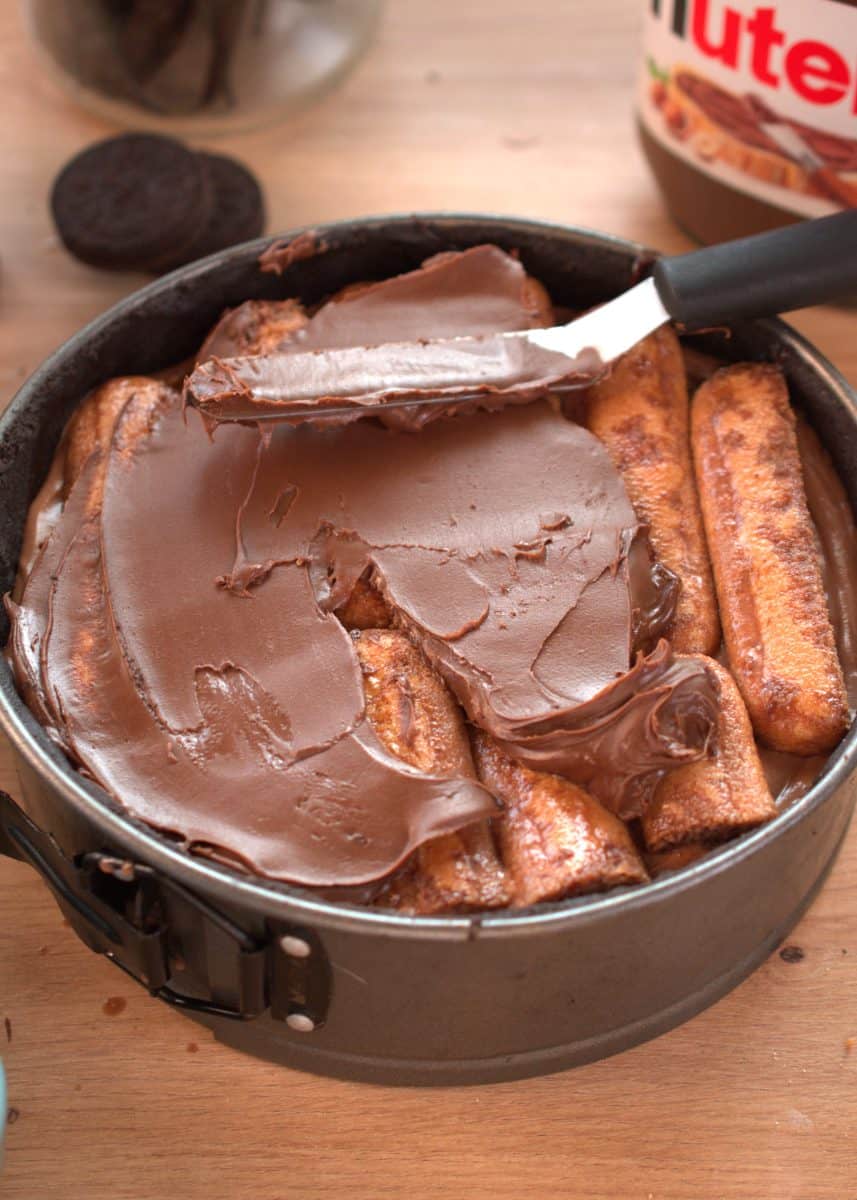
Start assembling the tiramisu cake. Soak 8 ladyfingers for the first layer, which go on top of the cookie crust. Spread 3 tbsp (57 g) Nutella. Cover with half of the tiramisu filling. Add another layer of 8 soaked ladyfingers and cover with 3 tbsp (57 g) Nutella. Top it with the rest of the filling. Smooth it out and refrigerate for 8 hours.
-
To decorate, melt ½ cup (150 g) Nutella and pour it over the tiramisu. Tilt the pan around so it covers the top. Let it sit for 3 minutes. Slice and serve!
Equipment
Buy Now →
Buy Now →
Buy Now →
Buy Now →
Buy Now →
Buy Now →
Buy Now →
Buy Now →
Buy Now →  Buy Now →
 Notes
use room temperature cream cheese and mascarpone.
the bowl you use to whip the heavy whipping cream needs to be very cold, dry and clean.
ARCHER'S FOOD
Easy and delicious recipes


The recipe is really good. I didn’t put extra Nutella on the top, because I didn’t want to make it too sweet and it was just fine. Though I think the butter for the Oreo cookies was not enough, because the Oreo crust kept breaking.
Still, this is a great recipe for people who love sweet cakes and it’s pretty easy to do.
hi! thanks for your review! did you crush the oreos whole?
Yes, I think I also didn’t use enough Oreos, but I think then it would’ve kept breaking even more.
Wow
thank you!
This is gonna be my next recipe!
I hope you love it Sindy!
This recipe sounds amazing and I would love to make it for Thanksgiving.
Can I freeze this cake (pre-make it for TG) and thaw it in the fridge the day of serving? Thanks.
Hello!
You could do that!
Could you still add some coffee to the milk and Nutella mixture for dipping the ladyfingers?
Hello! Yes!
Hi! At the quantity section, what do 1x, 2x, 3x mean? What is the final result for each of the 3 options?
multiply the recipe x 2 or x 3. If the recipe gives you 10 to 12 portions, if you multiply x 2, it will give you 20 to 24 portions, etc.
Hi There,
Can I use oat milk instead of real milk?
Hello, yes sure!
This article appears to explain self-employment in the USA, outlining key features, practical nuances, and what to consider when starting out. It’s useful as a high-level guide for freelancers or small business owners. Read here: https://usamars.com/self-employment-in-the-usa-features-and-nuances-of-doing-business.html