No bake Biscoff cheesecake bars—what a treat! These bars are the perfect dessert for anyone craving a sweet, delicious, and easy recipe. Whip them up in under 30 minutes (no baking required!), and make them ahead for stress-free indulgence.

Once you try them, you’ll be hooked—they’re that good. Every time I make these, they’re a total hit!
I’ve been obsessed with making these Lotus Biscoff cheesecake bars—they’re officially my favorite recipe this week! (And I know I say that a lot, but trust me.) The process is so satisfying, and the results are unreal. In fact, they’ve got me planning my next batch already… Stay tuned for more!
More no bake cheesecake recipes:
- no-bake Nutella cheesecake
- no-bake pistachio cheesecake
- no bake oreo cheesecake
- No bake oreo cheesecake bar
- No bake kinder bueno cheesecake
- No bake apple pie cheesecake
- Peanut butter cheesecake
- Chocolate oreo cheesecake
- ferrero Rocher no bake cheesecake
- Happy hippo cheesecake
- tiramisu cheesecake
If you love Biscoff recipes you should check our No bake Biscoff cheesecake, our single serve marshmallow and Biscoff stuffed cookie, Biscoff cheesecake brioche, Biscoff Rolls (they’re like the famous cinnamon rolls but so much better!!).
Another recipe for our no bake Biscoff cheesecake but this one has gelatin and our soft and fluffy donut holes, as well as our Biscoff donuts.
What you’ll love about this recipe for Easy Biscoff cheesecake bars
Here are the reasons why i think you’ll love this recipe more than any other recipe you can find online!:)
- Irresistible Flavor: Yes, all Biscoff desserts are delicious—but this one? The flavors are perfectly balanced, guaranteed to be a crowd-pleaser every single time.
- Effortless Preparation: No oven needed! Just mix, assemble, and watch it transform into something gorgeous. Seriously—it’s that simple.

- Foolproof Decorating: As someone who usually struggles with presentation, trust me: this decoration is so easy yet looks stunning. The photos don’t lie!
Watch how to make Biscoff cheesecake Bars
Prefer visual guidance? Watch our step-by-step video showing exactly how to make these Biscoff cheesecake bars! Don’t worry – you’ll find the full video recipe in the card below too.

- Level of difficulty: Easy
- Oven: No
- Yield: 9 to 12 portions
- Time to set: 8h to overnight
- Pan size: L: 8 in.W: 8 in.H: 2.2 in (20cm X 20cm x 6,3 cm)
- Texture: creamy
Biscoff lotus crust success
To make the crust, you’ll need just two ingredients: melted butter and Biscoff cookies.
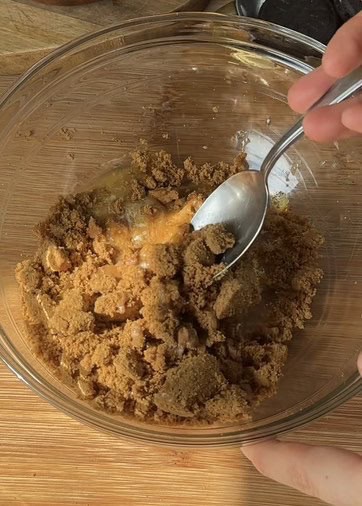
Step 1: Crush the cookies into a fine powder. You can do this using a food processor or, if you don’t have one, place the cookies in a sealed ziplock bag and roll them with a rolling pin—this is a perfect stress-relief exercise!
Step 2: Once crushed, add the melted butter and mix until the texture resembles wet sand.

Hot tips!!
- Let the butter cool slightly before adding it—make sure it’s not too hot.
- Press the mixture firmly into the bottom of the pan. If it’s not packed tightly enough, the crust will crumble.
- Pop it in the freezer while you prepare the filling for these easy cheesecake bars.
Absolutely! Digestive biscuits or graham crackers work well, but the spiced caramel flavor of Biscoff is what makes these bars extra special.
Key Ingredients and Why you need each
If you’re familiar with our no-bake cheesecake recipes, you’ll love this one too!
- Butter – Must be melted. We’ll mix it with the cookie crumbs for the crust.
- Biscoff Cookies – These deliciously spiced cookies are used in three ways: Crushed for the buttery crust, Whole for a middle layer and to decorate.
- Cream Cheese – Make sure it’s at room temperature for a smooth, lump-free filling.
- Sugar – Just enough to sweeten the dessert. We’ve reduced the amount since the Biscoff spread adds plenty of sweetness!
- Biscoff Spread – If you love Biscoff, this will be your new favorite dessert—we’re using a generous (but healthy!) amount 😉.
- Heavy Whipping Cream – Must be at least 35% fat. If it’s lower, it won’t whip properly, and the cheesecake won’t hold its shape.
Mascarpone cheese is a really good substitute.
Make sure it has at least 35% fat, if its lower it won’t whip properly!
How to freeze Biscoff cheesecake Bars
Like all our no-bake cheesecake recipes, this Biscoff version freezes beautifully—we’ve tested it thoroughly! Here’s how to freeze it for best results:
- After decorating, you can freeze the cheesecake whole or pre-sliced.
- Place the entire cheesecake in an airtight, freezer-safe container to prevent freezer burn.
- Slice the cheesecake and arrange pieces on a baking tray, spaced apart and freeze until solid, then vacuum-seal each slice for maximum freshness. Place in a freezer-safe container instead.
- Transfer slices or the whole cheesecake to the fridge overnight. Never thaw at room temperature—slow chilling keeps the texture perfect!
- Enjoy within 3 months. Beyond that, ice crystals (freezer burn) may form, altering the texture and flavor.
3 months.

Check our latest posts:
- Red velvet brookies
- Brownie bottom Nutella cheesecake
- Nutella mini pancakes
- Nutella chocolate chip pull-apart brioche
Best tips to succeed ٠࣪⭑
Try pressing the mixture through a fine sieve or blitzing briefly with a hand mixer. For next time, remember: room temp is key!
Making a recipe that you have never made before, especially if you are a beginner, can be a little tricky, so let me share some tips to make this recipe and succeed:
- Use room temperature cream cheese, this is really important to achieve a lump-free cheesecake mixture. Cold cream cheese won’t blend smoothly.
- Ensure your whipping bowl is cold and dry a warm bowl makes whipping cream difficult. If you’ve just washed it, rinse with cold water and dry thoroughly.
- Stop at soft peaks when whipping cream – Overwhipping before mixing will create a grainy texture in your final cheesecake bars.
- Allow proper setting time, don’t rush! Let the Biscoff bars chill completely in the fridge (at least 8 hours) for perfect slices.
You likely overwhipped it. Next time, stop when the cream forms soft peaks that barely hold their shape (it will firm up when chilled).
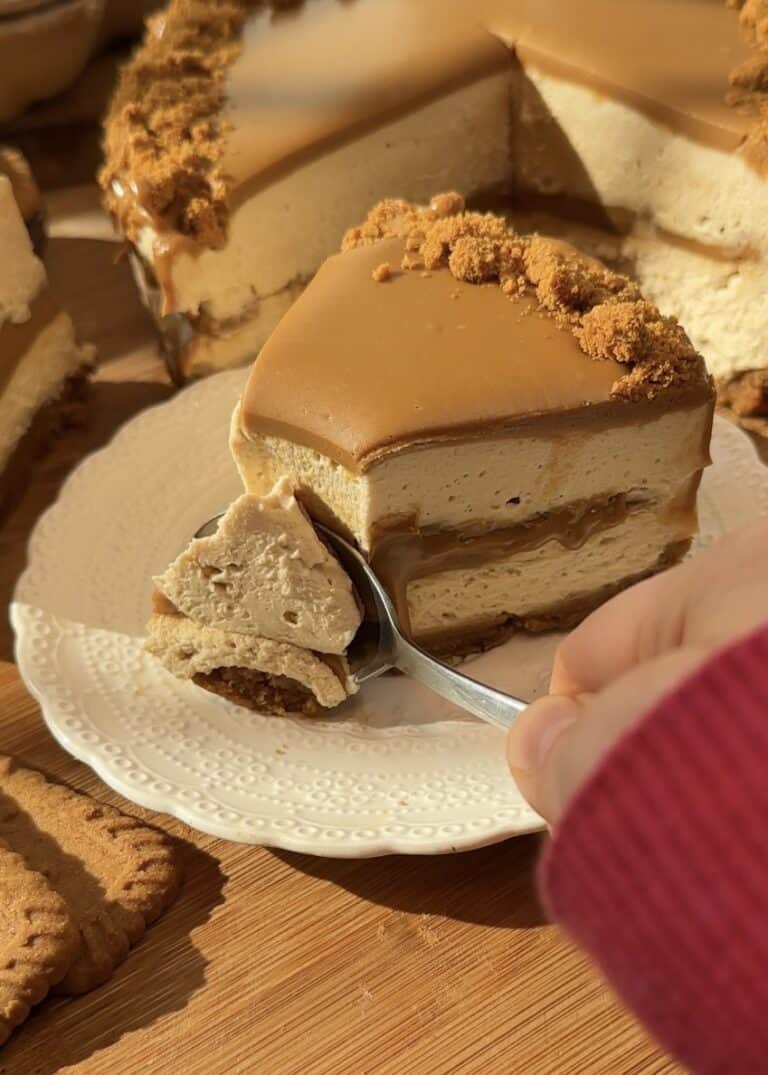
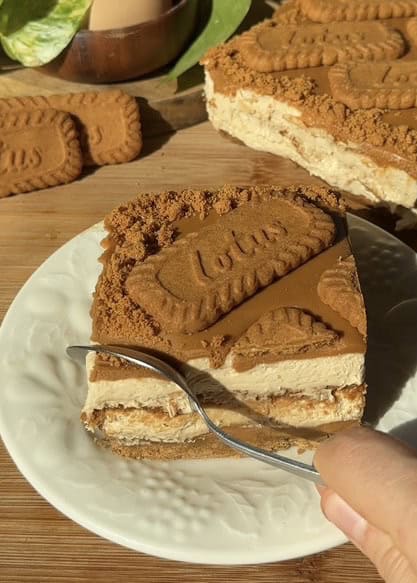
How to decorate Lotus Cheesecake Bars ٠࣪⭑
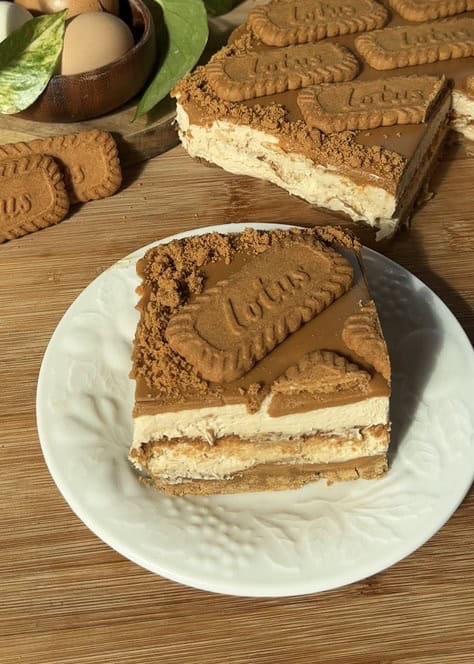
I’ll be honest—I was so stressed about this step! After trying countless fancy decorations, I landed on this effortlessly elegant (and curiously charming) style:
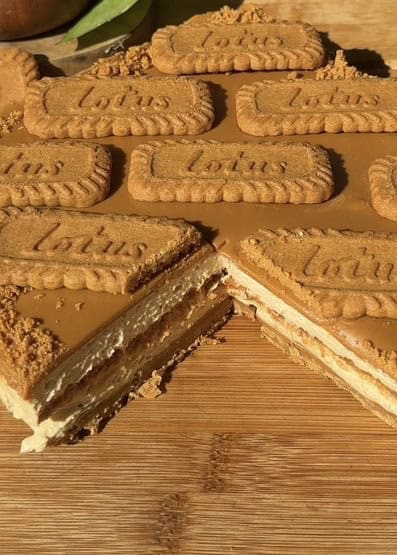
- Melted Biscoff Spread – Gently warmed and drizzled over the top for that irresistible glossy finish.
- Crumbled Cookie Edges – Pressed crushed Biscoff biscuits along the sides for rustic texture.
- Artful Cookie Arrangement – Finished with whole cookies in that beautiful alternating pattern you see here—simple, yet somehow magical!
The result? A dessert that looks professionally designed but took minutes to assemble. Sometimes less really is more!


How to cut neat Squares ٠࣪⭑
Cutting nice and clean squares is easier than we think, but since we are using cookies to decorate I recommend you leave the decorated cake in the fridge for 1h so the cookies are not crunchy anymore.
- Put your decorated cheesecake in the fridge for 1 hour, this softens the cookie decorations for perfect cuts
- Run your chef’s knife under hot water and dry it completely
- Make your first cut straight down (no sawing motion)
- After each cut, rinse knife with hot water again and dry with paper towel
- For extra clean cuts, freeze the whole cake for 20 minutes before starting
That’s all you need! No complicated techniques – just these simple steps for perfect squares every time.
How to Make Biscoff Cheesecake Bars
Start by crushing Biscoff cookies into fine crumbs (a food processor makes this easiest!), then mix with melted butter until fully combined.
Press the mixture firmly into your baking pan—lining it with parchment first helps with removal later—and use your hands to smooth the surface evenly and place it in the freezer.
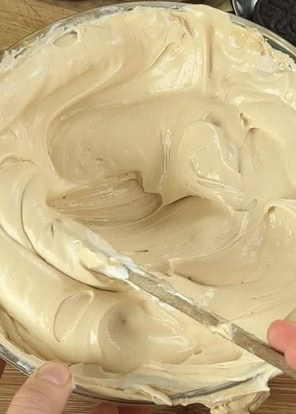
In a mixing bowl, blend room-temperature cream cheese with Biscoff spread using a spatula until completely smooth and creamy, making sure no lumps remain for the perfect silky texture.
Using a completely clean, dry bowl, whip the heavy whipping cream with granulated sugar until soft peaks form – you’ll know they’re ready when the cream holds its shape briefly before melting back into itself.
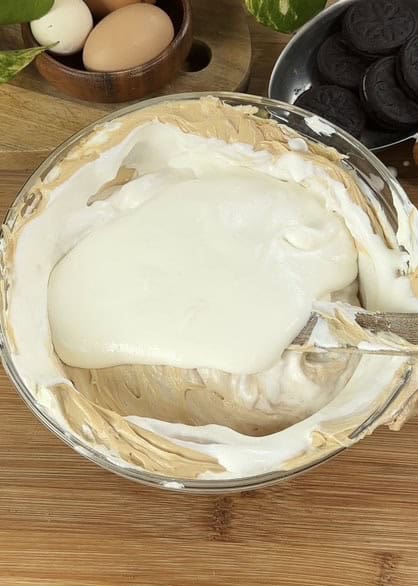
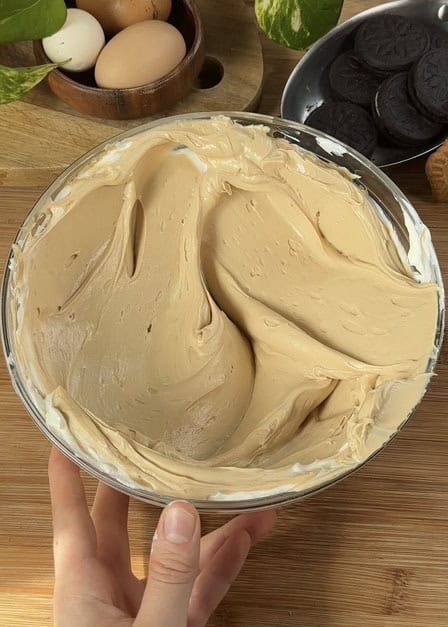
Gently fold the whipped cream into the cream cheese mixture just until no white streaks remain – be careful not to overmix, as this can leave a grainy texture.
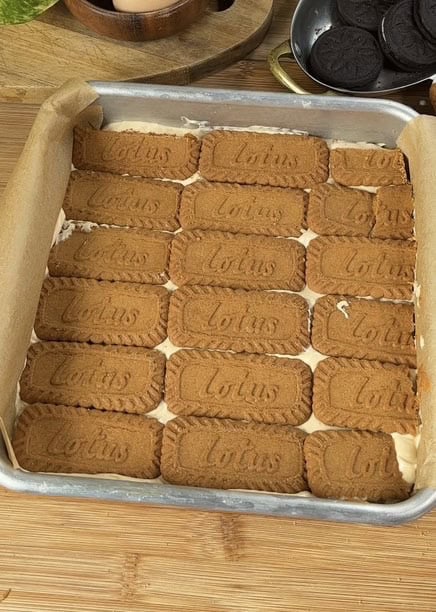
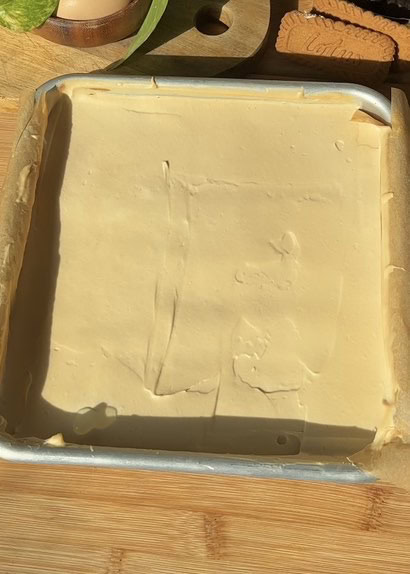
Pour half of the cream mixture over the set crust, smooth it evenly, then create a cookie layer by completely covering the surface with Biscoff cookies.
Top the cookie layer with the remaining cheesecake filling, using a spatula to spread it evenly for a perfectly smooth, clean finish.
Chill the cheesecake in the refrigerator for at least 8 h. Once set, decorate by drizzling melted Biscoff spread over top, add crushed cookies along the edges, and arranging whole cookies for a stunning finish!
If you try this recipe, please leave us a review on our website! And if you have any questions, feel free to ask in the comments—I’ll try to reply as fast as I can. Happy baking!
Print
No Bake Biscoff Cheesecake Bars Recipe
- Prep Time: 30 min
- Refrigerate: 8h
- Total Time: 8h 30 min
- Yield: 12
- Category: Dessert
- Method: no bake
Description
This easy and creamy dessert is the perfect sweet treat for any Biscoff lover. With no gelatin needed is the perfect no bake dessert.
Ingredients
CRUST
- 200 grams Biscoff cookies
- 50 grams butter
CHEESECAKE FILLING
- 500 grams cream cheese
- 200 grams Biscoff spread
- 200 grams heavy whipping cream
- 50 grams granulated sugar
Middle Layer
- 18 Biscoff cookies
DECORATE
- 150 grams Biscoff spread
- 10 Biscoff cookies
Instructions
-
Crush Biscoff cookies into fine powder using a food processor or by placing them in a sealed bag and rolling with a rolling pin. Mix the cookie crumbs thoroughly with melted butter until the texture resembles wet sand
-
Press the mixture firmly and evenly into the bottom of a parchment-lined pan
-
Freeze the crust while preparing the filling to help it set
-
Mix room-temperature cream cheese with Biscoff spread using a spatula until completely smooth and lump-free
-
In a separate chilled bowl, whip cold heavy cream with sugar just until soft peaks form
-
Gently fold the whipped cream into the cream cheese mixture in batches until fully incorporated
-
Spread half of the filling evenly over the chilled crust
-
Place whole Biscoff cookies in a single layer over the filling
-
Carefully top with remaining filling and smooth the surface
-
Refrigerate for at least 8 hours, preferably overnight, for perfect setting
-
Before serving, drizzle with melted Biscoff spread for decoration and garnish the sides with crushed cookie crumbs and arrange extra cookies on top
ARCHER'S FOOD
Easy and delicious recipes