
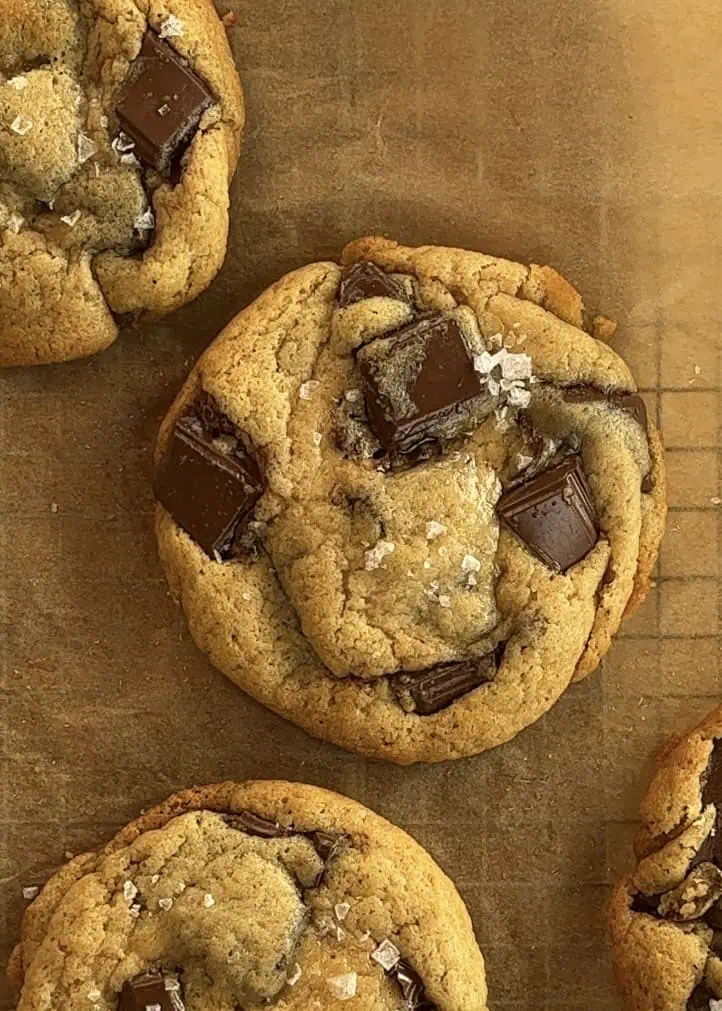
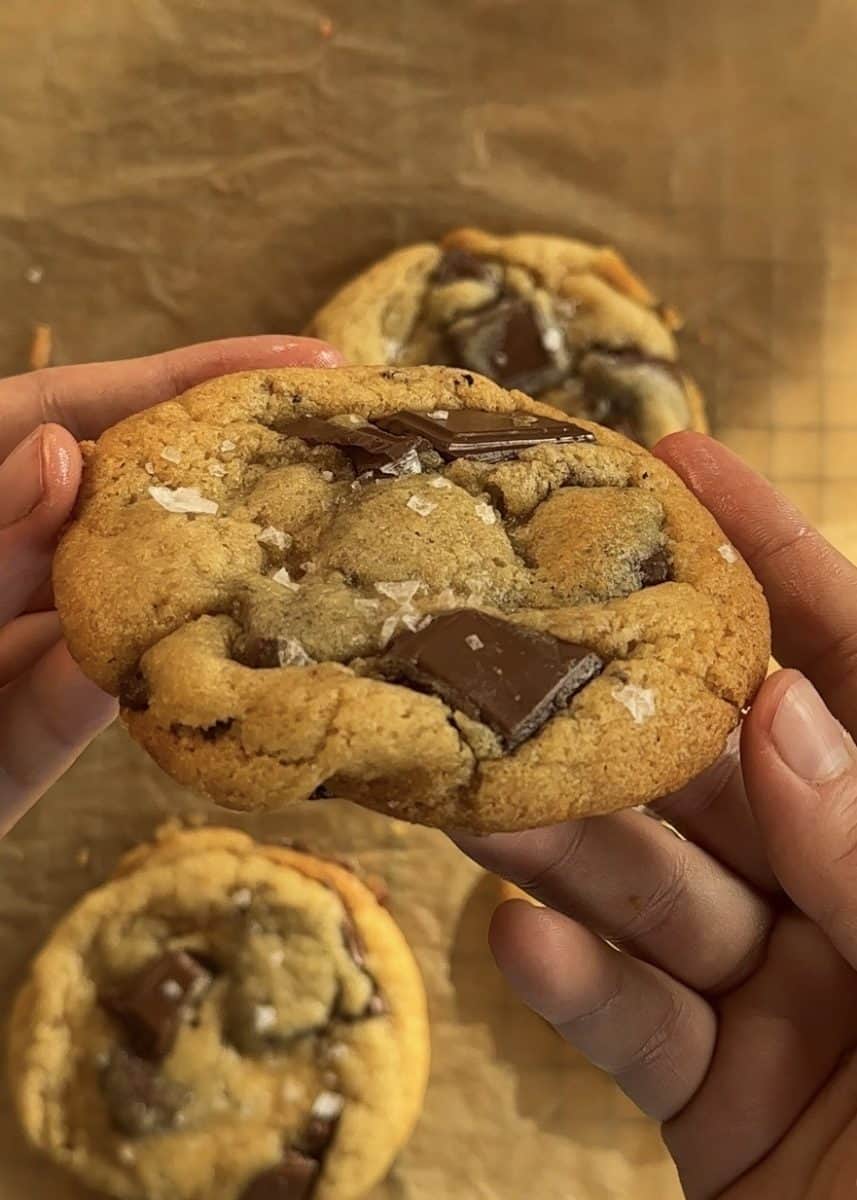
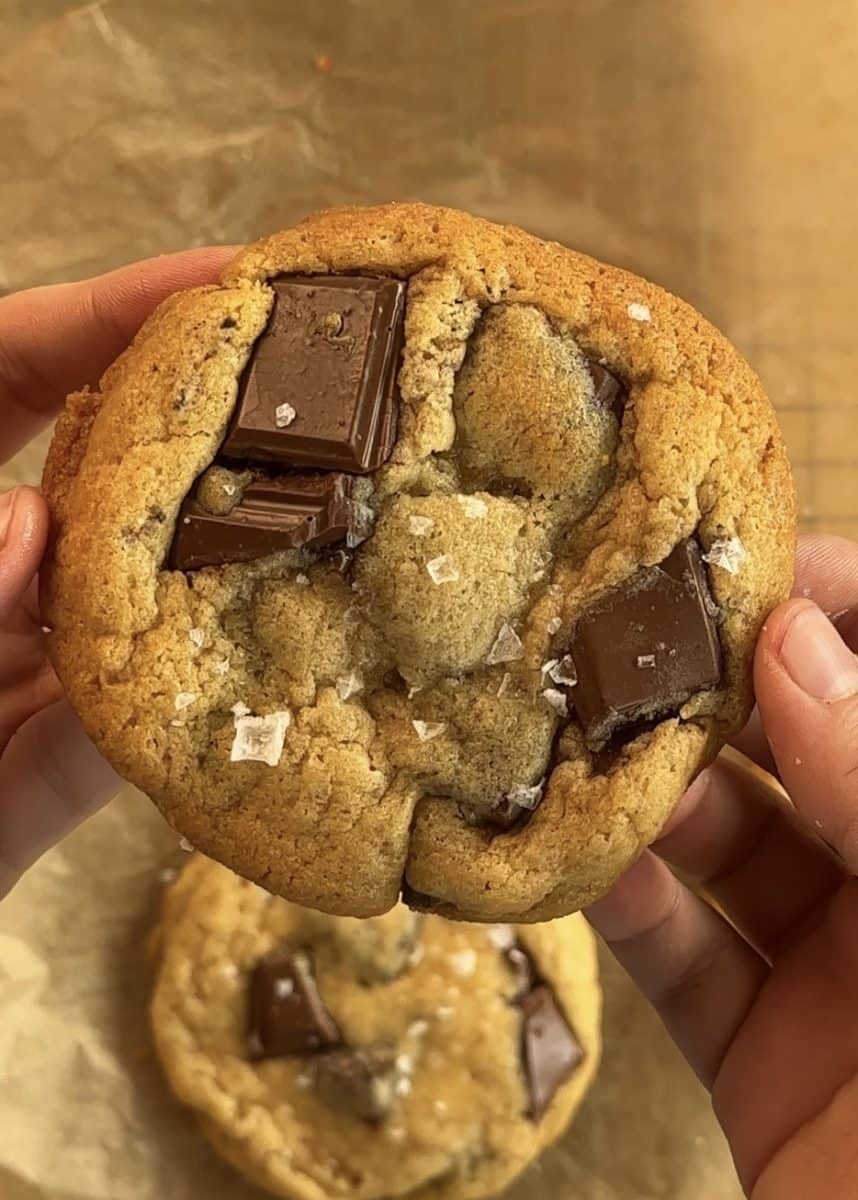
Today, we’re making delicious milk chocolate cookies! They’re perfectly crispy on the outside and wonderfully gooey on the inside, with rich chocolate in every single bite. Simply put, they are irresistible.
The best part? This is an easy cookie recipe that doesn’t require browning the butter, making it perfect for when you need a quick and easy treat to satisfy those chocolate cravings fast.
The perfect milk chocolate cookie
Over the years, we’ve shared so many cookie recipes on our website! Today, we’re using our beloved, tried-and-true chocolate chip cookie recipe as the perfect base.
With this one master cookie dough, we’re excited to teach you how to create 10 different, amazing variations! You’ll learn to make everything from decadent Nutella-stuffed cookies and festive red & green M&M’s cookies (perfect for Christmas!) to elegant Raffaello cookies and more.
Discover all these delicious twists and hundreds of other ideas in our ultimate Cookie Recipe category.
For this recipe, we decided to skip the chocolate chips entirely! We didn’t have any on hand and wanted to experiment—can you make an incredible chocolate cookie without them? The answer is a resounding yes, and the result was absolutely delicious.
My top tip for any chocolate recipe: always use a good-quality chocolate bar that you genuinely love. Chopping it up creates those dreamy, melted chocolate pockets in every single bite. This simple trick is what makes this the perfect milk chocolate cookie recipe.
Chocolate chips or bar
My boyfriend absolutely loves cookies, so I love baking these for us to enjoy with a cold glass of milk. As the finishing touch, I always top them with a sprinkle of flaky sea salt for that perfect sweet-and-salty flavor.
If you want to use chocolate chips, go for it!
They’re perfect for holding their shape while baking, and if you use a chopped chocolate bar, it will melt beautifully in the oven. Personally, I feel like using a mix of both gives you the perfect combination of structure and gooey chocolate pockets.

Everything you need in a cookie
- Crispy edges with a gooey, soft Interior
- Generous pockets of melted chocolate
- An easy recipe with clear, simple steps
- No complicated techniques—just the right method for perfect results
- All the tips and tricks to recreate them easily, every single time
Key ingredients for the best cookies
Here’s a breakdown of everything we’ll use and why each ingredient is essential. For the complete recipe with exact measurements in cups and grams, see the printable recipe card at the end of the post!
- Butter: We’ll use it melted, which helps create those wonderfully chewy edges and a rich flavor.
- All-Purpose Flour: This provides the perfect structure for a soft yet sturdy cookie.
- Sugars: We use a mix of granulated sugar (for crispness and spread) and brown sugar (for moisture, chewiness, and that caramel-like depth).
- Leavening Agents: A combination of baking soda (promotes spread and browning) and baking powder (adds a bit of lift for the perfect texture).
- Eggs: Beaten separately first to ensure they incorporate evenly, giving the cookies structure and richness.
- Vanilla Extract: The delicious, necessary flavor booster for all cookies! Always use it if you have it—it makes everything so much better.
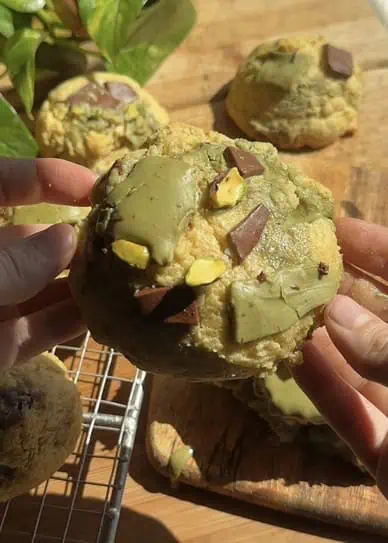
- Chocolate: We’re using a chopped chocolate bar for those luxurious melted pockets. For the best of both worlds, you can use a mix of chocolate chips and bar, the chips hold their shape, while the bar melts beautifully.
- Flaky Sea Salt: Optional, but highly recommended! A light sprinkle right after baking balances the sweetness and makes the chocolate flavor pop.
 Buy Now →
 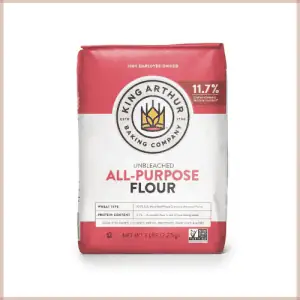 Buy Now →
 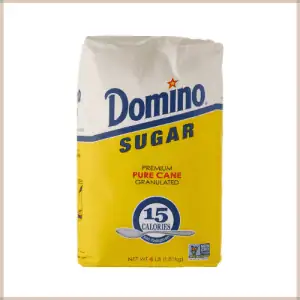 Buy Now →
  Buy Now →
  Buy Now →
 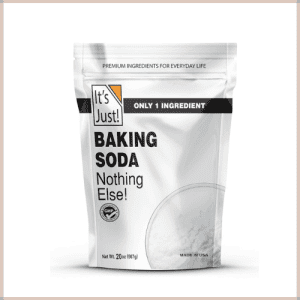 Buy Now →
  Buy Now →
  Buy Now →
 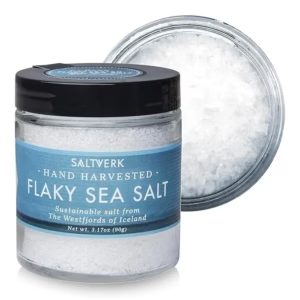 Buy Now →
 Success tips for perfect cookies
Follow these key steps for bakery-style results every time.
1. Chill the Dough Thoroughly. This is the most important step. The dough will feel quite soft and wet due to the melted butter. Chilling solidifies the butter, giving the dough the necessary structure to prevent over-spreading and creating a better texture.
- How to do it: After mixing the dough (but before adding the final chocolate), cover the bowl and refrigerate for at least 15 minutes. Then, fold in your chocolate chunks.
- Shaping & Final Chill: Scoop and shape the dough using a cookie scoop. For perfectly uniform cookies, you can weigh each portion. Place the shaped dough balls on a tray and chill again for 15 minutes in the fridge or freezer before baking.
2. Give Them Room to Spread & Shape Them
- Spacing: Use a large baking sheet and leave ample space between dough balls, as they will spread significantly.
- Shaping for Perfect Rounds: As soon as the cookies come out of the oven, immediately use a large, round cookie cutter (or the rim of a mug) to gently swirl around each cookie. This neatly tucks in the edges, creates a perfectly round shape, and enhances those beautiful, wrinkled sides.
3. Do Not Overbake. The cookies will be very soft and look slightly underdone when you first take them out of the oven—this is perfect! They will continue to set as they cool on the hot baking sheet. Overbaking will lead to dry, hard cookies once cooled.
4. Understand Your Ingredients
- Sugars: Our mix of granulated sugar (for crisp edges and spread) and brown sugar (for moisture, chewiness, and caramelized flavor) creates the ideal texture.
- Salt: A sprinkle of flaky sea salt after baking is optional but highly recommended to balance the sweetness and enhance the overall chocolate flavor.
5. Optional Elevation: Browned Butter. For a deeper, nutty flavor, you can brown the melted butter before adding it to the dough. This recipe is designed as a quicker version, but browning the butter is a fantastic way to elevate it further if you have a few extra minutes.
Recommended tools
These are the tools I find most helpful for making perfect cookies, but remember, you can always improvise with what you have!
- Large Baking Sheet: Essential for giving your cookies plenty of room to spread without touching each other in the oven.
- Mixing Bowls: For combining all your ingredients together thoroughly.
- Cookie Scoop (Optional, but Helpful): This makes portioning the dough quick, easy, and uniform. If you don’t have one, you can simply use your hands to roll the dough into balls.
- Kitchen Scale (Highly Recommended): The key to perfectly consistent cookies! Weighing your dough ensures every cookie bakes evenly and is the same size.
- Cooling Rack: Let your cookies cool here so air can circulate underneath. This prevents them from getting soggy from trapped steam.
 Buy Now →
  Buy Now →
  Buy Now →
 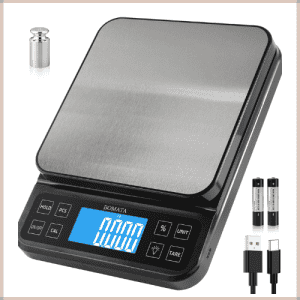 Buy Now →
  Buy Now →
 Can I freeze cookie dough?
Yes! Freezing cookie dough is a fantastic idea. It lets you prepare cookie portions ahead of time and bake fresh cookies whenever a craving strikes—perfect for enjoying just one or two at a time.

How to Freeze & Bake:
- Portion & Freeze: Scoop the dough into individual balls and place them on a baking sheet. “Flash freeze” for about 1 hour, or until solid.
- Store: Transfer the frozen dough balls to a large, labeled freezer-safe bag or airtight container. Write the name (Milk Chocolate Cookies) and the date. You can even jot down the baking temperature and time for future convenience!
- Bake from Frozen: When ready to bake, place the frozen dough balls on your baking sheet. You do not need to thaw them. Simply add 1-2 extra minutes to the baking time.
Bonus Tip: Freezing the dough helps the cookies spread slightly less in the oven, giving you a wonderfully thick cookie with a perfect texture.
Overview: Your Step-by-Step Guide
Start by melting the butter. You’ll use three bowls: In the first bowl, combine the sugars. Add the melted butter and mix. In a second bowl, whisk the egg with the vanilla extract until smooth. In the last bowl, whisk together the flour and leavening agents (baking soda and baking powder).

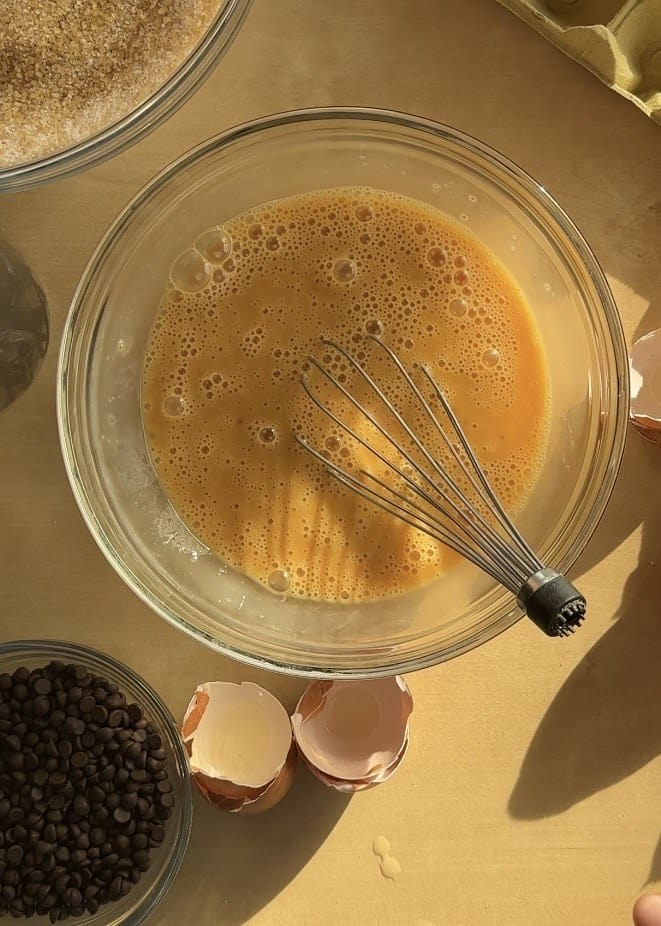

Combine the sugar-butter mixture with the egg-vanilla mixture and stir. Then, gently fold in the dry flour mixture using a spatula until just combined.

Refrigerate the dough until it firms up a bit, then fold in the chopped chocolate.
Use a cookie scoop to portion the dough into balls, then refrigerate the shaped dough balls once more.
Bake on a baking sheet lined with parchment paper. As soon as the cookies come out of the oven, shape them into perfect rounds using a round cutter (or the rim of a mug) and immediately sprinkle with flaky salt.
Transfer the cookies to a cooling rack to cool completely.
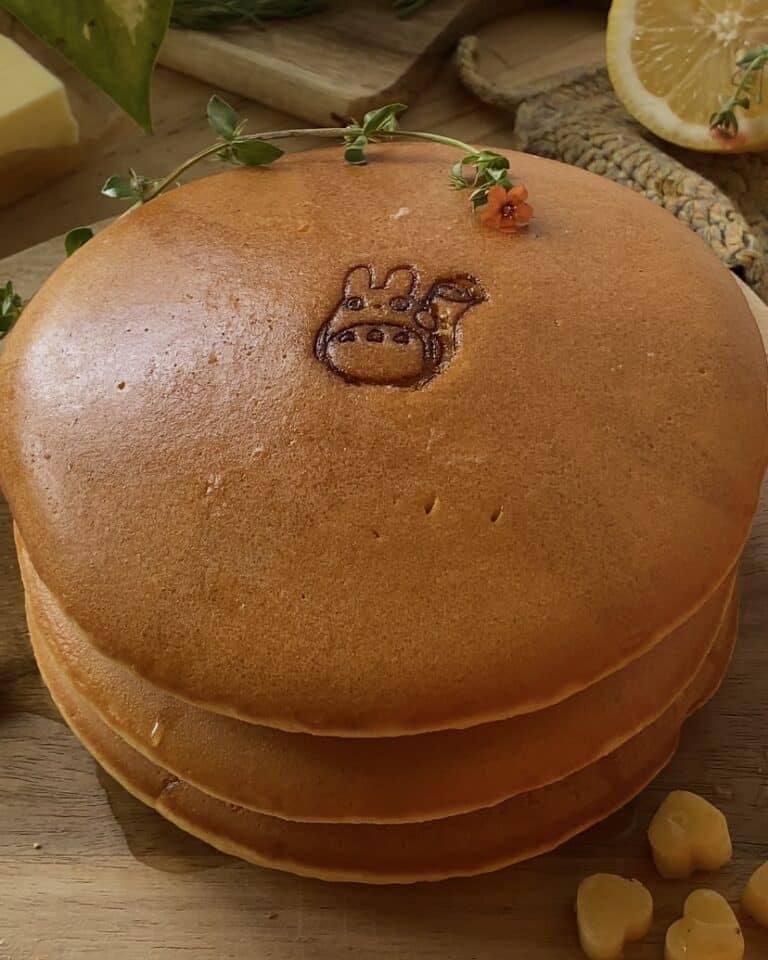
Milk chocolate cookies
How to Store Milk Chocolate Cookies
Follow these simple tips to keep your cookies fresh and delicious for days (or even months)!
For Short-Term Storage (At Room Temperature):
- Let the cookies cool completely on a wire rack. This prevents steam from making them soggy.
- Place them in a single layer inside an airtight container.
- For extra freshness, you can lay a piece of parchment paper or a clean paper towel at the bottom of the container to absorb any excess moisture.
- Store at room temperature for up to 5 days.
For Long-Term Storage (Freezing):
You can freeze these cookies both as dough or after baking.
- To Freeze Cookie Dough:
- Scoop the dough into portioned balls.
- Place them on a baking sheet and “flash freeze” for 1-2 hours, or until solid.
- Transfer the frozen dough balls to a large, labeled freezer-safe bag or airtight container.
- Bake directly from frozen, adding 1-2 extra minutes to the original bake time. No need to thaw!
- To Freeze Baked Cookies:
- Let the baked cookies cool completely.
- Place them in a single layer in a freezer-safe bag or container, separated by parchment paper.
- Freeze for up to 3 months.
- To enjoy, thaw at room temperature or gently reheat in a warm oven for a few minutes until soft.
How to Best Enjoy Your Chocolate Cookies
The perfect way to enjoy these cookies is with a big, cold glass of milk. There’s nothing better than dipping a warm, gooey cookie into that cold milk for the ultimate sweet treat.
My Favorite Tip: For an extra-chilled milk that doesn’t get watered down, try this: freeze some milk in an ice cube tray. Add a few of these “milk cubes” to your glass of cold milk. It stays icy cold without diluting the flavor!
I hope everyone enjoys this recipe!
I’ll be sharing a step‑by‑step tutorial soon for those who prefer a visual guide.
If you have any questions, feel free to leave a comment — and if you try the recipe, don’t forget to leave a review. It helps our small blog grow!

Milk chocolate cookies
- Prep Time: 15 minutes
- Cook Time: 10-12 minutes
- Total Time: 0 hours
- Yield: 10 cookies
- Category: Dessert
- Method: Baked
- Cuisine: American
Description
Bake the ultimate milk chocolate cookies with this easy, foolproof recipe. Featuring a perfect mix of granulated and brown sugar for crisp edges and a chewy center, these cookies are packed with melted chocolate pockets and finished with a touch of flaky sea salt.
Ingredients
- ½ cup (120 g) butter
- 3 tablespoons (40 g) granulated sugar
- ⅓ cup, packed (70 g) brown sugar
- 2 tablespoons vanilla extract
- 1 egg
- 1 ¼ cups (160 g) all-purpose flour
- 1 teaspoon baking soda
- 1 teaspoon baking powder
- A generous pinch of flaky sea salt
- ¾ cup (130 g) milk chocolate
Instructions
- Melt the butter in a saucepan over low heat or in a microwave-safe bowl. Set aside to cool slightly.
- In a large mixing bowl, combine the granulated sugar and brown sugar. Whisk to combine. Pour in the cooled melted butter and whisk until smooth.
- In a separate medium bowl, whisk the egg and vanilla extract together until smooth. In another bowl, whisk together the flour, baking soda, and baking powder.
- Add the egg mixture to the sugar-butter mixture and whisk to combine. Using a spatula, gently fold the dry ingredients into the wet ingredients until just combined and no dry streaks of flour remain. Do not overmix.
- Cover the bowl and refrigerate the dough for 15-30 minutes. This is a crucial step to firm up the dough.
- Remove the dough from the fridge. Fold in the chopped chocolate. Using a cookie scoop or spoon, portion the dough into balls. Place the dough balls on a parchment-lined baking sheet.
- Refrigerate or freeze the shaped dough balls for at least 15 minutes. Meanwhile, preheat your oven to 180°C (350°F).
- Place the chilled dough balls on a second parchment-lined baking sheet, leaving enough distance between each one to allow for spreading. Bake for 10-12 minutes, or until the edges are set and golden but the centers still look soft.
- As soon as the cookies come out of the oven, immediately use a large round cookie cutter or the rim of a glass/mug to gently swirl around each cookie. This creates a perfect round shape and textured edges. While hot, sprinkle each cookie with a pinch of flaky sea salt.
- Let the cookies cool on the baking sheet for 5 minutes before transferring them to a wire rack to cool completely.
Notes
- Don’t Overbake: The cookies will look soft when you take them out. They will continue to set as they cool, resulting in a perfect chewy texture.
- A Note on the Photos: The step-by-step pictures in this post show larger quantities of ingredients (like more eggs, sugar, or flour) because we prepared multiple batches of different cookie variations on the same day using the same base dough.
- Serving Suggestion: Enjoy warm with a tall, cold glass of milk!
Nutrition
- Serving Size: 1 cookie
- Calories: 230 kcal
- Sugar: 18 g
- Sodium: 150 mg
- Fat: 13 g
- Saturated Fat: 8 g
- Unsaturated Fat: 4 g
- Trans Fat: 0 g
- Carbohydrates: 27 g
- Fiber: 1 g
- Protein: 3 g
- Cholesterol: 40 mg


One Comment