This easy no-bake Biscoff cheesecake is beautifully delicious. It has a delicious crust made with Biscoff cookies, a cheesecake layer, a creamy interior with Biscoff spread, and more cheesecake on top. Finished with extra Biscoff spread and biscuits, it’s creamy, velvety, and very easy to make and the best part? No gelatin is needed for this Biscoff recipe.

If you take a look at our website, you’ll find two other delicious Biscoff cheesecake recipes. They’re both completely different yet equally mouthwatering. This no-bake Biscoff cheesecake has received over 58 positive reviews, and we’re super thankful for all the love!
Our other Biscoff cheesecake recipe may not be as popular (yet!), but it’s just as delicious. Crafted entirely by me, this recipe started as a fun experiment and turned into one of my all-time favorite cheesecakes.
What’s great about this recipe is how versatile it is. We’ve used the same base for so many other no-bake cheesecakes, like a no-bake Nutella cheesecake, a no-bake pistachio cheesecake, a no bake oreo cheesecake or even a no bake kinder bueno cheesecake
More no bake cheesecake recipes:
What you’ll love about this recipe
What I love about this easy no-bake Biscoff cheesecake recipe—and I think you’ll love it too—is its super creamy and velvety texture.
- It’s fun and elegant, yet incredibly simple to make.
- Keep in mind, this is a rich cheesecake, but it’s also incredibly smooth.
- The bold Biscoff flavor shines through, and it’s so much fun to decorate!
- You have endless options for toppings—for more inspiration, check out our other cheesecake recipes. Option 1 and option 2
- They’re completely different but equally stunning.
- This time, we went for a simpler yet beautiful look for this no-bake dessert.

I’ve included a step-by-step video so you can make this recipe super easily.
Watch how to make a No bake Biscoff cheesecake without gelatin
Before you start with this recipe:
Here’s everything you need to know before starting with this recipe: what equipment you’ll need (and the sizes), why we’re using the ingredients we’re using, and how to substitute them to accommodate different dietary needs.
No bake kinder bueno cheesecake ingredients

- Biscoff Biscuits (Speculoos): We’ll crush them and mix them with melted butter to create the crust. They’ll also be used as crushed toppings for decoration on the sides.
- Cream Cheese: Make sure it’s softened at room temperature for easy mixing. It forms the base of this Lotus Biscoff dessert, giving it that classic cheesecake texture and flavor.
- Biscoff Spread: You can find this at your local grocery store or online (e.g., Amazon). It adds the signature caramelized, spiced flavor that makes this dessert so irresistible.
- Sugar: We’re not using a lot of sugar in this recipe—just enough to help whip the cream properly. The Biscoff spread is already very sweet and flavorful, so adding more sugar would make it overly sweet.
- Whipping Cream: Make sure it has at least 35% fat content. Lower fat content won’t whip properly, and we need it to create a light, fluffy texture for the filling.

*I’ve found that mixing the cream cheese with a wooden spoon or spatula helps prevent it from melting. I feel like some European countries struggle with this because, here, we typically need to use gelatin for a no bake cheesecake to hold its shape. However, when I went to Canada, I noticed that no matter what you use, the cream cheese holds its shape much better.*
Necessary equipment
- Food Processor: To crush the Biscoff biscuits into fine crumbs for the crust.
- Whisk or Electric Mixer: To whip the heavy cream to a light and fluffy consistency for the filling.
- Cake Pan: Our favorite is a 17 cm x 6 cm pan. Make sure it’s leak-proof to hold the cheesecake layers securely. I linked the closest one i could find to this one pan.
- Mixing Bowls: One for the whipping cream and another one for mixing the rest of ingredients.
- Spatula: To combine all the ingredients smoothly.

Pan size for this no bake kinder bueno cheesecake
For this easy no-bake cheesecake recipe, we’re using a pan sized 17 cm in diameter and 6 cm in height (that’s about 6.7 inches in diameter and 2.4 inches in height).
This pan became my favorite almost instantly after I bought it—the brand is Zenker, and we found it at HomeSense Canada. To me, it’s the perfect size, and I can’t recommend it enough! If you can’t find the exact size, I’ve linked the closest one on Amazon, though it’s a couple of centimeters bigger in diameter. It will still work wonderfully for making this Biscoff cheesecake!

If you love Biscoff cookies you should try our Biscoff donut holes, they’re so fluffy and delicious. Our Biscoff cheesecake brioche, if you are craving something quick and just for one person try our single serve Biscoff stuffed cookie and if you are a big fan of cinnamon rolls but are willing to try a Biscoff version, try our Biscoff rolls!
How to make a Biscoff crust for cheesecake
Making a crust for a Lotus cheesecake is super easy. You’ll want to crush the biscuits into fine crumbs—for that, you can use a blender, a food processor, or, if you’re feeling strong, a ziplock bag and a rolling pin.
Personally, when I’m making recipes away from home, I avoid cheesecakes because crushing biscuits with a rolling pin always leaves my hands itching and burning!

To the cookies, you wanna add melted butter—or even margarine, which we’ve been using lately since it’s way cheaper. We accidentally added too much in this recipe, which is why it looks too oily, but yours should resemble wet sand.

Once you’ve mixed the butter with the crushed Biscoff cookies for this Biscoff dessert, you wanna dump them into the pan and press them down using a glass, a spoon, or—an even better option—your hands! They work so much better than anything else since you can feel if it’s compacted enough. Once you’re done with the crust, we can leave it in the fridge or freezer to set.

Check our latest posts:
- Easy Baked Oreo Cheesecake
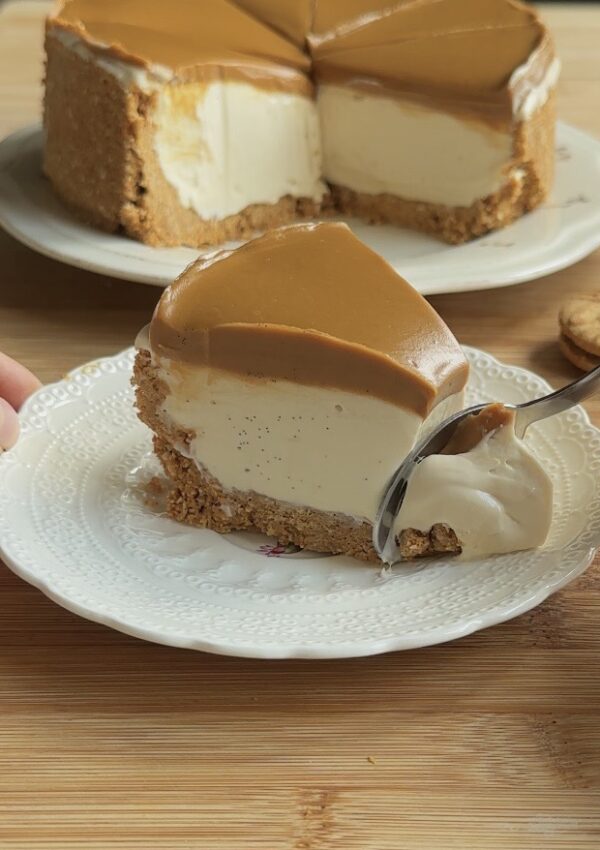
- No-Bake Vanilla Bean Biscoff Cheesecake
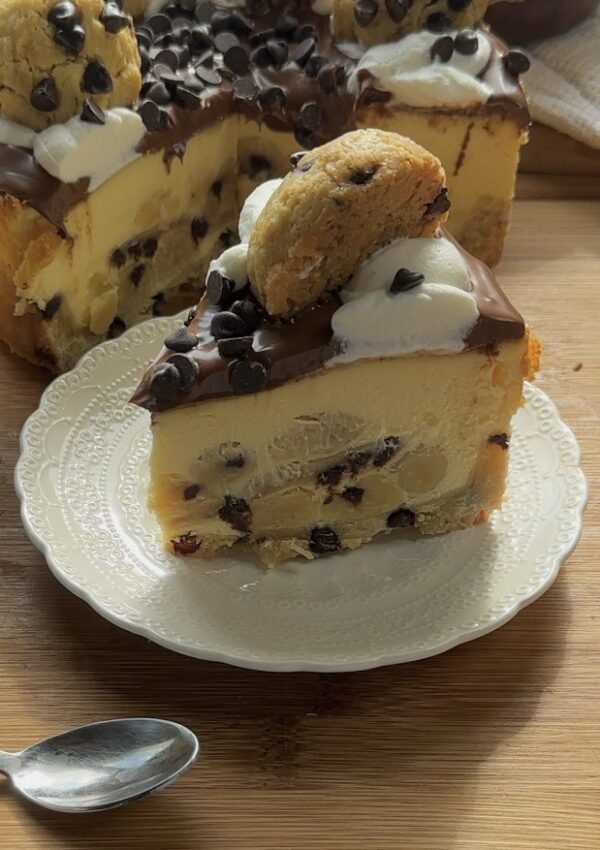
- Easy Chocolate chip Cookie Dough Cheesecake
- Deep Dish Nutella Brownies for Two
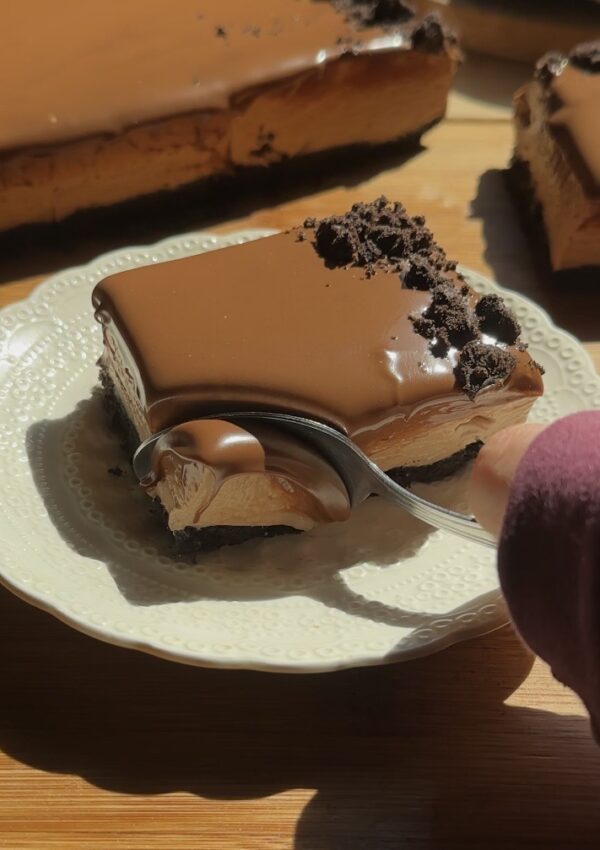
- No Bake Nutella Cheesecake Bars
Best tips
The best tips I can give you for making this quick no-bake Lotus Biscoff cheesecake:
— Don’t overwhip the cream – Stop whipping just before it reaches stiff peaks. When you fold the cream into the rest of the ingredients, it will continue to whip, and overwhipping can result in a split-looking cheesecake texture.
— Let the cream cheese and Biscoff spread sit at room temperature – If the spread is too cold, you’ll probably have to microwave it a little to loosen it up.
— Make sure the bowl you’re using to whip the cream is cold and dry – If the bowl is hot or warm, it’ll make the process more difficult or impossible resulting in melted cream.
— Let this no-bake Biscoff cheesecake set in the fridge for at least 8 hours – If you try to remove it earlier, it will fall apart.

How to easily make the Biscoff center layer
Making the center layer of our no-bake Biscoff cheesecake is super easy. If you have time—and if you’re not lazy like me—melt some Biscoff spread, pour it onto baking paper, and freeze it. Just make sure it’s smaller than the diameter of the pan so the cheesecake can trap it inside.
If you don’t want to do that or don’t have time, you can just spread the Biscoff directly on top of the cheesecake. But keep in mind, this will create a thicker and uneven layer, and you’ll probably need to add more since it’s harder to spread evenly.

This is the final result after adding the center layer—it makes the cheesecake look so much more elegant and beautiful, don’t you think?!

FAQs about the best no bake Biscoff cheesecake recipe
Yes, if Biscoff cookies are not available for you, you can always use any other spiced cookie.
To set this no bake Biscoff cheesecake properly it needs at least 8h but for best results allow it to set overnight.
I recommend no more than 4 days.
Yes! The best option (and what I always do!) is to portion, vacuum seal, and then freeze.
Or, if you don’t want to vacuum seal right away, you can portion them, place them on a tray with some space between each one, and let them freeze. The next day, just vacuum seal them or store them in a freezer-safe container!
Make sure to clean the knife after every cut you make.
You have to use at least 35% fat heavy whipping cream, and if you are using it and still wont whip properly, could be because the bowl was warm or wet. Make sure it’s cold and dry before using it.

Step by step no bake Biscoff cheesecake tutorial
To make this simple no-bake Biscoff cheesecake dessert, the steps are super easy!
1. If you can, melt some Biscoff spread and pour it into a round shape on baking paper—this will be our middle layer. If you can’t do this step, no worries! We can add the spread in a different way.
2. Start by crushing the biscuits in a food processor, then mix them with melted butter. Press the mixture into the bottom of the pan using a glass, a spoon, or your hands. Freeze.
3. In a bowl, mix soft, room-temperature cream cheese with Biscoff spread until smooth.
4. In a separate bowl, whip the heavy cream with sugar using a whisk until soft peaks form. Use an electric mixer to speed up the process if you have one.
5. Gently fold the whipped cream into the cream cheese mixture in two additions using a spatula. Be careful not to overwork it.
6. Pour half of the cheesecake filling into the pan and smooth it out. Add the frozen Biscoff disk or melt the spread slightly (just a little!) and spread it on top of the cheesecake, trying to get a thin, even layer.
7. Add the remaining cheesecake filling on top, smooth it out, and refrigerate for at least 8 hours—best overnight.
8. Once the cheesecake has set, melt some Biscoff spread and pour it over the top. Crush some biscuits and press them onto the sides for decoration. Remove the cheesecake from the pan, slice, and serve!


If you try this recipe, I’d love to hear how it turned out! Make sure to leave a review and a comment—I really appreciate them, and they help us more than you’d think. Also, if you have any questions, please feel free to ask! I’ll reply as fast as I can. Thank you so much for trying this recipe—it means the world to me!
Print
An easy and creamy No bake Biscoff cheesecake
- Prep Time: 20 minutes
- Total Time: 8 hours 20 minutes
- Yield: 10 1x
- Category: Dessert
- Cuisine: American
Description
This no-bake Biscoff cheesecake is beautifully delicious. It has a delicious crust made with Biscoff cookies, a cheesecake layer, a creamy interior with Biscoff spread, and more cheesecake on top. Finished with extra Biscoff spread and biscuits, it’s creamy, velvety, and very easy to make and the best part? No gelatin is needed for this Biscoff recipe.
Ingredients
Biscoff crust
- 200 grams biscoff cookies
- 45 grams melted butter
Cheesecake filling
- 500 grams cream cheese
- 150 grams biscoff spread
- 30 grams granulated sugar
- 200 grams heavy whipping cream (35% fat)
Biscoff center
- 100 grams Biscoff spread
Decoration
- 3 Biscoff cookies (roughly crushed )
- 150 grams biscoff spread
Instructions
- Biscoff center If you can, melt some Biscoff spread and pour it into a round shape on baking paper—this will be our middle layer. If you can’t do this step, no worries! We can add the spread in a different way.
- crust Start by crushing the biscuits in a food processor, then mix them with melted butter. Press the mixture into the bottom of the pan using a glass, a spoon, or your hands. Freeze.
- cheesecake filling In a bowl, mix soft, room-temperature cream cheese with Biscoff spread until smooth.
- whipping cream In a separate bowl, whip the heavy cream with sugar using a whisk until soft peaks form. Use an electric mixer to speed up the process if you have one.
- prepare the filling Gently fold the whipped cream into the cream cheese mixture in two additions using a spatula. Be careful not to overwork it.
- build the cheesecake Pour half of the cheesecake filling into the pan and smooth it out. Add the frozen Biscoff disk or melt the spread slightly (just a little!) and spread it on top of the cheesecake, trying to get a thin, even layer.
- refrigerate Add the remaining cheesecake filling on top, smooth it out, and refrigerate for at least 8 hours—best overnight.
- decorate no bake cheesecake Once the cheesecake has set, melt some Biscoff spread and pour it over the top. Crush some biscuits and press them onto the sides for decoration. Remove the cheesecake from the pan, slice, and serve!
Notes
The best tips I can give you for making this quick no-bake Lotus Biscoff cheesecake:
— Don’t overwhip the cream – Stop whipping just before it reaches stiff peaks. When you fold the cream into the rest of the ingredients, it will continue to whip, and overwhipping can result in a split-looking cheesecake texture.
— Let the cream cheese and Biscoff spread sit at room temperature – If the spread is too cold, you’ll probably have to microwave it a little to loosen it up.
— Make sure the bowl you’re using to whip the cream is cold and dry – If the bowl is hot or warm, it’ll make the process more difficult or impossible resulting in melted cream.
— Let this no-bake Biscoff cheesecake set in the fridge for at least 8 hours – If you try to remove it earlier, it will fall apart.
Archersfood
Recipes from my family to yours

I tried this delicious recipe if you’re looking to put a smile on your face definitely make this recipe 🫠🫠🫠🫠 I’m melting away
Just tried it today and I’m so obsessed. It’s so yummy and it impressed the guests. 100% recommend. Steps were so easy to follow.