how to make easy 2-ingredient raspberry jam without pectin
Are you looking for a simple and delicious homemade raspberry jam just 2 ingredients ? This is the perfect choice, made without pectin or gelatin, it’s a quick and fuss free way to preserve the bright, tangy flavors of fresh raspberries. You can even use frozen raspberries if fresh ones aren’t available.
This recipe yields approximately two jars of homemade raspberry jam, perfect for spreading on toast, swirling into your yogurt or gifting to loved ones. No need to buy expensive jars, repurpose clean, dry jars form honey or yogurt. Just ensure the jars are not broken, and the lids seal properly for long lasting freshness.
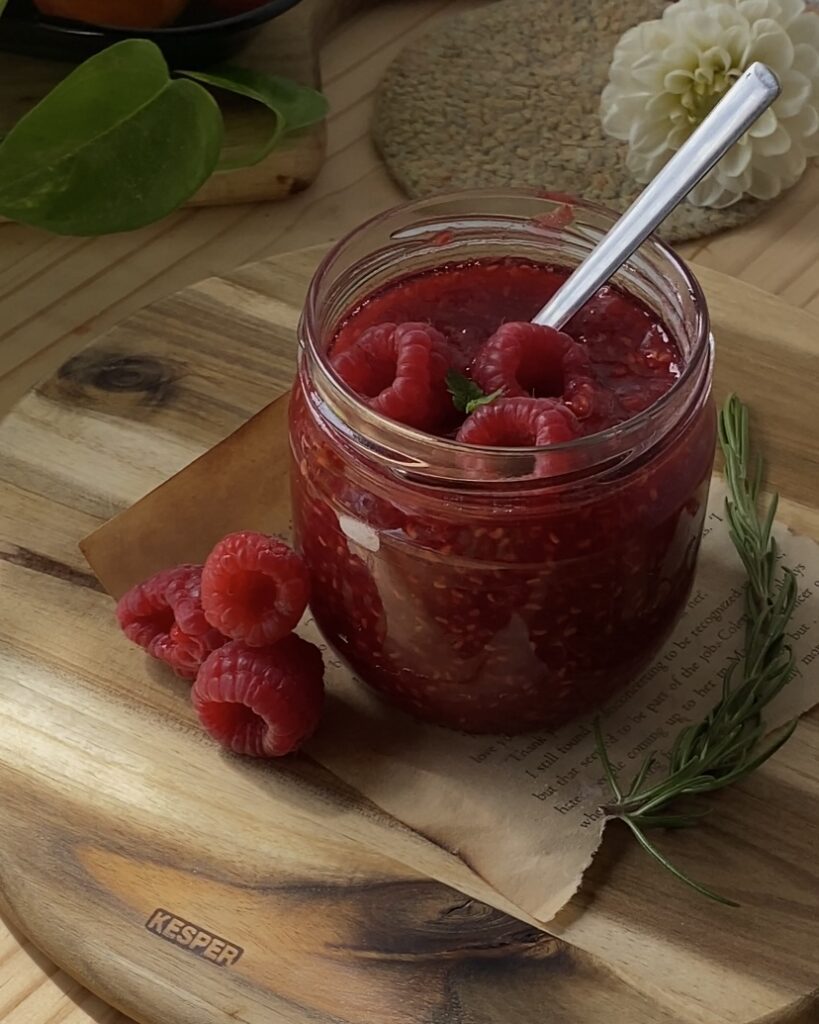
Whether you are new to jam making or a seasoned pro, this no pectin raspberry jam recipe is sure to become a favorite in your kitchen!
essential equipment for making homemade raspberry jams with just 2 ingredients
Equipment Needed to make raspberry jam
- Large saucepan or pot, a wide pot ensures even heat distribution and prevents your jam from burning.
- wooden spatula Perfect for stirring the jam as it cooks.
- sterilized jars with lids, they keep your jam fresh and free from contaminants
- cloth or kitchen towel, cushion for the jars so they don’t break when we sterilize them
Cooking time for Perfect Raspberry Jam
Cooking time for this easy homemade raspberry jam just 2 ingredients is approximately 20 minutes, depending on how thick or smooth you want your jam to be ( it also depends on how much jam you make ). Let me give you some tips to ensure the process goes smoothly,
– make sure to dry your raspberries throughly and remove any excess water. Water in the pot can prolong the cooking time and affect the consistency of the jam.
– To prevent burning, especially if multitasking start with medium to low heat. Stir the mixture constantly to avoid sticking and ensuing even cooking.
– To determinate if your jam is ready use the cold plate test. Take a small spoonful of jam and place it on a cold plate from the freezer. Let it cool a few seconds and then push it with your finger. If it holds its shape its ready, if its too runny cook it a few more minutes and test again. Repeat this process until you achieve your desired texture.

how to sterilize jam jars for homemade raspberry jam
Sterilizing your jars properly is vital when making and storing homemade raspberry jam. Properly sterilized jars prevent spoilage and allow your jam to last months without refrigeration. Follow these easy steps for safe storage of your delicious homemade raspberry jam.
1.use clean and dry jars
Start with clean and dry jars. Any moisture or leftover food particles can introduce bacteria and compromise your jams shelf life. Rinse them throughly with hot water and allow them to air dry completely.
2.fill the jars with raspberry jam
Pour your freshly made raspberry jam into the jars until it’s nearly touching the underside of the lid. This will limit air exposure, ensure freshness and make your jam last longer.
3.seal the jars tightly
Once filled, make sure the lids are sealed tightly. This step is crucial to keep contaminants out and maintain the flavor and freshness of your homemade jam.
4.prepare your water bath
Take a large pot and place a kitchen towel or cloth at the bottom to prevent the jars from directly touching the bottom of the pot. Carefully place the filled jars in the pot and add enough water to ensure they’re completely submerged.
5.boil the jars
Turn on the heat and bring the water to a strong, rolling boil over high heat. Once the water starts boiling set a timer for 40 minutes. This will ensure your jars are properly sterilized and safe for long term storage.
6.cool and store the jars
after boiling, carefully remove the sterilized jars form the water and allow them to cool completely. Once cooled store the jars in a dark cool place. Properly sterilized raspberry jam can last up to 1 year and a half without refrigeration.
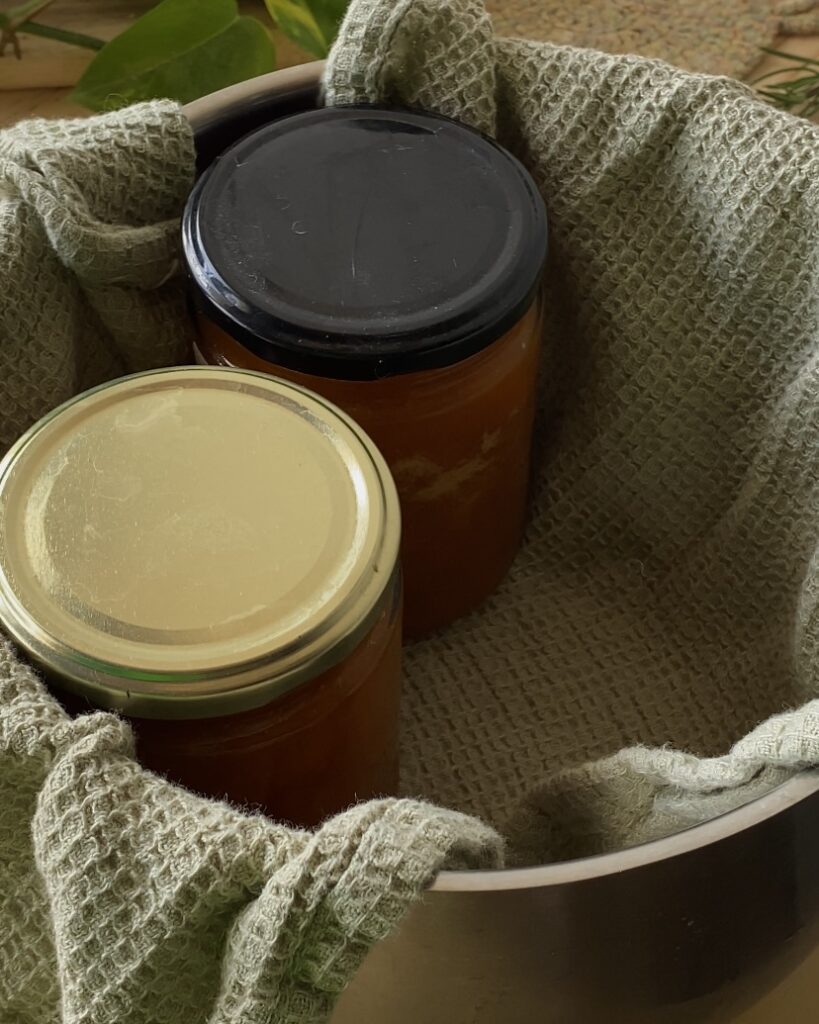
key tip:
Always place a kitchen towel or similar protective cloth at the bottom of the pot. This prevents jars from moving and potentially breaking during boiling. A step that could compromise your raspberry jams storage safety. By properly sterilizing your jars you can enjoy your homemade raspberry jam for months to come stress free!
Raspberry jam making process pictures


Homemade raspberry jam just two ingredients: perfect for cheesecake and more
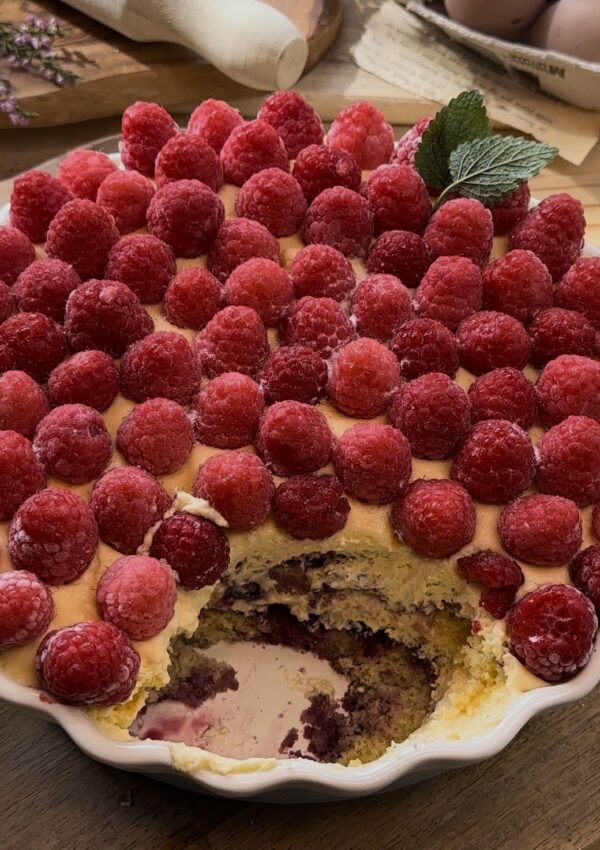
Using this simple homemade raspberry jam recipe with just two ingredients, we crafted an incredible and delicious cheesecake-it was so good. This easy recipe is versatile, as you can swap raspberries for strawberries or any other fruit of your choice while maintaining the same 2:1 fruit to sugar ratio.
For every 2 kilos of fresh fruit, use 1 kilo of sugar- this is the perfect ratio to preserve your jam without being overly sweet. Keep in mind that fruits already have natural sweetness and excessive sugar can cause the jam to crystallize and taste too sugary. Sugar acts as a preservative extending the shelf life of your jam while maintaining its great taste.
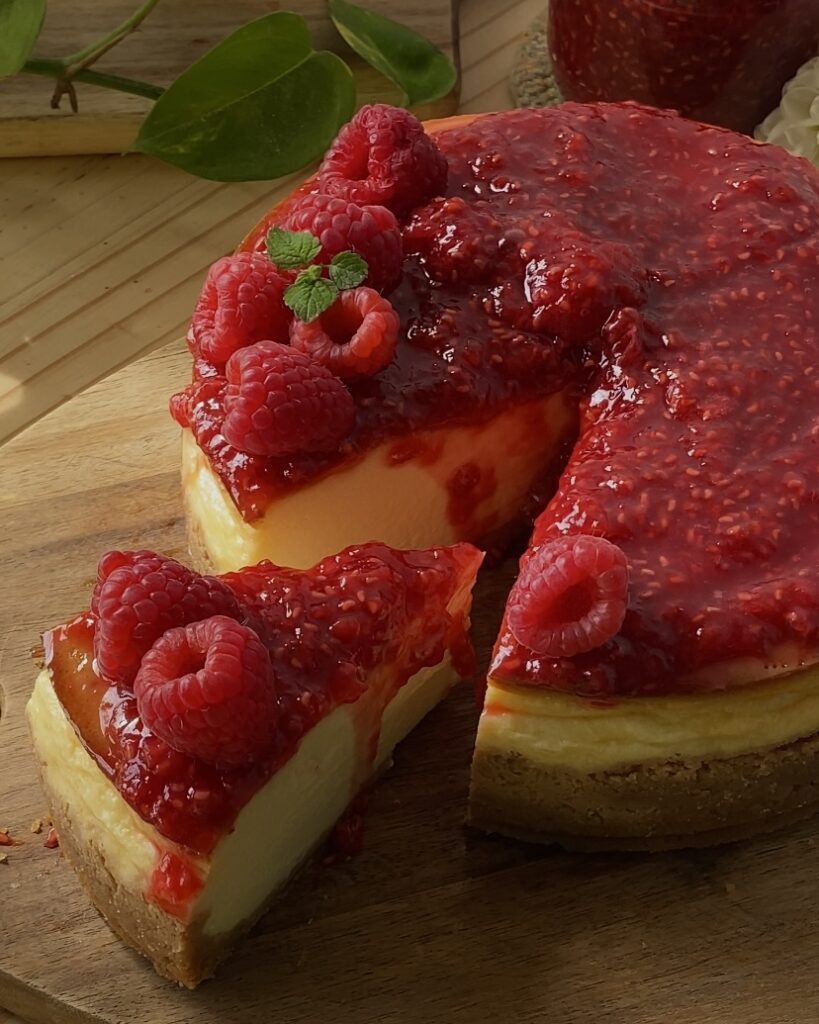
This homemade raspberry jam is also a fantastic topping for cookies, cheesecakes or other sweet treats. Experiment with this versatile two ingredient recipe and elevate your favorite desserts.
Homemade raspberry jam just 2 ingredients
RECIPE
Recipe in cups and grams. You can find the cup measurements in the printable recipe scrolling down at the end.
ingredients
- 510 grams fresh or frozen raspberries
- 250 grams granulated sugar
Step by step
1)first step, clean and prepare your jars
Before you begin making your jam its essential to ensure your jars are spotless and completely dry.
You can use brand new jars or reuse jars form store bought food, just ensure they’re super clean and fully dried. Rinse them with hot water and let them air dry or pat them dry with a clean towel. This step is viral to ensure no bacteria i introduced during the jam making process.
2)second step, prepare your ingredients
Rinse your fresh raspberries throughly under cold water. Dry them completely using a paper towel or a salad spinner to remove any excess moisture. Place the raspberries and sugar in a pot.

3)third step, cook your raspberry jam
Place the pot on your stove and cook over medium low heat. Stir constantly to ensure it doesn’t stick or burn, simmer for about 20 minutes or until the jam reaches your desired consistency.


4)fourth step, sterilize your jars
Place a clean kitchen towel or cloth at the bottom and sides of a large pot, this prevents jars from touching directly and breaking during boiling. Place your sealed jam jars into the pot and cover them with water, ensure the water is above the jars. Turn on your stove to high heat and bring the water to a rolling boil.
Once boiling, set a timer for 40 minutes and make sure the water stays boiling throughout this time. This process ensures your jam jars are fully sterilized and ready for long term storage.

5)fifth step, store your homemade raspberry jam
Remove the jars form the pot and let them cool completely, store them in a dark cool place, no refrigeration is necessary if they have been properly sterilized.
Print
2 ingredients easy raspberry jam
- Prep Time: 2 minutes
- Cook Time: 20 minutes
- Total Time: 1 hour 2 minutes
- Yield: 2 Jars 1x
Description
Are you looking for a simple and delicious homemade raspberry jam just 2 ingredients ? This is the perfect choice, made without pectin or gelatin, it’s a quick and fuss free way to preserve the bright, tangy flavors of fresh raspberries. You can even use frozen raspberries if fresh ones aren’t available.
Instructions
1)first step, clean and prepare your jars
- Before you begin making your jam its essential to ensure your jars are spotless and completely dry.
- You can use brand new jars or reuse jars form store bought food, just ensure they’re super clean and fully dried. Rinse them with hot water and let them air dry or pat them dry with a clean towel. This step is viral to ensure no bacteria i introduced during the jam making process.
2)second step, prepare your ingredients
- Rinse your fresh raspberries throughly under cold water. Dry them completely using a paper towel or a salad spinner to remove any excess moisture. Place the raspberries and sugar in a pot.
3)third step, cook your raspberry jam
- Place the pot on your stove and cook over medium low heat. Stir constantly to ensure it doesn’t stick or burn, simmer for about 20 minutes or until the jam reaches your desired consistency.
4)fourth step, sterilize your jars
- Place a clean kitchen towel or cloth at the bottom and sides of a large pot, this prevents jars from touching directly and breaking during boiling. Place your sealed jam jars into the pot and cover them with water, ensure the water is above the jars. Turn on your stove to high heat and bring the water to a rolling boil.
- Once boiling, set a timer for 40 minutes and make sure the water stays boiling throughout this time. This process ensures your jam jars are fully sterilized and ready for long term storage.
5)fifth step, store your homemade raspberry jam
- Remove the jars form the pot and let them cool completely, store them in a dark cool place, no refrigeration is necessary if they have been properly sterilized.
Nutrition
- Calories: 1228
- Sugar: 272
- Sodium: 8
- Fat: 4
- Saturated Fat: 0.1
- Carbohydrates: 310
- Fiber: 33
- Protein: 6
Archersfood
Recipes from my family to yours
