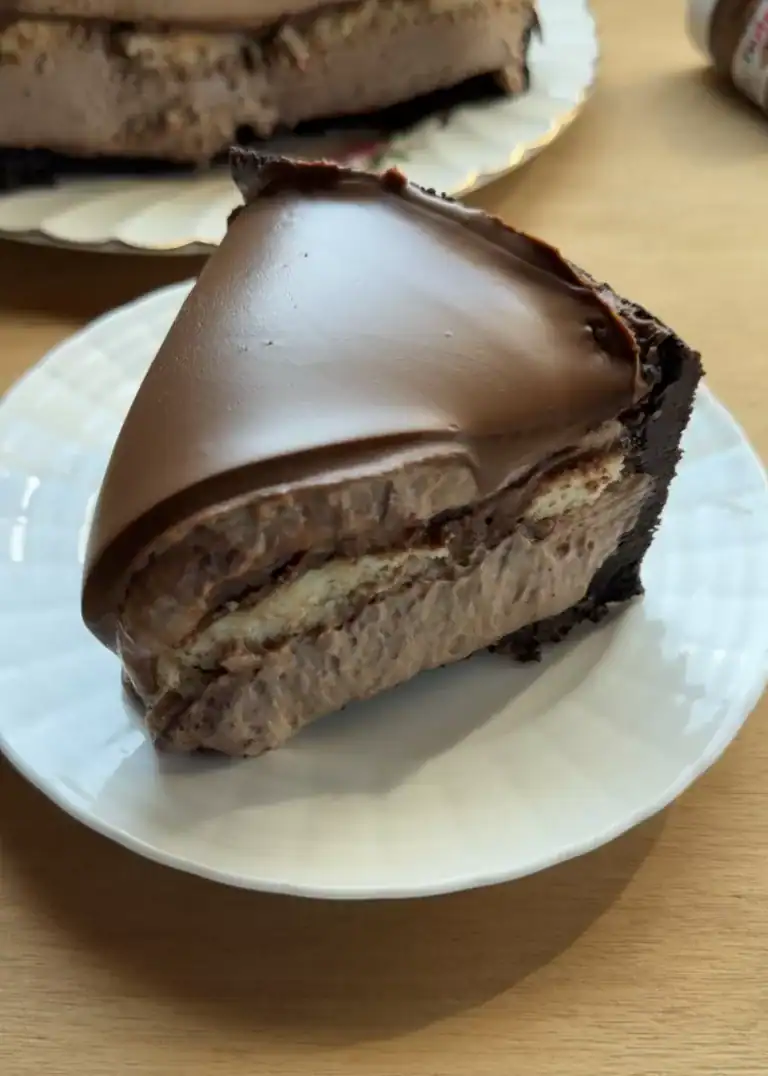
Today, we’re excited to whip up a yummy vanilla bean peanut butter tiramisu! This no-bake dessert is a total crowd-pleaser, and trust me, it’s so easy to make. With its creamy goodness and the delightful combo of peanut butter and vanilla, you won’t be able to resist! It’s the perfect treat to enjoy with friends or family, and I can’t wait for you to taste how amazing it is!

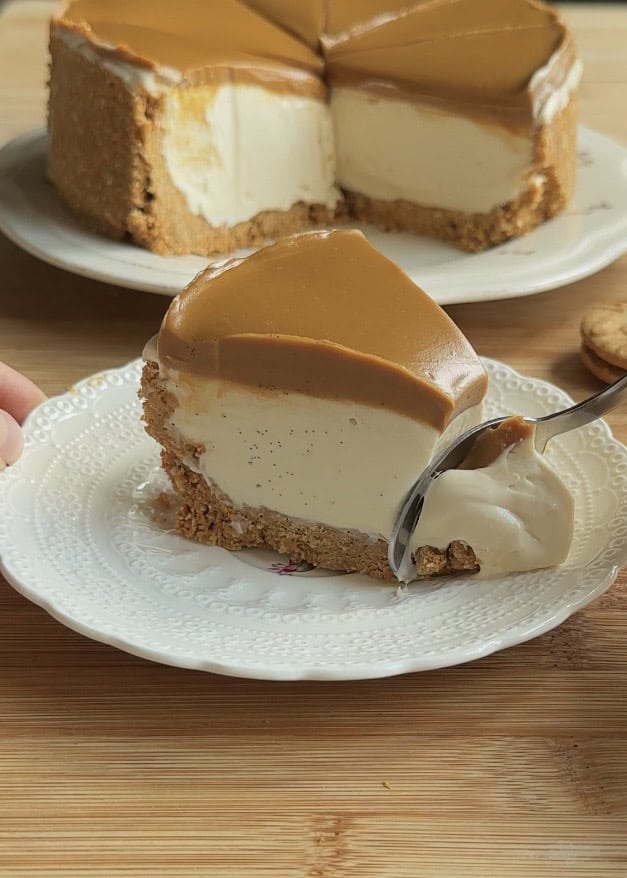
I’ve been wanting to make some beautifully patterned cakes for a while now, and I’m so excited to share that I finally did it! This tiramisu has a delightful layer of soaked ladyfingers, creamy peanut butter, and a rich vanilla bean filling. I’ve also soaked more ladyfingers in delicious coffee for extra flavor, and it’s all topped off with the rest of that luscious filling.
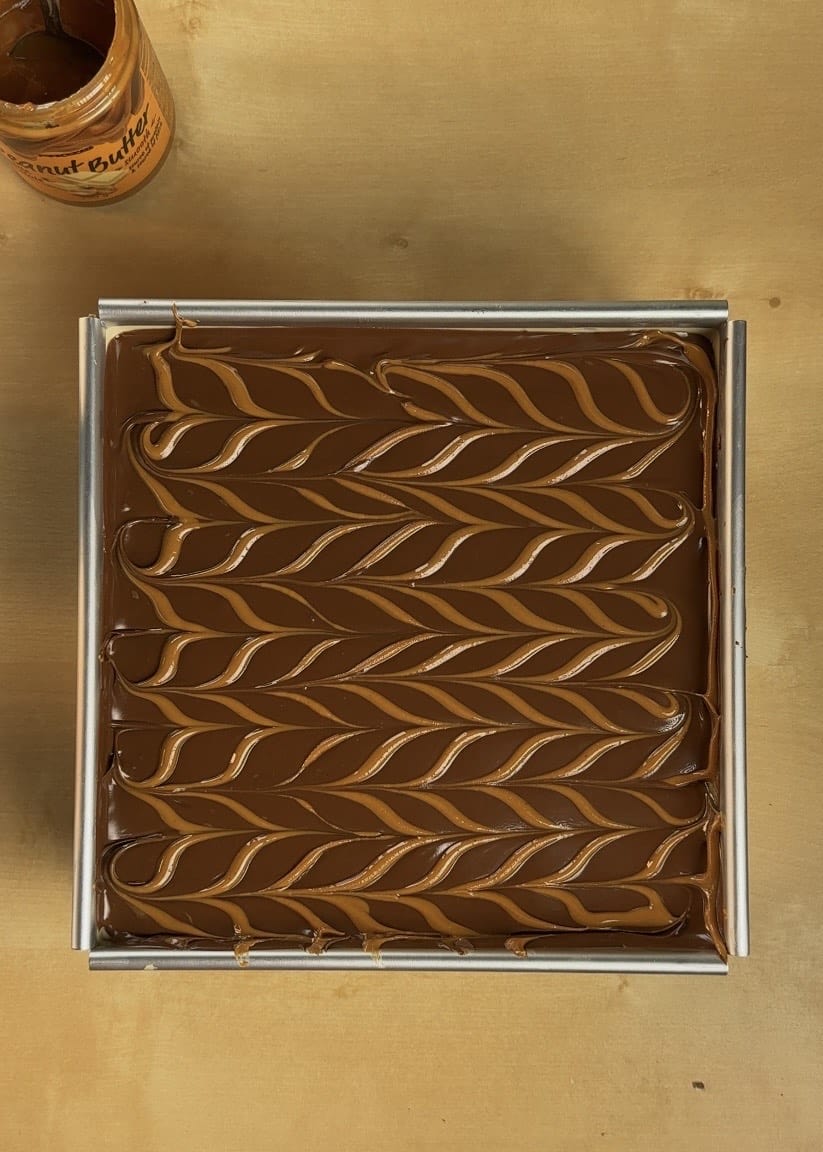
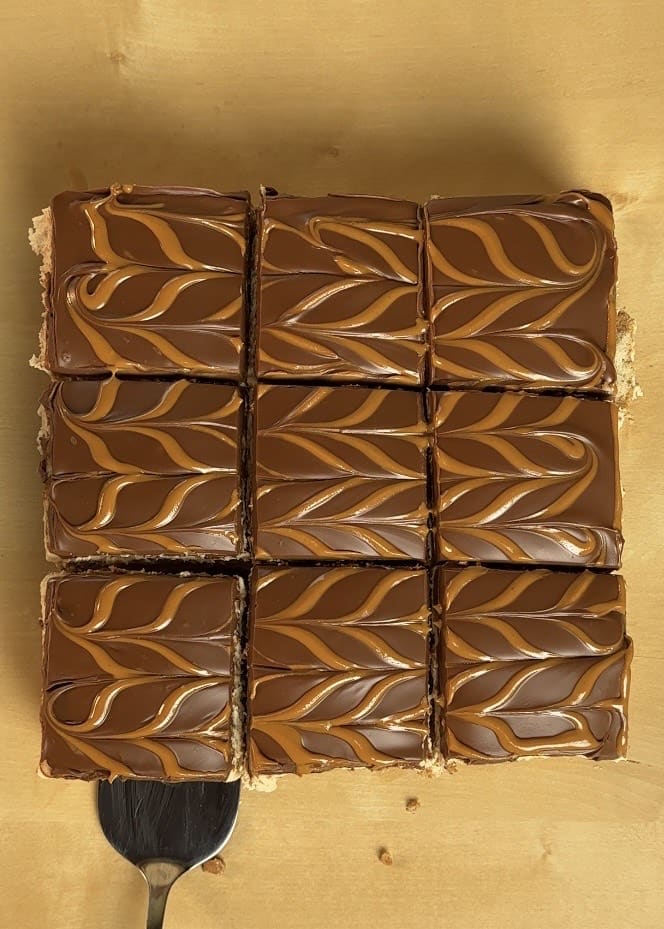
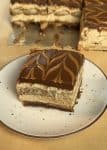
For decoration, I decided to use Nutella and peanut butter. First, I spread melted Nutella all over the top, and then I piped on some peanut butter using a piping bag. With a knife, I made some fun lines to create a lovely pattern.
The best part? This tiramisu has a creamy, luxurious texture that’s just to die for!
You can find us on Facebook, TikTok, Instagram, and YouTube, and for all your everyday baking inspiration, follow us on Pinterest too!
Everything you need in a tiramisu
..but make it special.
- It’s a super simple no-bake recipe that’s a total crowd-pleaser!
- No eggs, no need for an oven, and no complicated ingredients—how great is that?
- It’s the perfect treat for any occasion!
- Trust me, everyone will adore it. Get ready to impress your friends and family with this yummy dessert!
Ingredients you need
In this fun no-egg dessert, cream cheese is your best buddy! It lightens up the texture and gives it that creamy goodness we all love.
- Ladyfingers – we’ll soak these delightful treats in coffee for an extra kick!
- Mascarpone cheese – this creamy Italian cheese is like a more delicious version of cream cheese. It’s a fantastic addition to any dessert and really takes them to the next level!
- Vanilla beans are a must-have—they add a fabulous sweet flavor that really brings the dish to life!
- Cream cheese — since this is a no‑egg dessert, cream cheese helps lighten the texture and makes it creamier.
- Peanut butter lets you get creative! Use whatever kind makes you happy, whether it’s smooth, crunchy, or even flavored options!
- Nutella is not just for spreading anymore; it’s perfect for decorating and adds a yummy chocolate-hazelnut twist that everyone will enjoy.
- Powdered sugar brings just the right amount of sweetness to elevate the tiramisu—it’s a sweet little touch that makes a big difference!
- Heavy whipping cream should be whipped until soft peaks form, creating a light and fluffy texture. Just make sure you pick one with at least 35% fat for the best result, and be careful not to overwhip it!
Have a blast making this delicious treat, and enjoy every tasty bite!
 Buy Now →
 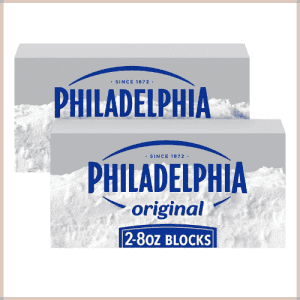 Buy Now →
  Buy Now →
  Buy Now →
 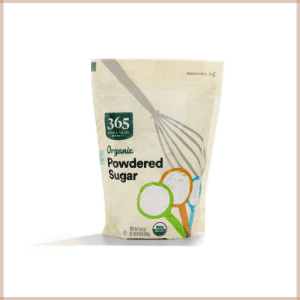 Buy Now →
 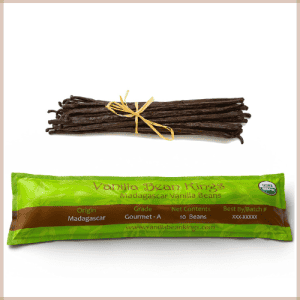 Buy Now →
 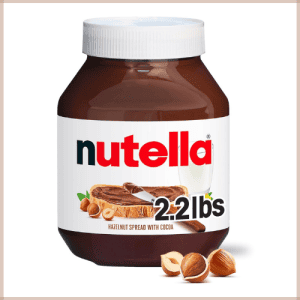 Buy Now →
 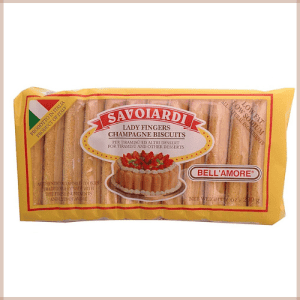 Buy Now →
  Buy Now →
 What is mascarpone cheese
Mascarpone is such a delightful ingredient, especially when it comes to making desserts like tiramisu, cheesecakes, frostings, and layered puddings. However, it’s a bit delicate, and a few things can affect its lovely, creamy texture. To keep it smooth and delicious, keep these tips in mind:
- Temperature is key! Make sure to bring your mascarpone to room temperature, but don’t let it sit out for too long. If it gets too warm or is left out too long, it might get a bit loose or even split.
- Need a little extra support? For eggless desserts, adding a bit of cream cheese can be a game-changer. It helps stabilize the mixture and keeps that grainy, separated look at bay.
- Mix gently! Be careful not to overmix mascarpone. It’s quite sensitive, and if you mix it too long or too hard, it can split.
- Know the fat content: Mascarpone is rich, with a fat content between 60% and 75%. In comparison, cream cheese is a bit lighter, usually around 30% to 40%. You can swap mascarpone for cream cheese in a pinch, but just be aware that the flavor and texture might be a tad different.

Peanut Butter Tiramisu Step-by-Step Overview
Here you will find a very helpful step-by-step overview with pictures so you can easily understand the process. Go to the recipe card for the full recipe.
In a big mixing bowl, grab a spatula and mix together the mascarpone and cream cheese until they’re nice and smooth. Next, add in some peanut butter and scrape those delicious vanilla beans right in. Mix everything together until it’s all blended!
Whip cream and add it to the tiramisu filling.

Now, it’s time to get your coffee ready because we’re going to start building our tasty tiramisu!
Begin by layering some coffee-soaked ladyfingers at the bottom of your dish.
Spread a generous layer of peanut butter over those ladyfingers. Next, take half of that creamy filling and spread it evenly on top.
Add another layer of coffee-soaked ladyfingers for that perfect second layer. Top it off with the remaining filling, spreading it out nicely.


Pop the dish in the fridge and let it chill until it’s set!
Once set, melt some Nutella and pour it all over the top. Grab a piping bag filled with peanut butter and pipe cute straight lines across the surface.
Using a knife, gently swirl through those lines in the opposite direction to create a fun pattern.


Finally, serve it up chilled and enjoy your delicious creation!
Tools you need
- Mixing Bowls: Perfect for combining all those delicious ingredients!
- Stand Mixer, Electric Hand Whisk, or Whisk: Ideal for whipping cream to soft peaks—it’s easier than you think!
- Kitchen Scale or Measuring Cups: These are super handy for measuring your ingredients just right.
- Spatula: Great for gently folding and mixing everything together without losing any fluffiness.
- Coffee Brewer: Use this to whip up some coffee for soaking the ladyfingers—it adds a lovely flavor!
- Sieve: A must-have for sifting powdered sugar, ensuring everything looks and tastes amazing.
- Square Removable-Bottom Pan: Perfect for assembling your dish! You can also opt for a springform pan or an adjustable ring mold like the one shown.
- Piping bags: To decorate
 Buy Now →
 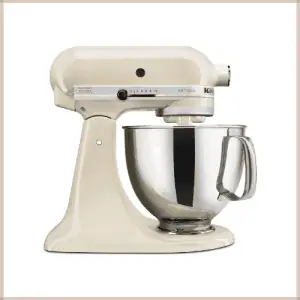 Buy Now →
 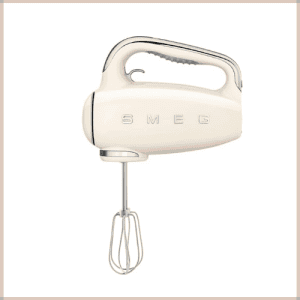 Buy Now →
  Buy Now →
 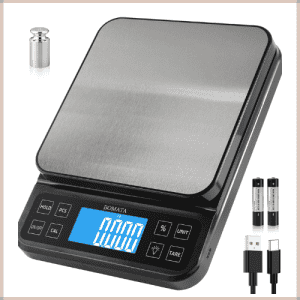 Buy Now →
  Buy Now →
  Buy Now →
 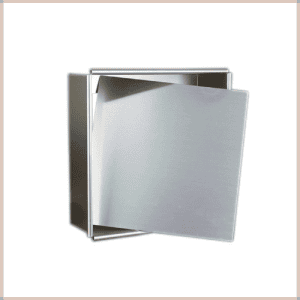 Buy Now →
 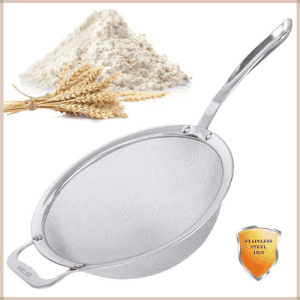 Buy Now →
  Buy Now →
 Pro tips for a delicious peanut butter tiramisu
- For an extra creamy treat, try mixing cream cheese with mascarpone! It’ll give you that smooth texture you’re looking for.
- A quick tip: don’t overmix! Mascarpone is quite delicate, and you only want to whip the cream until soft peaks form. If you whip too much, it can split, which we definitely want to avoid.
- Remember to let your coffee cool down a bit before soaking those ladyfingers.
- Speaking of ladyfingers, just give them a quick soak! You want them tender but not soggy—keep it brief for the best results.
- One more thing: give your peanut butter a good stir before using it, so all that delicious oil gets mixed in nicely!
- Lastly, make sure your heavy whipping cream is nice and cold, has at least 35% fat content, and whip it gently until you reach those fluffy soft peaks. Enjoy your cooking!

How to store a tiramisu
- Refrigerating Tiramisu: To preserve your tiramisu’s rich flavors and creamy texture, be sure to cover it completely with plastic wrap, ensuring there are no air pockets, or transfer it into an airtight container. When properly stored, your dessert will remain fresh and delectable in the refrigerator for approximately 3 to 4 days, making it an ideal make-ahead treat.
- Freezing Tiramisu: While freezing is an option for longer storage, be cautious as it can alter the dish’s signature creamy texture. When thawed, the layers may become somewhat soggy, detracting from the dessert’s overall appeal. If you do choose to freeze it, consider cutting it into individual portions to make thawing more manageable and ensure you enjoy it at its best.
- Serving Tip: For the most delightful-tasting experience, allow your tiramisu to chill in the refrigerator for 6 to 8 hours, or preferably overnight. This extended chilling period not only helps the flavors meld beautifully but also allows the layers to set perfectly, resulting in a luxuriously creamy and delicious dessert. Trust us, the wait will be worth it.

How to make a feather pattern
To achieve the perfect finish on your tiramisu, it’s essential to ensure that the Nutella or peanut butter remains warm and at the right consistency for decorating. If either spread cools down, it may become too thick, resulting in a pattern that lacks the smooth and polished appearance we desire.
- Begin by pouring the warmed Nutella generously over the surface of the tiramisu. Rotate the pan gently to ensure that the Nutella evenly coats the entire top layer, creating a luxurious, glossy finish.
- Next, warm the peanut butter slightly in the microwave or on the stove—just enough to make it pliable but not too hot. Once warmed, transfer the peanut butter into a piping bag.
- Carefully pipe straight vertical lines of peanut butter from the top of the tiramisu to the bottom, leaving adequate spacing between each line to enhance the visual contrast of the design.
- Finally, take a sharp knife or a skewer and drag it horizontally across the vertical lines at regular intervals. This will create the classic feathered pattern, where the two spreads elegantly intertwine, resulting in a stunning decorative finish that elevates your tiramisu presentation. Enjoy the process and take your time to create a beautiful masterpiece! You’ll have a lovely vanilla bean peanut butter tiramisu.
Vanilla Bean Peanut Butter Tiramisu
- Prep Time: 30 minutes
- Total Time: 30 minutes
- Yield: 9 portions
- Category: Dessert
- Method: No‑Bake
- Cuisine: Italian‑Inspired
- Diet: Vegetarian
Description
Try this no-bake Peanut Butter Tiramisu—layers of coffee-soaked ladyfingers, rich peanut butter, and vanilla-bean mascarpone, topped with Nutella. It’s simple, indulgent, and perfect for any occasion.
Ingredients
For the Ladyfinger Layer
- 28 ladyfingers
- 300 g ( 1 ¼ cups) coffee
For the Filling
- 500 g mascarpone cheese (2 cups)
- 75 g cream cheese (⅓ cup)
- 3 vanilla beans
- 240 g smooth peanut butter (1 cup)
- 245 g heavy whipping cream (1 cup)
- 200 g powdered sugar (1 ⅔ cups)
For Decoration
- 200 g Nutella (¾ cup)
- 25 g peanut butter (2 tbsp)
Instructions
- Brew strong coffee and allow it to cool completely.
Prepare filling
- In a large bowl, combine the mascarpone and cream cheese until smooth. Add the peanut butter and scraped vanilla bean seeds, mixing until incorporated.
- Sift in the powdered sugar, folding gently until smooth.
- In a separate bowl, whip the heavy cream until soft peaks form.
- Gently fold the whipped cream into the mascarpone mixture.
Assemble
- Briefly dip each ladyfinger into the cooled coffee—just until moistened—and arrange a single layer in the pan.
- Spread a thin layer of peanut butter over the ladyfingers.
- Spread half of the mascarpone filling evenly over the peanut butter layer.
- Add another layer of soaked ladyfingers, followed by the remaining filling. Smooth the top.
- Cover and refrigerate for at least 6 hours, or overnight.
- Melt the Nutella until smooth, then pour it evenly over the chilled tiramisu. Warm the peanut butter slightly, place it in a piping bag, and pipe straight lines across the surface. Drag a knife in the opposite direction to create a feathered pattern.
- Slice with a warm knife and serve chilled.
Notes
- Coffee choice: Use strong-brewed coffee or espresso. Let it cool completely before dipping the ladyfingers.
- Soaking tip: Dip ladyfingers quickly—1–2 seconds per side. Over-soaking makes them soggy.
- Cheese temperature: Bring mascarpone and cream cheese to room temperature before mixing for a smoother texture.
- Whipping cream: Make sure cream is cold and only whip to soft peaks to avoid splitting.
- Peanut butter: Use creamy, stir‑well peanut butter. Mix thoroughly before using.
- Decorate while warm: Melt Nutella and slightly warm peanut butter right before decorating. If they cool, the pattern won’t spread cleanly.
- Make ahead: This tiramisu tastes best after chilling overnight, allowing flavors to develop.
Nutrition
- Serving Size: 1 portion
- Calories: 580 kcal
- Sugar: 42 g
- Sodium: 180 mg
- Fat: 42 g
- Saturated Fat: 20 g
- Unsaturated Fat: 18 g
- Trans Fat: 0 g
- Carbohydrates: 42 g
- Fiber: 3 g
- Protein: 12 g
- Cholesterol: 85 mg