This Vanilla Bean No-Bake Cheesecake with Oreo Crust is a delicious dessert that’s incredibly easy to prepare yet absolutely divine. Everyone who tries it falls in love and always asks for more.

Why you’ll love this recipe
This no-bake cheesecake truly has everything you need:
- Delicious & Luxurious: A rich, flavorful dessert that feels truly special.
- Incredibly Easy: Simple steps with no baking required.
- Minimal Ingredients: A short, accessible list—no complicated shopping.
- No Gelatin: Perfectly creamy texture without any gelatin, making it a crowd-pleaser.
- Foolproof Technique: We’ve perfected the method for the creamiest, sturdiest no-bake dessert every time.
The Secret to Its Flavor & Texture:
We use a real vanilla bean for that genuine, aromatic vanilla taste you simply can’t get from extract alone. The most important detail? This is a no-bake cheesecake made without gelatin, giving it a luxuriously smooth and creamy texture that’s simply irresistible.
A Note on This Simpler Version:
While we’ve shared a similar cheesecake ” Vanilla bean oreo cheesecake ” with a homemade white chocolate ganache before, this version is even more user-friendly. We’ve skipped that extra step, but the result is still stunningly delicious and amazingly creamy.
How to Make a Perfect No-Gelatin Cheesecake
Creating a stunning cheesecake without gelatin is easier than you think—it all comes down to mastering a few key techniques. With the right method, you can achieve a magnificently smooth, creamy, and sliceable dessert. Here are my best tips for guaranteed success.
Room temperature is key
Ensure your cream cheese is fully at room temperature before you begin. Soft cream cheese blends smoothly without lumps, so you won’t have to overwork it. Overworking can incorporate too much air and affect the final texture, making it less dense and creamy.
Use the right tools
- For Cream Cheese: Use a silicone spatula or wooden spoon to fold and mix. Never use a whisk, as it can whip too much air into the cheese and cause it to become loose and less stable.
- For Heavy Cream: Use a whisk or electric mixer to whip the cream to stiff peaks. This provides the essential structure and lightness that replaces gelatin.
Chill it Thoroughly
This is the most critical step for a no-gelatin cheesecake. Refrigerate it for at least 8 hours, preferably overnight. This extended chilling time allows the structure to set firmly. If it’s not chilled long enough, the cheesecake can collapse when sliced or become a soft, creamy mess when removed from the pan.
Remember: Time, technique, and temperature are the three pillars of a perfect no-bake cheesecake. Patience during the chilling process and gentle handling of the ingredients will reward you with a flawless, luxurious dessert every time.
The importance of the Vanilla
The vanilla bean is the main ingredient in this recipe—it’s what elevates a simple cheesecake into something truly extraordinary.
You can find vanilla in a few forms: vanilla beans, vanilla paste, and vanilla extract. All are amazing, but serve different purposes.
- Vanilla Bean & Paste: Provide a more intense, pure flavor and leave beautiful little black specks throughout your dessert.
- Vanilla Extract: Requires more volume to achieve a similar strength of flavor. It won’t leave specks, but some extracts can slightly tint your filling.
For this recipe, we use 4 fresh vanilla beans. This quantity is the perfect amount to create an exceptionally fragrant, rich, and beautiful dessert where the vanilla flavor truly shines.
How to Properly Use a Vanilla Bean:
- Choose a Fresh Bean: Ensure your vanilla bean is fresh—not dry or brittle. It should feel slightly sticky and pliable when you bend it.
- Split & Scrape: Lay the bean flat on a cutting board. Using a sharp paring knife, slice it lengthwise from end to end. Then, use the dull side of the knife (or an offset spatula) to gently scrape out all the tiny, fragrant seeds from inside. Be careful not to scrape the tough outer “wood” of the pod.
- Don’t Discard the Pod!: Save the scraped pod! You can use it to make homemade vanilla extract or sugar. (Our own extract is still “marinating”—we’ll share the full guide in a few months!)
Using fresh beans correctly ensures you get the deepest, most aromatic vanilla flavor possible.
Ingredients you need and why
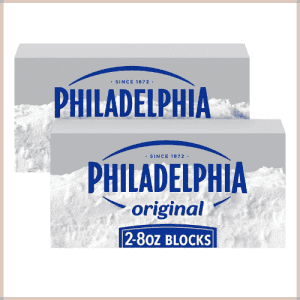
- Cream Cheese (Full-Fat): Use the block-style, full-fat cream cheese for the richest flavor and creamiest texture. Ensure it’s fully at room temperature so it blends smoothly without lumps.
- Heavy Whipping Cream (35% Fat Minimum): The high fat content is essential for whipping into stiff, stable peaks that give the cheesecake its structure without gelatin.
- Powdered Sugar: Sift it first to prevent lumps, then gently fold it into the cream cheese for a perfectly smooth sweetness.
- Fresh Vanilla Beans: The star of the recipe! Scraping the seeds from fresh beans provides an intense, aromatic flavor and beautiful black specks that you can’t get from extract alone. You can use vanilla paste or extract if needed.
- Oreo Cookies: We’ll blend the whole Oreo cookies with their cream filling included—it adds extra flavor and helps bind the crust.
- Butter: Mixed with the Oreo crumbs, melted butter acts as the glue, creating a firm, delicious base that holds together perfectly. You can use salted or unsalted.
 Buy Now →
  Buy Now →
 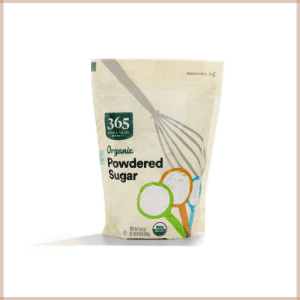 Buy Now →
 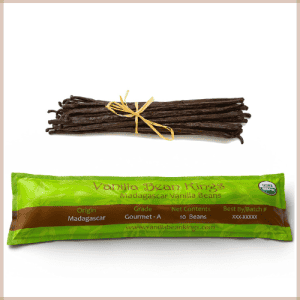 Buy Now →
 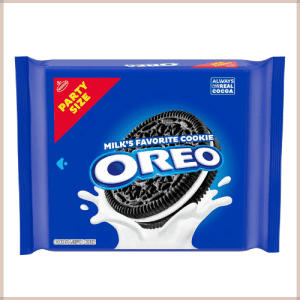 Buy Now →
 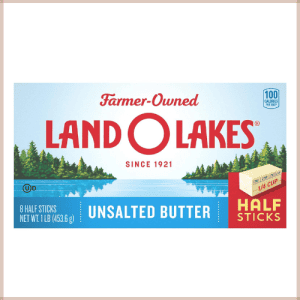 Buy Now →
How to Make Vanilla Bean Cheesecake with Oreo Crust: Overview
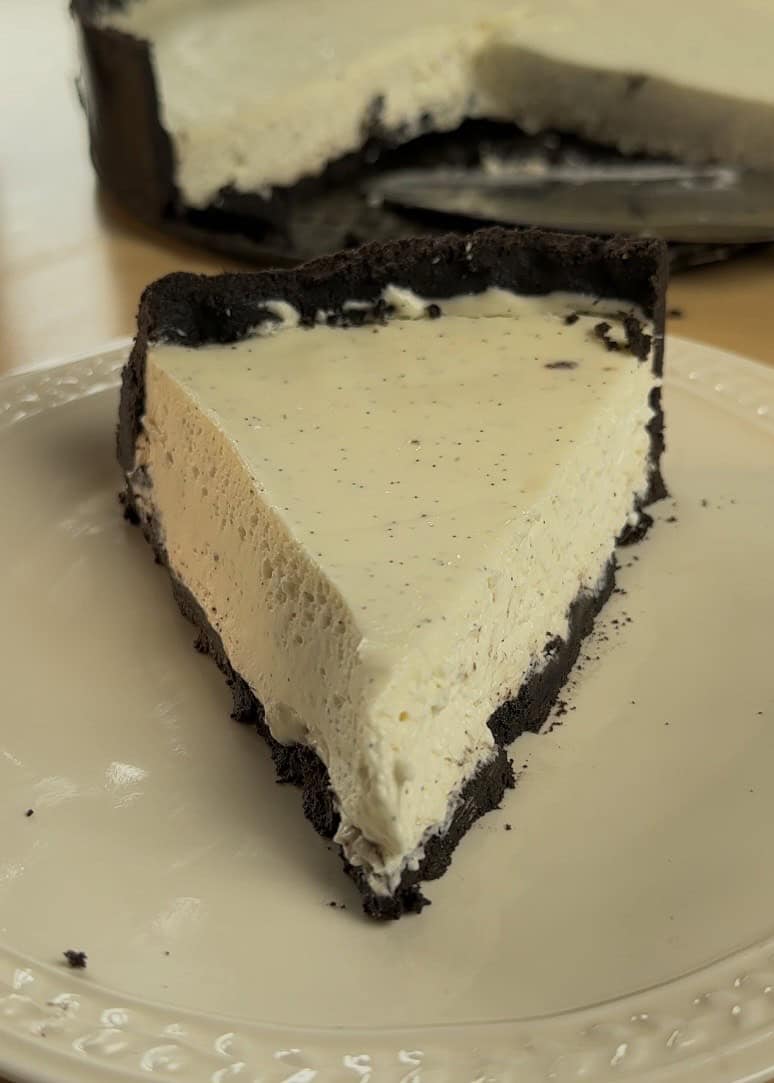
Let’s start by making the iconic Oreo crust—it’s wonderfully simple and requires no baking.
First, grease your springform pan and line the bottom with parchment for easy release.
Then, blend whole Oreo cookies (cream filling and all) into fine crumbs using a food processor (or a zip-top bag and rolling pin). Mix the crumbs with melted butter until the texture is like damp sand. Firmly press the buttery crumbs into the bottom and up the sides of the pan. Pop the crust into the refrigerator to set while we whip up the star of the show: the rich, vanilla-specked filling.

In a large mixing bowl, sift the powdered sugar over the room-temperature cream cheese.
Using a silicone spatula, gently fold and press the two together until completely smooth and lump-free.
Meanwhile, in a separate, clean bowl, whip the cold heavy cream with a whisk or stand mixer until it forms stiff peaks—be careful not to over-whip, or the cream can become grainy. Scrape the fresh vanilla bean seeds into the cream cheese mixture and fold to distribute evenly.

Then, gently fold the whipped cream into the cream cheese base using the spatula until no white streaks remain.


Pour this luxurious filling into your prepared Oreo crust and smooth the top into an even layer.

Best Tips for a Perfect Vanilla Bean Cheesecake with Oreo Crust
Follow these simple tips to ensure your no-bake cheesecake is creamy, sliceable, and bursting with flavor every time.
- Temperature is Key: Use room temperature cream cheese (for smooth blending) and cold heavy whipping cream (for perfect whipping).
- Choose Fresh Vanilla: Ensure your vanilla beans are fresh and pliable, not dry. Fresh beans are sticky and easy to scrape, giving you the most fragrant seeds.
- Use the Right Tools: Always work the cream cheese with a spatula, not a whisk, to avoid incorporating too much air.
- Chill Thoroughly: Refrigerate the cheesecake for at least 8 hours, or overnight. This is essential for it to set properly and hold its shape when sliced.
- Avoid Sugar Lumps: Always sift the powdered sugar before adding it to ensure a perfectly smooth filling.
- Whip Cream Correctly: Whip the cold cream only until soft peaks form. Use a completely dry, clean bowl and whisk to help it whip up faster and more evenly.
- Boost Vanilla Flavor: For an extra vanilla punch, you can add a teaspoon of vanilla extract along with the fresh bean seeds.
- Perfect the Crust: The Oreo crumb mixture should resemble wet sand. If it feels too dry, add a little more melted butter until it holds together when pressed.


The right tools to use
Using the right equipment makes this recipe easy and ensures perfect results.
- Mixing Bowls: Have a few clean, dry bowls ready for separate ingredients.
- Springform Pan: Use an 8-inch (20 cm) springform pan for the perfect cheesecake size and easy removal.
- Food Processor or Blender: For quickly and evenly crushing the Oreo cookies into fine crumbs. (A zip-top bag and rolling pin also works in a pinch!)
- Spatula: A silicone or wooden spatula is essential for gently folding ingredients without overmixing.
- Sharp Knife: For carefully splitting the vanilla bean pod to scrape out the seeds.
- Fine-Mesh Sieve (Sifter): For sifting the powdered sugar to prevent any lumps in your creamy filling.
- Mixer or Whisk: A stand mixer, hand mixer, or sturdy balloon whisk to whip the heavy cream to the perfect consistency.
 Buy Now →
  Buy Now →
 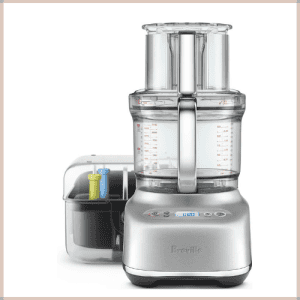 Buy Now →
  Buy Now →
  Buy Now →
 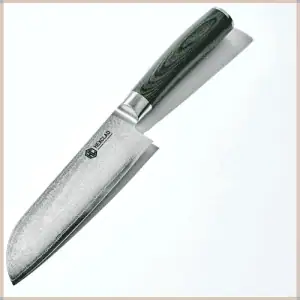 Buy Now →
 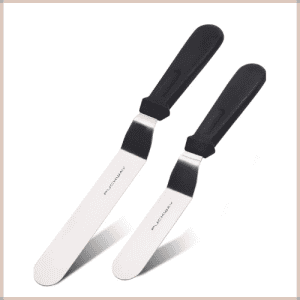 Buy Now →
 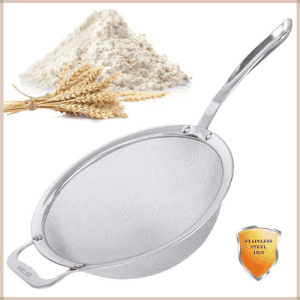 Buy Now →
 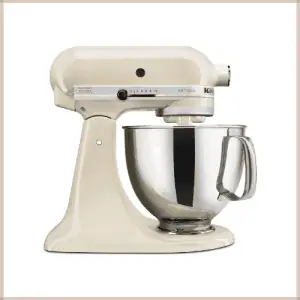 Buy Now →
 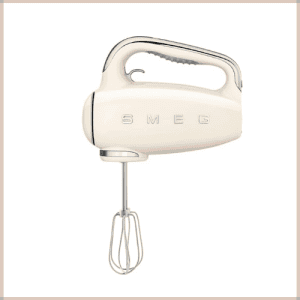 Buy Now →
  Buy Now →
 How to store your Oreo crust cheesecake
- In the Refrigerator: For the best texture and freshness, store the cheesecake in the refrigerator. Place it in an airtight container or cover it tightly with plastic wrap. It will keep well for up to 4 days. For the ultimate experience, let it sit at room temperature for about 10 minutes before serving to soften slightly and enhance the flavors.
- In the Freezer: This cheesecake freezes beautifully. You can freeze it whole (in a freezer-safe container) or in pre-sliced portions (wrapped individually). It will stay fresh for up to 3 months. Thaw it overnight in the refrigerator before enjoying. Avoid freezing for longer, as it can develop freezer burn and lose quality.
FAQ: Vanilla Bean Cheesecake with Oreo Crust

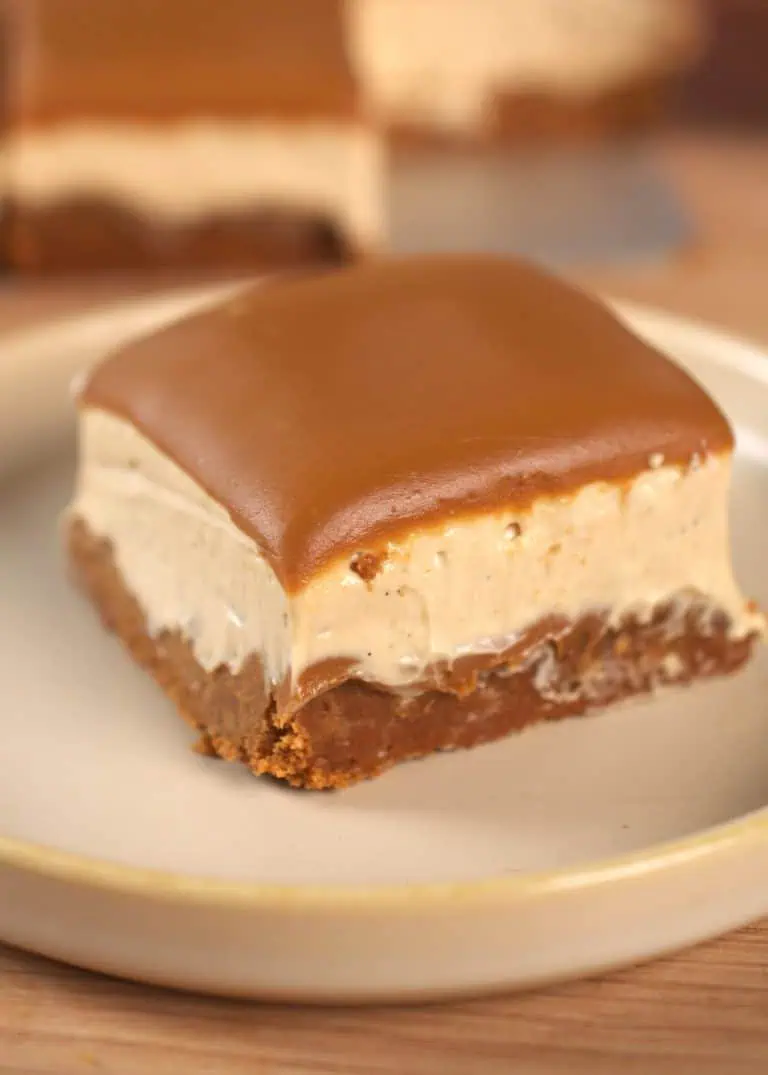
Vanilla Bean Cheesecake with Oreo crust
- Prep Time: 25 minutes
- Chill time: 8 h
- Total Time: 0 hours
- Yield: 10 servings
- Category: Dessert
- Method: No-Bake
- Cuisine: American
- Diet: Vegetarian
Description
Creamy vanilla bean no-bake cheesecake with an easy Oreo cookie crust. This simple, no-gelatin dessert is luxuriously smooth, packed with real vanilla flavor, and requires no oven. Perfect for make-ahead entertaining, this foolproof cheesecake recipe sets in the fridge and is always a crowd-pleaser.
Ingredients
For the Oreo Crust:
- 300 g Oreo cookies (2¾ cups of crumbs)
- 75 g butter (⅓ cup)
For the Vanilla Bean Filling:
- 500 g full-fat cream cheese (2 eight-ounce blocks)
- 4 fresh vanilla beans
- 267 g powdered sugar (2¼ cups)
- 270 g heavy whipping cream (1⅛ cups)
Instructions
Prepare the Oreo Crust:
- Grease a 20 cm (8-inch) springform pan. For easier removal, line the bottom with a circle of parchment paper.
- Place the whole Oreo cookies (cream filling included) in a food processor. Pulse until you have fine, even crumbs.
- In a medium bowl, mix the Oreo crumbs with the melted butter until the mixture resembles wet sand and holds together when pressed.
- Press the mixture firmly and evenly into the bottom and up the sides of the prepared pan. Place in the refrigerator to chill while you make the filling.
Make the Vanilla Bean Filling:
- In a large bowl, sift the powdered sugar over the room-temperature cream cheese. Using a silicone spatula (not a whisk), gently fold and press the two together until completely smooth and lump-free.
- Scrape the seeds from the 4 fresh vanilla beans and fold them into the cream cheese mixture until evenly distributed.
- In a separate, clean, dry bowl, whip the cold heavy whipping cream using a whisk, hand mixer, or stand mixer. Whip only until soft peaks form—do not over-whip, or it can become grainy.
- Gently fold the whipped cream into the cream cheese and vanilla mixture with the spatula. Fold until no white streaks remain and the filling is uniform. Be careful not to deflate the mixture.
Assemble & Chill:
- Remove the crust from the refrigerator. Pour the filling into the crust and smooth the top with an offset spatula or the back of a spoon.
- Cover the pan loosely with plastic wrap and refrigerate for at least 8 hours, or preferably overnight. This is essential for the cheesecake to set properly.
Serve:
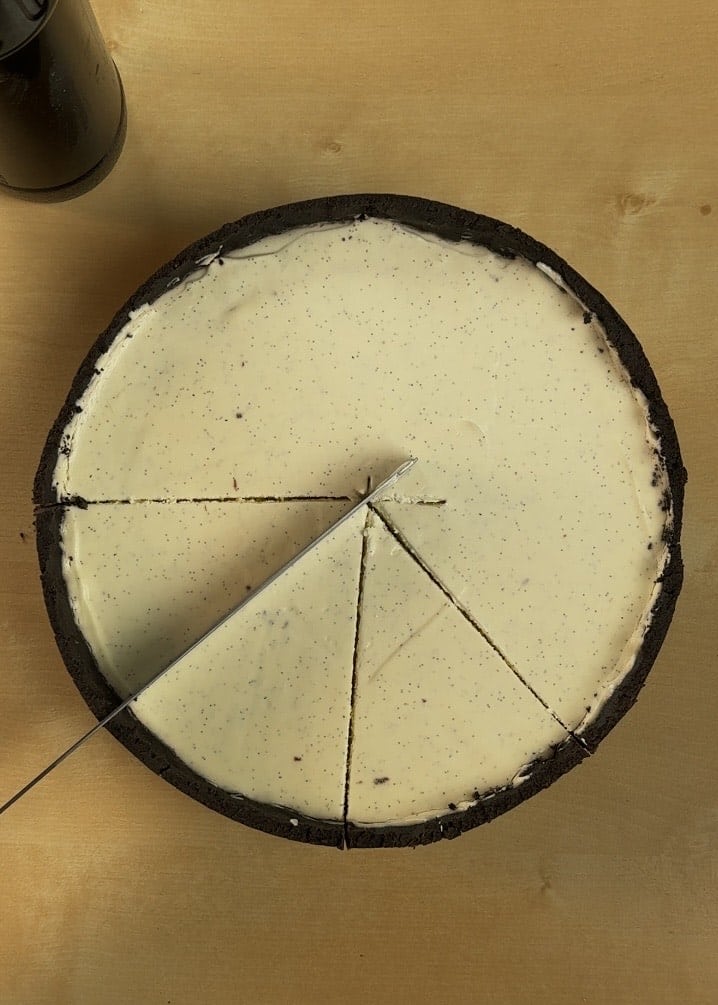
- Once fully set, run a thin knife around the edge of the pan to loosen it, then carefully release the springform ring.
- For the best flavor and texture, let the cheesecake sit at room temperature for about 10 minutes before slicing.
- For clean slices, dip a sharp knife in hot water and wipe it dry between each cut.
- Garnish with extra Oreo crumbs or a sprinkle of sea salt if desired. Serve and enjoy!
Nutrition
- Serving Size: 1 slice
- Calories: 510 kcal
- Sugar: 42 g
- Sodium: 320 mg
- Fat: 34 g
- Saturated Fat: 19 g
- Unsaturated Fat: 12 g
- Trans Fat: 0.5 g
- Carbohydrates: 46 g
- Fiber: 1 g
- Protein: 6 g
- Cholesterol: 90 mg