
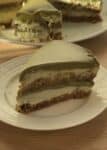
This pistachio tiramisu has all the delicious flavors of a traditional tiramisu, but with a few delicious twists that make it super creamy and flavorful. We’re combining different textures and flavors to create the perfect pistachio dessert.
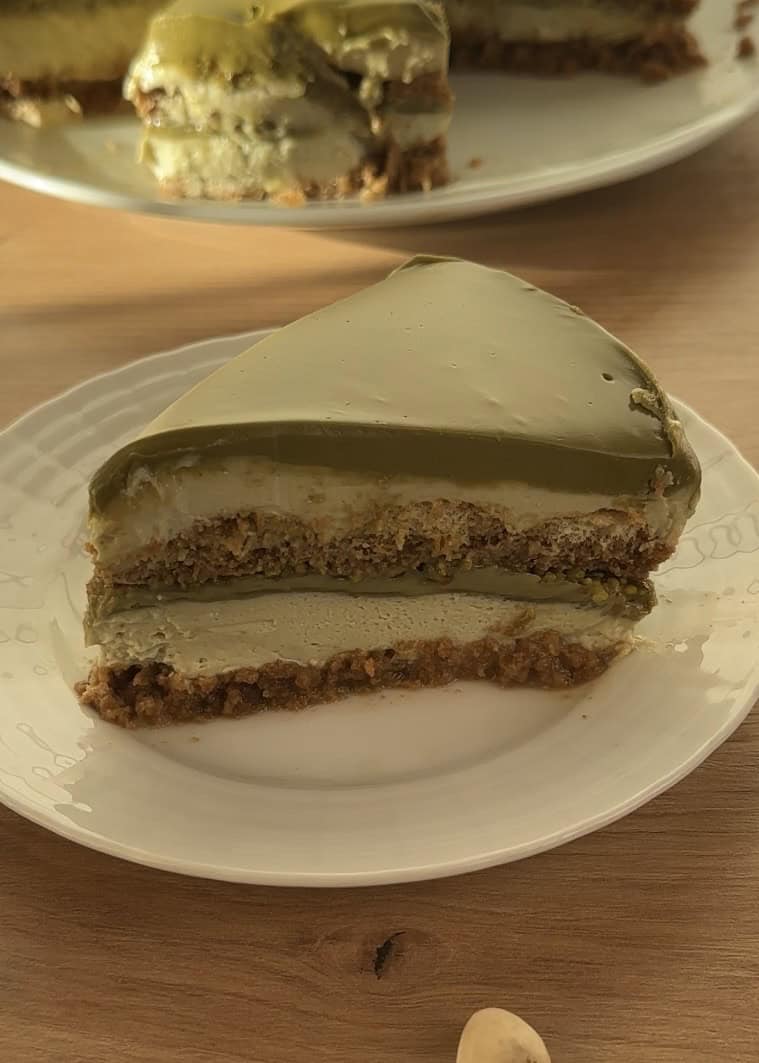
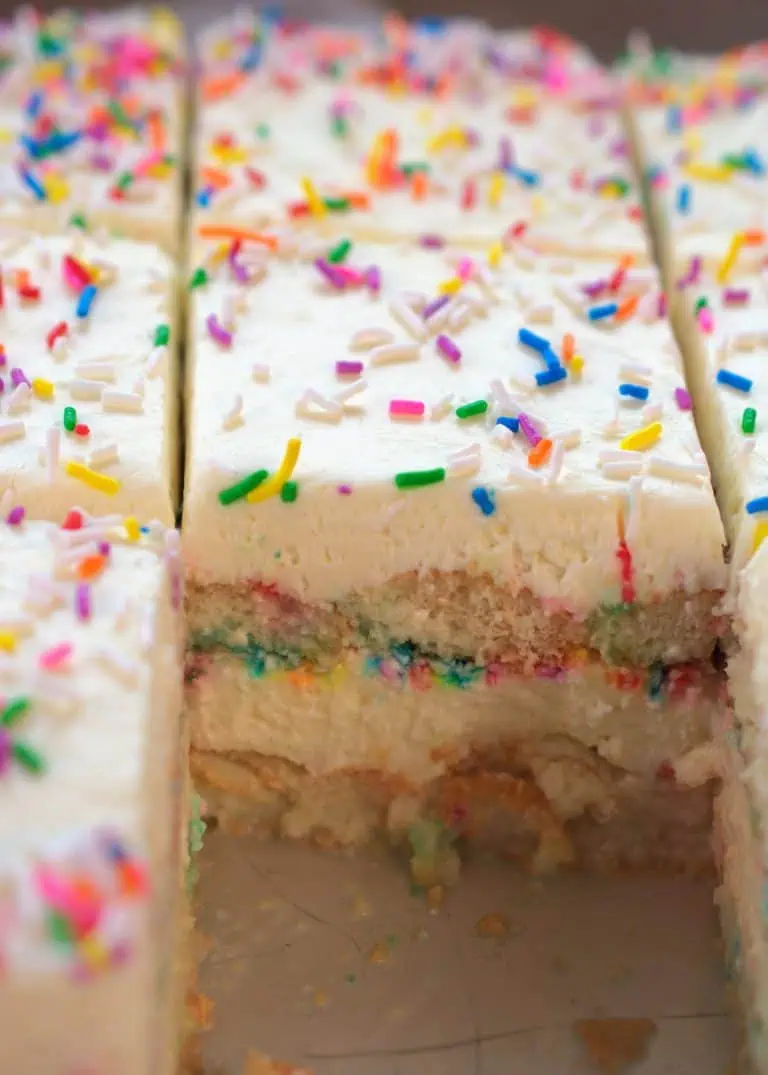
Let me break down the delicious layers for you: It starts with coffee-soaked ladyfingers, followed by a smooth mascarpone cream, then we add a generous layer of pistachio spread and another layer of crushed pistachios. Then, we add another layer of coffee-soaked ladyfingers.
This is all crowned with a final layer of mascarpone cream and finished with more decadent pistachio spread on top.
I won’t say this is better than a traditional tiramisu, but it is SO good! As someone who has been pretty obsessed with pistachio recipes lately, I can tell you this one is absolutely worth trying.

We’ve tried many different tiramisu recipes on our website—most of them without coffee.
We’re talking Nutella tiramisu, Ferrero Rocher, and even an Oreo tiramisu! But for this pistachio version, we found something was missing during testing. We realized it needed that strong coffee flavor to balance the richness.
Don’t worry, we’re still committed to creating the perfect no-coffee pistachio tiramisu so that everyone, including those who don’t drink it, can enjoy a great dessert!
What is a pistachio tiramisu?
What is a pistachio tiramisu, you may ask? It’s a delicious twist on the traditional Italian dessert. We add pistachio for a rich, nutty flavor and crushed pistachios for a little crunch. Plus, we’re using whipped cream instead of eggs for an extra-light and creamy texture.
Why you’ll love this pistachio tiramisu:
- Irresistible Flavor & Texture: Experience the perfect balance of rich, nutty pistachio, velvety mascarpone cream, and a hint of coffee, all finished with a satisfying crunch.
- Surprisingly Easy to Make: Achieve a stunning, “chef-worthy” dessert with simple, no-bake steps and minimal fuss.
- The Ultimate Make-Ahead Dessert: Prepare it a day in advance, letting the flavors meld into perfection while you relax.
- Always a Crowd-Pleaser: Its unique flavor and beautiful presentation make it a guaranteed hit at parties, potlucks, and holiday gatherings.
- A Truly Thoughtful Gift: A homemade slice of this tiramisu is a delicious and personal gift for any food lover in your life.
Pistachio tiramisu ingredients

Here are the ingredients for this delicious, nutty tiramisu. Below, you’ll find everything you need, along with explanations for why we use them and possible substitutions. For the exact quantities, please refer to the recipe card at the bottom of the post, where measurements are provided in both cups and grams.
- Ladyfingers (Savoiardi): These are the little sponge biscuits that soak up all the coffee to build your tiramisu layers. You can make them yourself, but the easiest option (and what I always do) is to buy them at the store.
- Mascarpone Cheese: This is essential for an authentic tiramisu flavor and its signature creamy texture. If you absolutely cannot find it, you can use full-fat cream cheese as a substitute, but note that the flavor and texture will be similar, not the same.
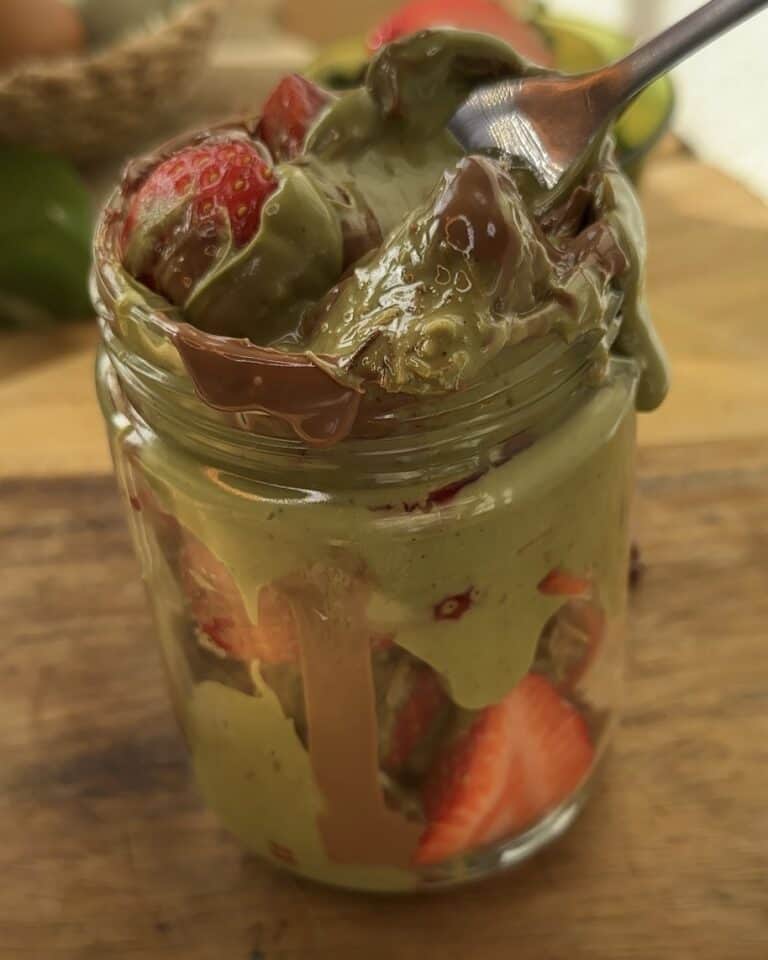
- Pistachio Spread: This is a smooth, nutty pistachio cream. It’s become very popular and should be easy to find online, at your local grocery store, or on Amazon. If you can’t find it, you can even make it yourself!
- Pistachios: I recommend buying them already peeled for ease. If you can only find them in-shell, you’ll need to peel and then crush them yourself.
- Sugar: Powdered sugar (icing sugar) is best for whipping with the cream as it dissolves instantly. However, granulated sugar will also work.
- Heavy Whipping Cream: Make sure it has a fat content of at least 35%. Lower-fat alternatives like half-and-half or single cream will not whip properly and won’t work in this recipe.
- Coffee: You can use any brewed coffee you like. Ensure it has cooled to at least room temperature before using it to soak the ladyfingers; hot coffee will make them mushy.
ingredients
 Buy Now →
  Buy Now →
  Buy Now →
  Buy Now →
  Buy Now →
  Buy Now →
  Buy Now →
 Special tools and why you need them
- Mixing Bowls: You’ll need a few bowls to separate and combine your ingredients, like whipping the cream and folding the mascarpone.
- Electric Mixer, Stand Mixer, or Whisk: Any of these tools will work to whip the heavy cream into soft peaks. An electric mixer is highly recommended as it makes the process much quicker and easier.
- Spatula: A spatula is essential for gently folding the mascarpone into the whipped cream without deflating it, ensuring your tiramisu stays light and airy.
- A Round Springform Pan: For this recipe, we’re doing something a bit different! Using a springform pan (the kind with a removable side) makes it incredibly easy to slice and serve beautiful, neat portions of the tiramisu.
- Coffee Brewer: You’ll need a way to brew a strong cup of coffee. A simple drip machine, French press, or a stovetop Moka pot (which makes a beautiful, strong espresso-like coffee) will work perfectly. Just remember to let the coffee cool completely before using it!
tools you need!
 Buy Now →
  Buy Now →
  Buy Now →
  Buy Now →
  Buy Now →
  Buy Now →
  Buy Now →
 We used a mousse ring for this recipe, which gives it a professional, sleek look. If you don’t have one, don’t worry!
A standard springform pan is the perfect substitute and will work beautifully. The key is using a pan with a removable side, which makes it easy to release and serve your stunning tiramisu.
Pistachio tiramisu step by step overview

1. Start by brewing your coffee. Doing this first is key, as it needs plenty of time to cool down completely before you start assembling the tiramisu.
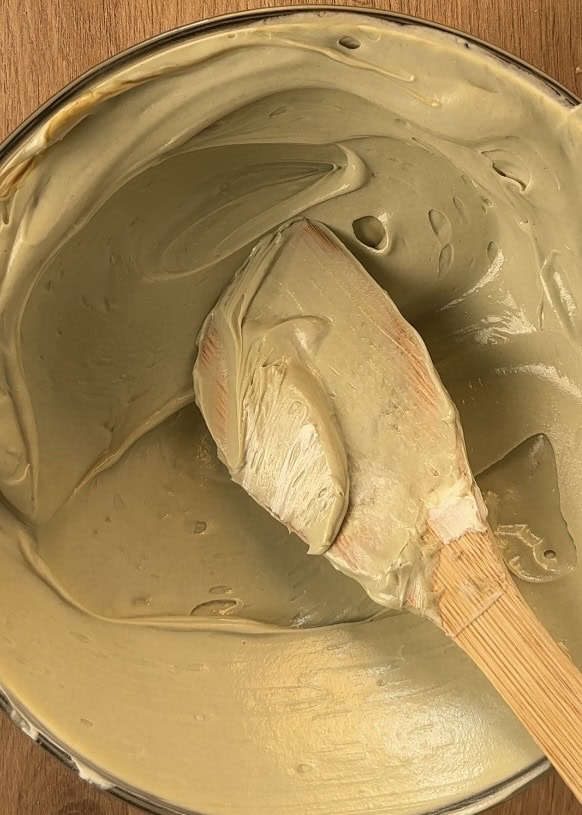
2. In a large bowl, gently work the room-temperature mascarpone cheese with the pistachio spread. It’s very important not to overwork it, as the mascarpone can split if handled too much.
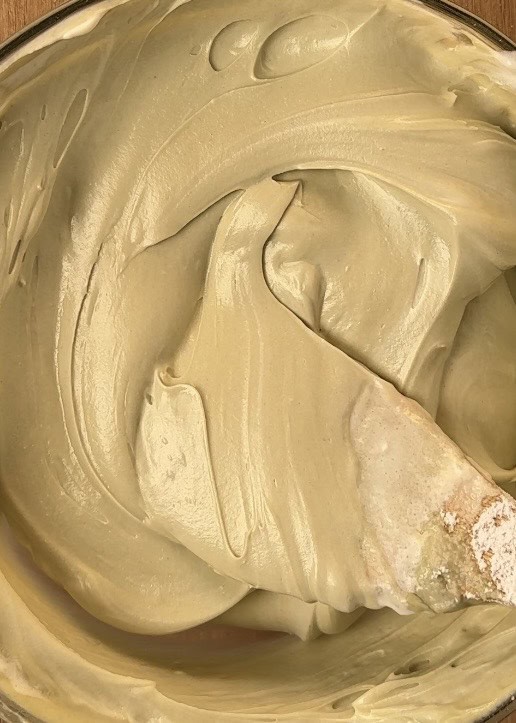
3. In a separate bowl, whip the heavy cream with sugar until it forms soft peaks. Then, gently fold the two mixtures together until they are well combined. This is your delicious, creamy filling.

4. Now, it’s time to build the layers.
Layering:
- Start with a base of coffee-soaked ladyfingers.
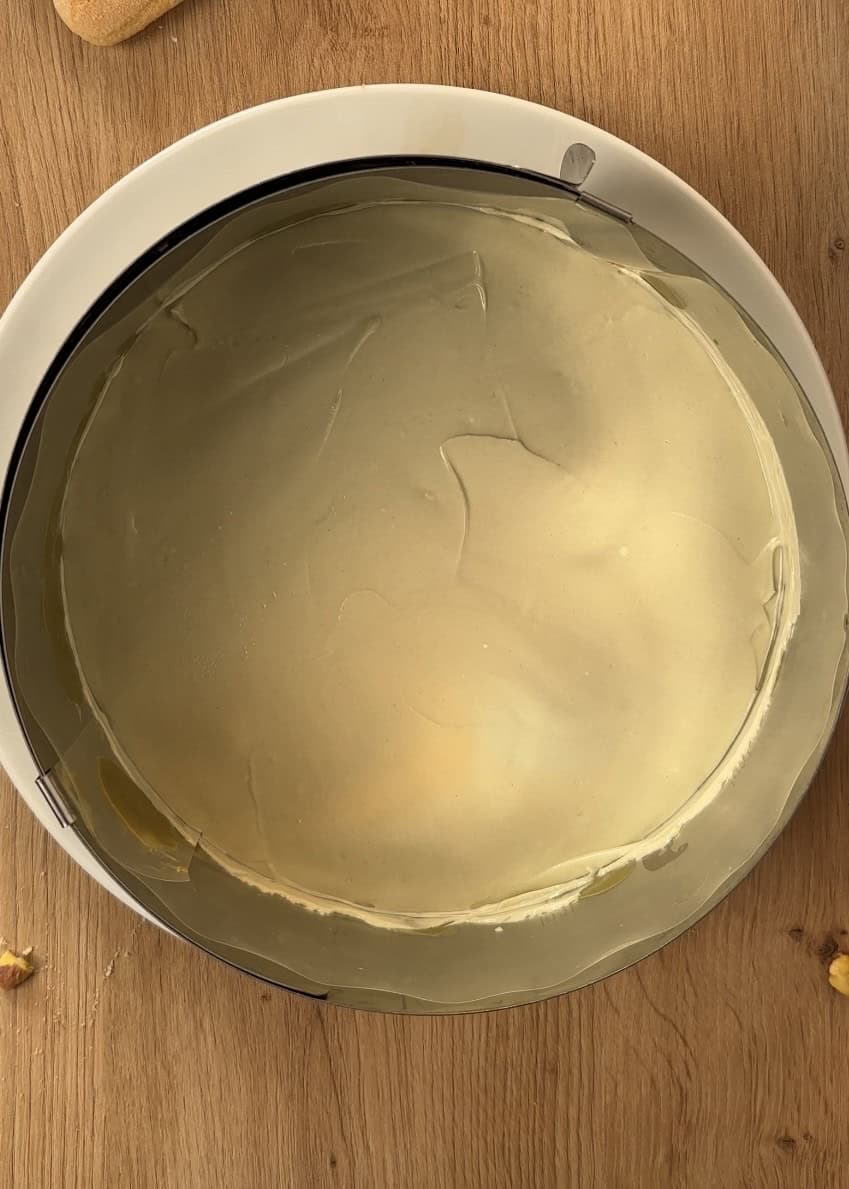
- Spread half of the creamy mascarpone filling over them.
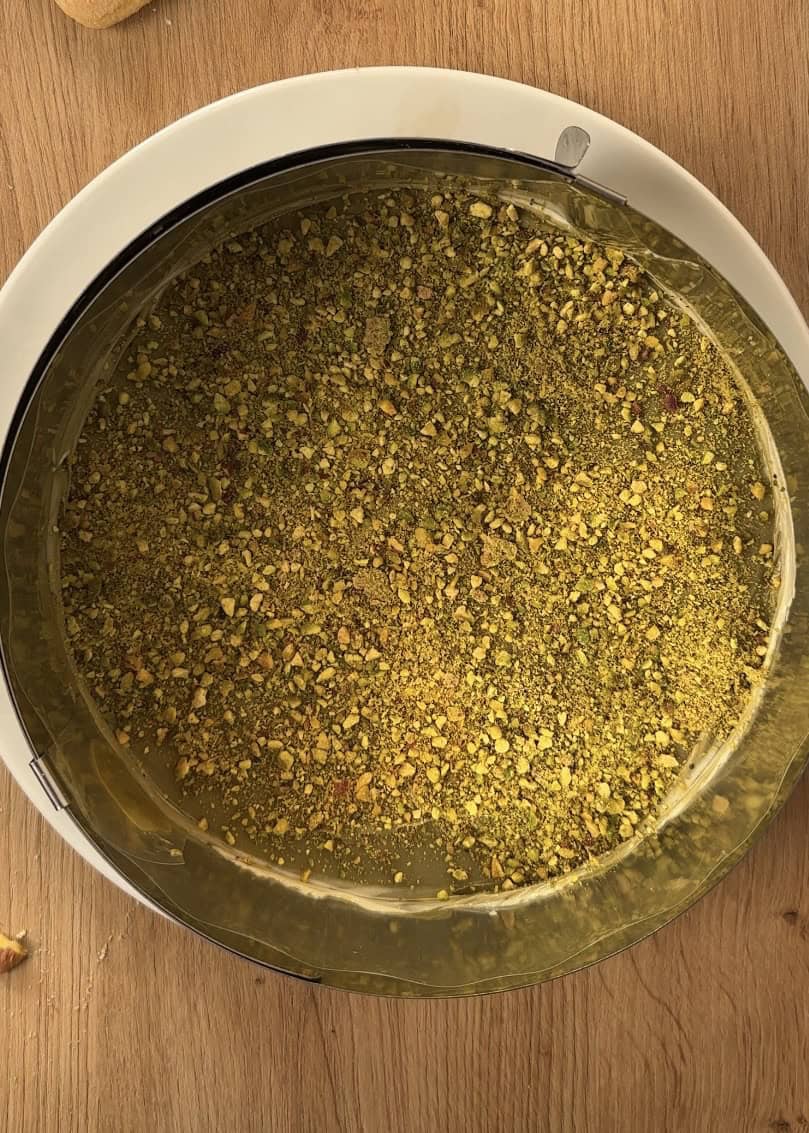
- Next, add a thin layer of pistachio spread and a sprinkle of crushed pistachios.
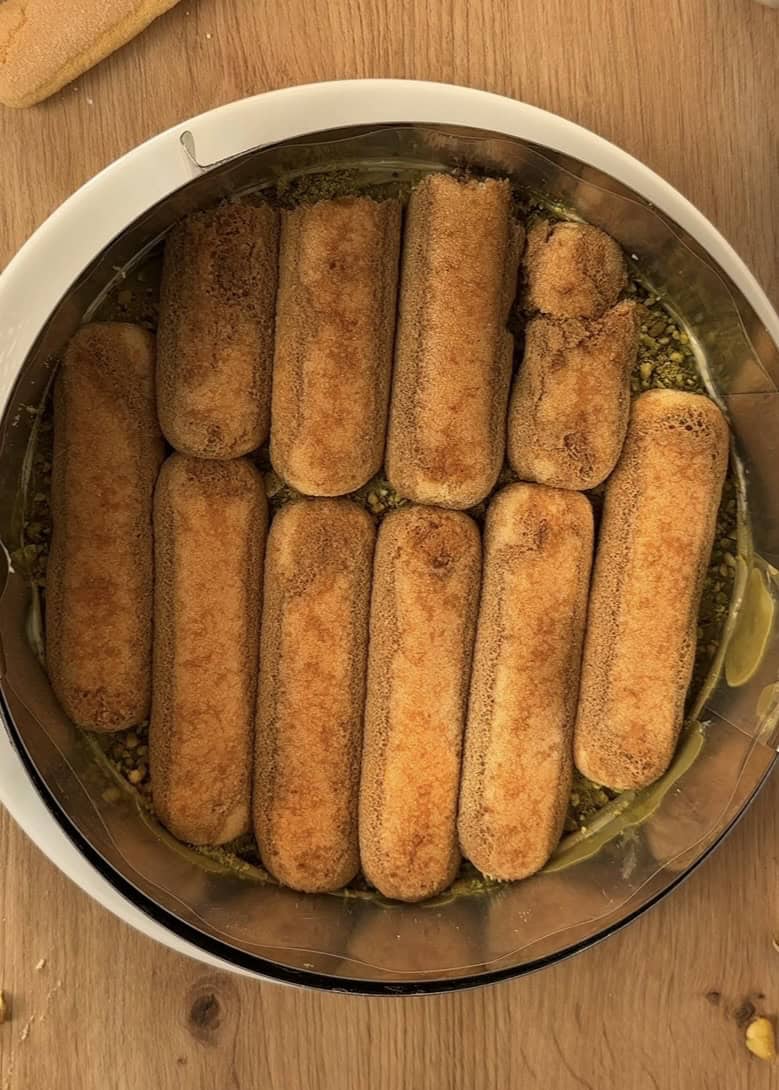
- Add another layer of soaked ladyfingers, and top with the remaining filling.
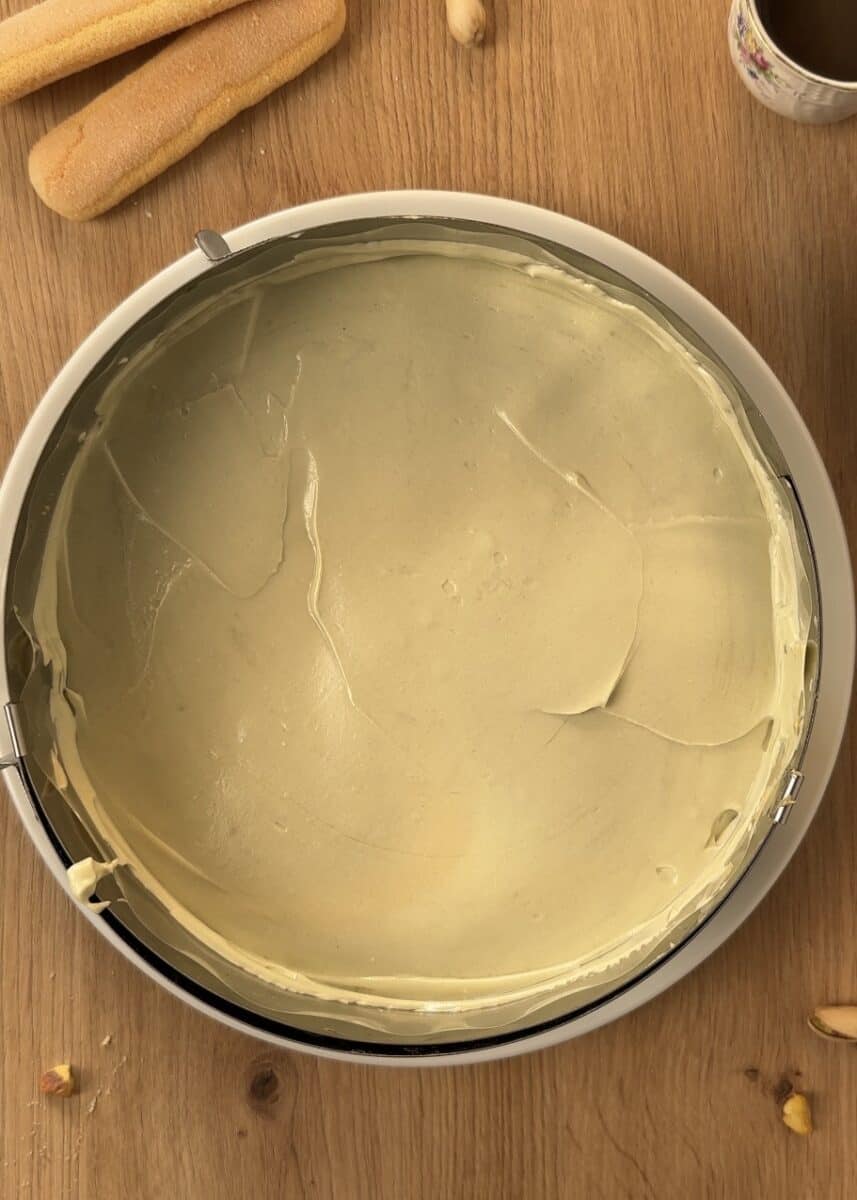
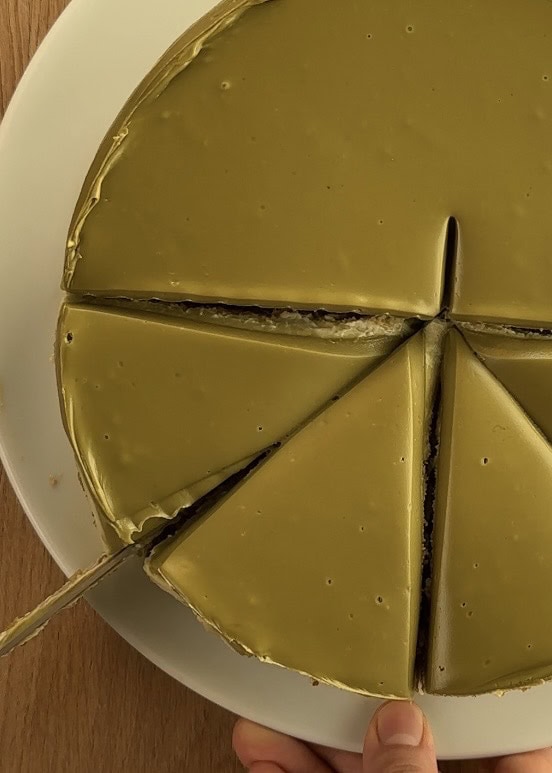
5. Smooth out the top layer of cream, cover the tiramisu, and refrigerate it for several hours, or ideally overnight.
6. Just before serving, cover the entire top with a generous layer of pistachio spread, spreading it evenly from edge to edge.
Can you make pistachio tiramisu ahead of time?
Yes, absolutely! In fact, this dessert is the perfect make-ahead treat.
For the best results, we highly recommend preparing the tiramisu the day before you plan to serve it. Allowing it to set in the refrigerator overnight gives the flavors time to meld beautifully and allows the ladyfingers to soften into that signature, luxurious tiramisu texture.
This “do-ahead” strategy is a lifesaver for entertaining. On the day you need it, all the work is already done—you simply take it out of the fridge, add your final decorations, and it’s ready to impress!
Storage instructions: how to refrigerate and freeze
Refrigeration:
For the best flavor and texture, store your tiramisu in an airtight container in the refrigerator. It will keep beautifully for up to 3-4 days.
Freezing:
Yes, you can freeze this tiramisu! It’s a great way to make it ahead of time. You can freeze it whole or in individual slices.
- Method: Place the tiramisu in a freezer-safe, airtight container to protect it from freezer burn.
- Texture Note: Please be aware that freezing may cause a slight change in texture. It can become a bit more watery upon thawing, but it will still be delicious.
- Thawing: When you’re ready to enjoy it, simply transfer it from the freezer to the refrigerator and let it thaw overnight.


Troubleshooting common mistakes
Here are solutions to a few common issues to ensure your tiramisu turns out perfectly:
– Problem: My mascarpone mixture split and looks grainy.
This is a common issue, and it’s usually due to one of two reasons:
- Overmixed Mascarpone: Mascarpone cheese is very delicate. You must be gentle and avoid overmixing it, especially when combining it with the pistachio spread, as this can cause it to split.
- Overwhipped Cream: When whipping the cream, stop as soon as you reach soft peaks. Remember that you will be folding it into the mascarpone, which continues the mixing process. If you start with stiff peaks, it will quickly become overmixed and grainy.
– Problem: There are lumps in my combined filling.
The main culprit for lumps is cold ingredients. If your mascarpone cheese or pistachio spread is straight from the fridge, they won’t blend smoothly. Always ensure both are at room temperature before you start mixing.
– Problem: My cream won’t whip.
If your cream remains liquid after whisking, check these things:
- Fat Content: Check the carton! Your cream must have a fat content of at least 35% (often labeled “heavy whipping cream”). Lighter creams will not whip.
- Equipment and Temperature: Ensure your bowl and whisk attachments are perfectly clean, dry, and—most importantly—cold. Any trace of grease or water can prevent whipping. For best results, chill your bowl and whisk in the freezer for 15 minutes before you start. Also, make sure the cream itself is very cold.

Serving ideas and presentation
Feel free to follow the decoration style we used, or get creative and try one of these other beautiful options! This is your chance to make it your own.
- Classic & Crunchy: Simply cover the top with a generous layer of crushed pistachios. This looks stunning and adds a wonderful crunchy texture to every bite.
- Elegant Pistachio Swirl: Before refrigerating the tiramisu to set, try creating a marbled effect. Mix a few tablespoons of the plain tiramisu filling with a spoonful of pistachio spread to create a thicker paste. Dollop this over the top layer and use a knife or skewer to gently swirl it into an elegant pattern.
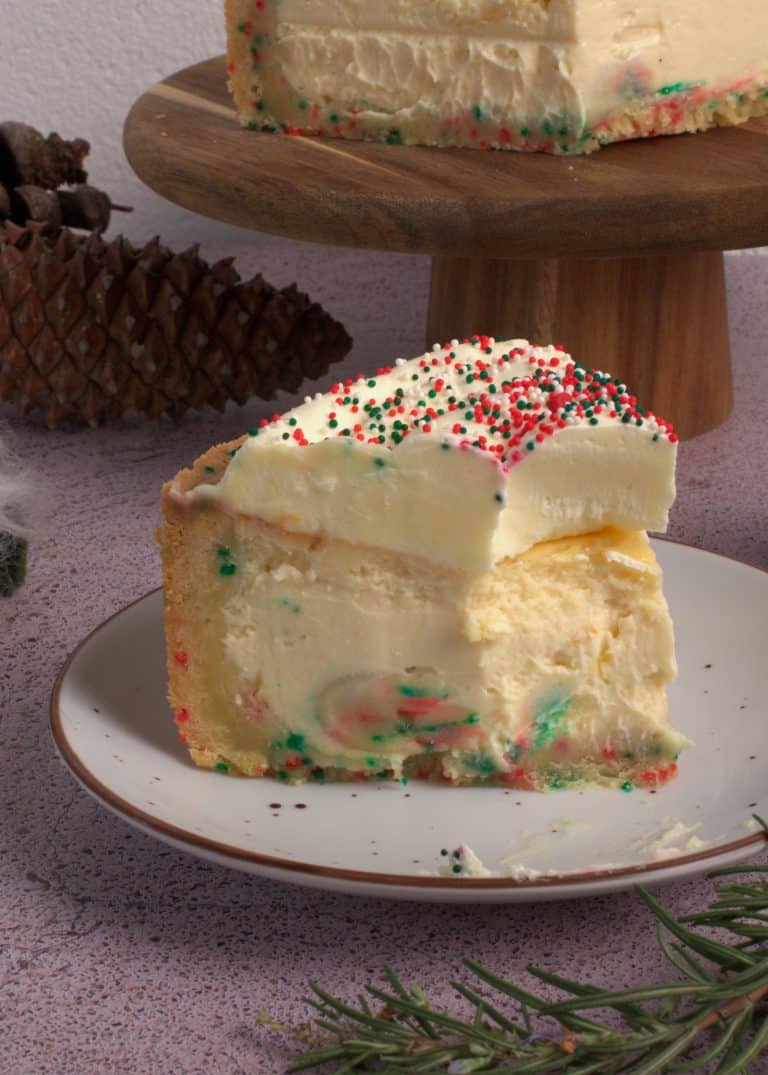
- The “Fully Dressed” Look: For a truly show-stopping presentation, cover the entire top with a smooth layer of pistachio spread. Then, gently press additional crushed pistachios onto the sides of the tiramisu. This creates a beautiful, professional-looking finish that I highly recommend trying!
- Change the Shape: Don’t feel limited to a round pan! This recipe works beautifully in a variety of dishes. Try assembling it in a traditional rectangular or square dish, or even individual glasses or jars for personal portions. Just remember that if you use a significantly larger dish, you may need to scale up the recipe quantities to ensure you have enough layers.
Pistachio Tiramisu
Description
Easy Pistachio Tiramisu Recipe – Learn how to make this stunning no-bake dessert. With layers of coffee, nutty cream, and crushed pistachios, it’s the perfect make-ahead treat for parties and special occasions.
Ingredients
For the Tiramisu Filling:
- 400 g (1 ¾ cups) mascarpone cheese, at room temperature
- 175 g (¾ cup) heavy whipping cream (35% fat)
- 85 g (¾ cup) powdered sugar
- 175 g (½ cup) pistachio spread
For Assembly:
- 300 ml (1 ¼ cups) brewed coffee
- 20 ladyfingers
For Layering & Decoration:
- 100 g (⅓ cup) pistachio spread, for the inner layer
- 60 g (½ cup) crushed pistachios
- 150 g (½ cup) pistachio spread, for the top covering
Instructions
Prepare the Coffee Base:
- Begin by brewing strong coffee using your preferred method. Once ready, transfer it to a wide, shallow bowl to cool completely.
Create the Pistachio Mascarpone Cream:
- In a large mixing bowl, gently combine the room-temperature mascarpone cheese with the pistachio spread. Use a spatula in a folding motion until you achieve a smooth, homogenous mixture with no streaks.
- In a separate, completely clean and dry bowl, pour in the cold heavy whipping cream.
- Using an electric mixer or whisk, beat the cream until it thickens and soft peaks form. The cream should hold its shape but still have a slight curl at the peak.
- Gently fold the whipped cream into the mascarpone-pistachio mixture in two batches.
- Use a light hand and a folding motion to maintain the airy texture. Set the completed filling aside.
Assemble the Layers:
- Have your springform pan ready. Working one at a time, quickly dip each ladyfinger into the cooled coffee for 1-2 seconds per side. You want them moistened but not soggy.
- Arrange a single layer of the coffee-soaked ladyfingers in the bottom of the pan.
- Spread half of the pistachio mascarpone cream evenly over the ladyfingers.
- Add a layer of pistachio spread and spread it. Sprinkle a generous amount of crushed pistachios over this layer.
- Another layer of dipped ladyfingers and the remaining cream
Set and Serve:
- Cover the tiramisu with plastic wrap and refrigerate for at least 6 hours, or ideally overnight. This allows the flavors to meld and the dessert to firm up for perfect slicing.
- Just before serving, melt some pistachio spread and add it on top, make sure to spread it all over the top, remove it from the springform pan ring and serve.
ARCHER'S FOOD
Easy and delicious recipes


One Comment