
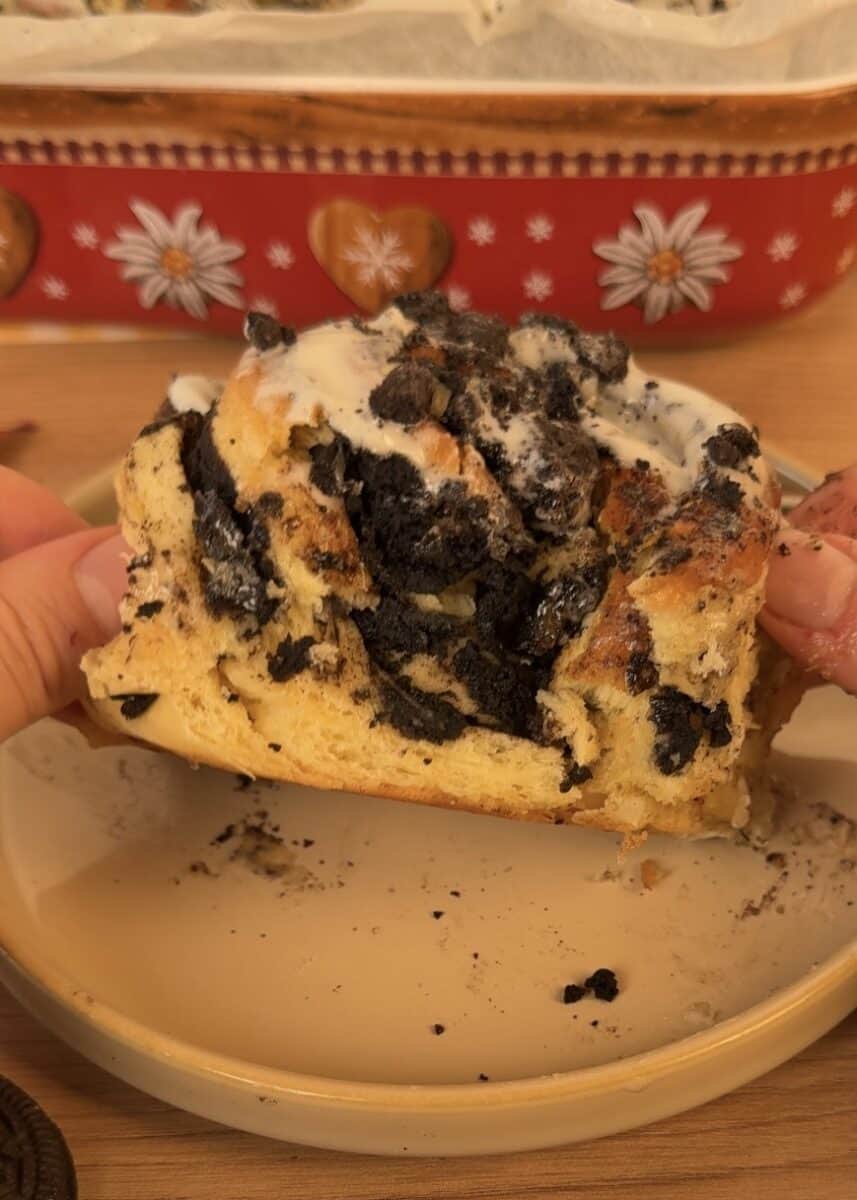
Today we’re baking the ultimate fall dessert: Oreo Cinnamon Rolls. These rolls are soft, fluffy, and indulgent, just like classic cinnamon rolls, but with a fun twist — crushed Oreos baked right into the layers.
Every bite combines the warm, cozy flavors of cinnamon with the rich chocolatey crunch of Oreos, making them the perfect treat for autumn mornings, cozy weekends, or a special dessert to share with friends and family.

We’ve been experimenting with cinnamon roll recipes lately, and we’re excited to share one of our latest creations: Oreo Cinnamon Rolls.
This version turned out absolutely delicious — soft, fluffy, and perfectly sweet, with a delightful chocolatey crunch from the Oreos baked right into the layers.
It’s one of those recipes that’s fun to make, irresistible to eat, and perfect for sharing with family or friends during cozy fall mornings.
If you’re a fan of Oreo desserts, these Oreo Cinnamon Rolls are a must-try!
They pair perfectly with other favorites on our site, like our Oreo Tiramisu or Oreo Cheesecake, giving you all the chocolatey, creamy goodness you crave. Whether you’re baking for a special occasion or just a cozy weekend treat, these recipes are guaranteed to satisfy any Oreo lover.
Why You’ll Fall in Love With These Oreo Cinnamon Rolls
- These Oreo cinnamon rolls are not only soft and fluffy but also bursting with rich chocolate flavor that pairs perfectly with the classic cinnamon sweetness.
- They are incredibly easy to make following our step-by-step guide, making them perfect for a cozy weekend breakfast or a special fall treat.
- Every bite is decadent and comforting, and they are sure to become a favorite for Oreo lovers and cinnamon roll fans alike.
- The combination of warm, gooey dough with the chocolatey Oreo filling makes these rolls irresistible for any occasion.
Ingredients You Need and Why They Matter
Note: you’ll find all the exact measurements in cups and grams on the recipe card — this section just explains why each ingredient is important and any possible substitutions.
- Milk: provides the liquid base for the dough, helping it come together and giving the rolls a soft texture.
- Active dry yeast: make sure it’s fresh. Old yeast can prevent the dough from rising properly and make it dense.
- Granulated sugar: feeds the yeast and adds sweetness to the dough, helping it develop a light, fluffy texture.
- All-purpose flour: forms the structure of the dough. Start with 250 grams and add up to 270 grams if needed for the right consistency.
- Butter: should be at room temperature and added after about 14 minutes of kneading to prevent the gluten from developing too early, keeping the rolls tender.
- Egg and extra egg yolk: one whole egg plus an extra yolk provides structure and richness, making the dough soft and luxurious.
- Cinnamon: mixed with blended Oreos to create a warm, chocolate-cinnamon filling.
- Oreos: blended and combined with cinnamon to make the decadent filling.
- Cream cheese: used for the frosting, combined with butter and icing sugar for a creamy, delicious topping.
- Butter (for frosting): combined with cream cheese and icing sugar for a smooth, rich frosting.
- Icing sugar: sweetens and thickens the frosting, giving it a silky consistency.
- Heavy whipping cream: helps make the rolls fluffy and rich.
ingredients
 Buy Now →
  Buy Now →
  Buy Now →
  Buy Now →
  Buy Now →
  Buy Now →
  Buy Now →
  Buy Now →
  Buy Now →
  Buy Now →
  Buy Now →
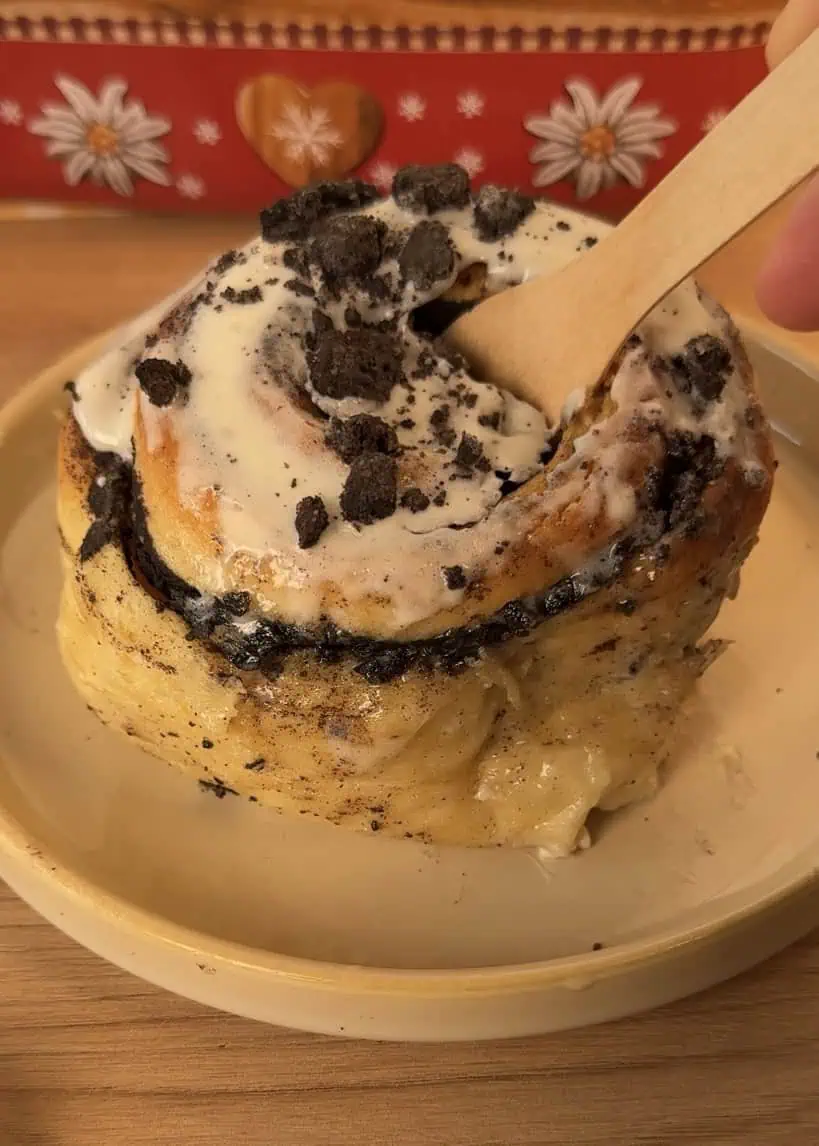
Essential Tools to Make Perfect Homemade Cinnamon Rolls
To make the fluffiest, most indulgent Oreo Cinnamon Rolls this fall, having the right tools makes all the difference. Here’s what you’ll need:
- Mixing bowls: for combining dough and frosting ingredients effortlessly.
- Kitchen scale or measuring cups: we recommend a kitchen scale in grams for precise measurements and consistent results.
- Stand mixer with dough hook attachment: kneads the dough perfectly, saving time and giving you soft, airy rolls.
- Paddle attachment: whips the frosting smooth and creamy in no time.
- Rolling pin: rolls the dough to just the right thickness for even baking.
- Dough proofer (optional): helps the dough rise perfectly every time, making your rolls extra fluffy. A great investment for avid bakers.
- Offset spatula: spreads butter evenly over the dough and is perfect for frosting later.
- Spatula: scrapes every bit of dough or frosting from the bowl.
- Food processor: crushes Oreos to a fine texture for the cinnamon roll filling.
- Baking pan: A parchment-lined pan is essential for baking the rolls evenly and ensuring easy removal after baking.
With these tools ready, you’re set to make bakery-quality Oreo Cinnamon Rolls right at home.
Tools
 Buy Now →
  Buy Now →
  Buy Now →
  Buy Now →
 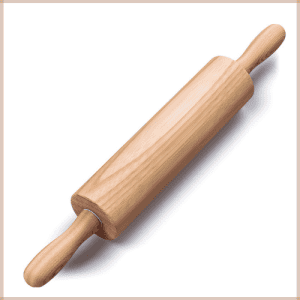 Buy Now →
 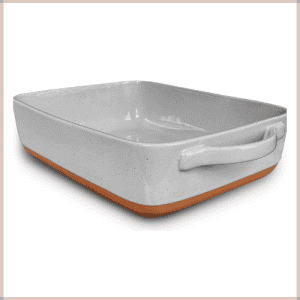 Buy Now →
 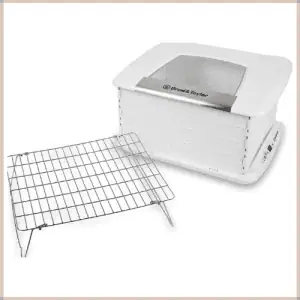 Buy Now →
 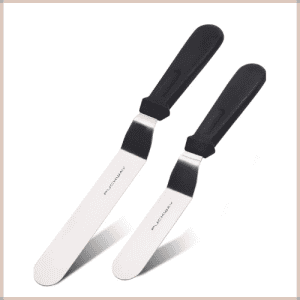 Buy Now →
  Buy Now →
  Buy Now →
  Buy Now →
 How to Use Active Dry Yeast for Soft, Fluffy Dough
When making dough, there are different types of yeast you can use. For this recipe, we’re using active dry yeast, which is widely available in grocery stores.
To activate it, mix the yeast with warm milk and a bit of sugar or honey to feed it. Let it rest for 10 to 15 minutes in a warm environment until it becomes frothy. This frothy foam is your signal that the yeast is alive and ready to make the dough rise.
It’s important to always check that your yeast is fresh. Expired or old yeast may not activate properly. If after 10 to 15 minutes it hasn’t become frothy, it probably won’t work, and your dough could turn out dense instead of soft and fluffy.
Using active dry yeast correctly is key to achieving the perfect airy texture for your Oreo Cinnamon Rolls.
Tips for Fluffy and Soft Cinnamon Rolls
- Always make sure your yeast is fresh and active. Expired or inactive yeast will prevent your dough from rising properly. Also, check that your milk is warm — not hot — as high temperatures can kill the yeast and stop fermentation.
- Add the butter after about 14 minutes of kneading. This step slows down gluten development, ensuring the dough stays soft and tender rather than tough.
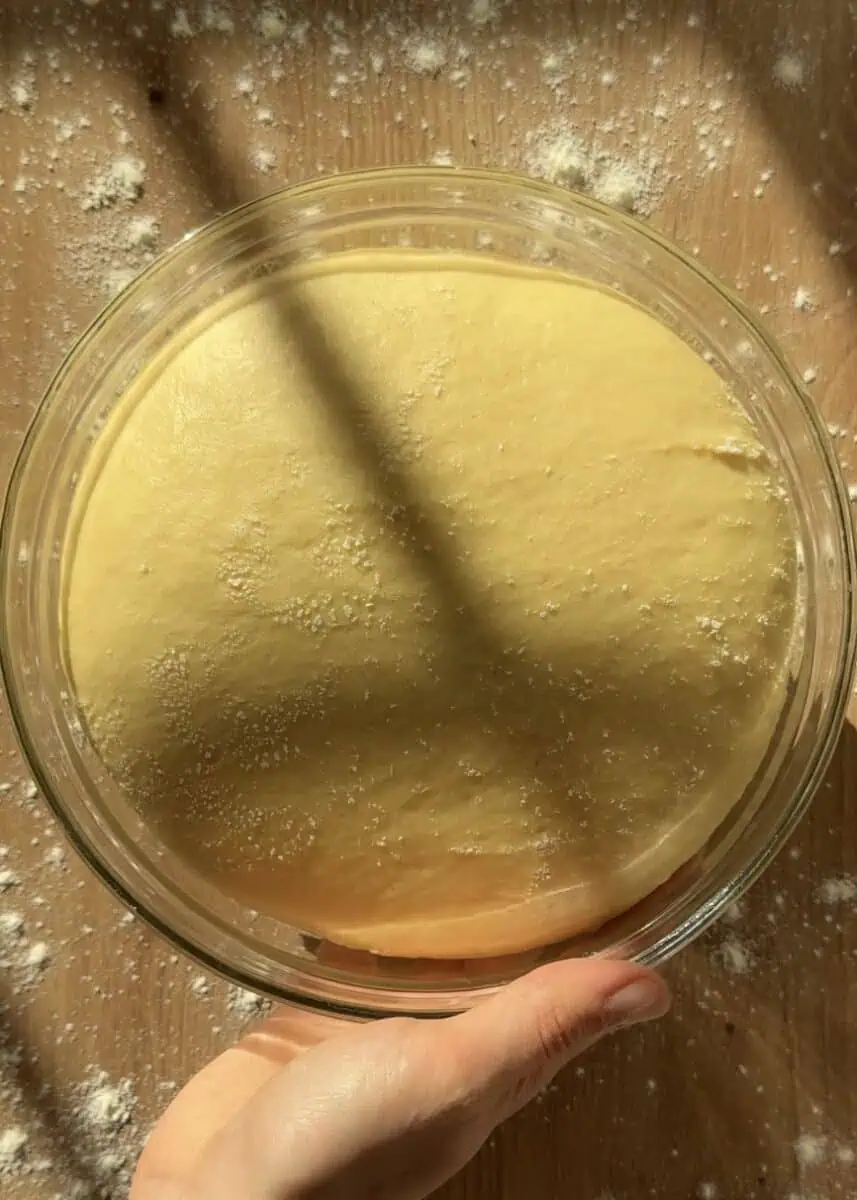
- Give your dough enough time to proof. Rushing this step leads to dense, heavy rolls. You’ll know it’s ready when it has doubled in size and feels airy to the touch.
- Start by adding 250 g of flour, and if needed, add up to 20 g more gradually. The exact amount can vary depending on humidity and flour brand, so always judge by the dough’s texture — it should be smooth, elastic, and slightly tacky but not sticky.
- Proof your rolls in a warm environment. The ideal temperature is around 28–30°C (82–86°F). This helps the yeast stay active and creates beautifully fluffy, bakery-style rolls.

Step-by-Step Overview Photos
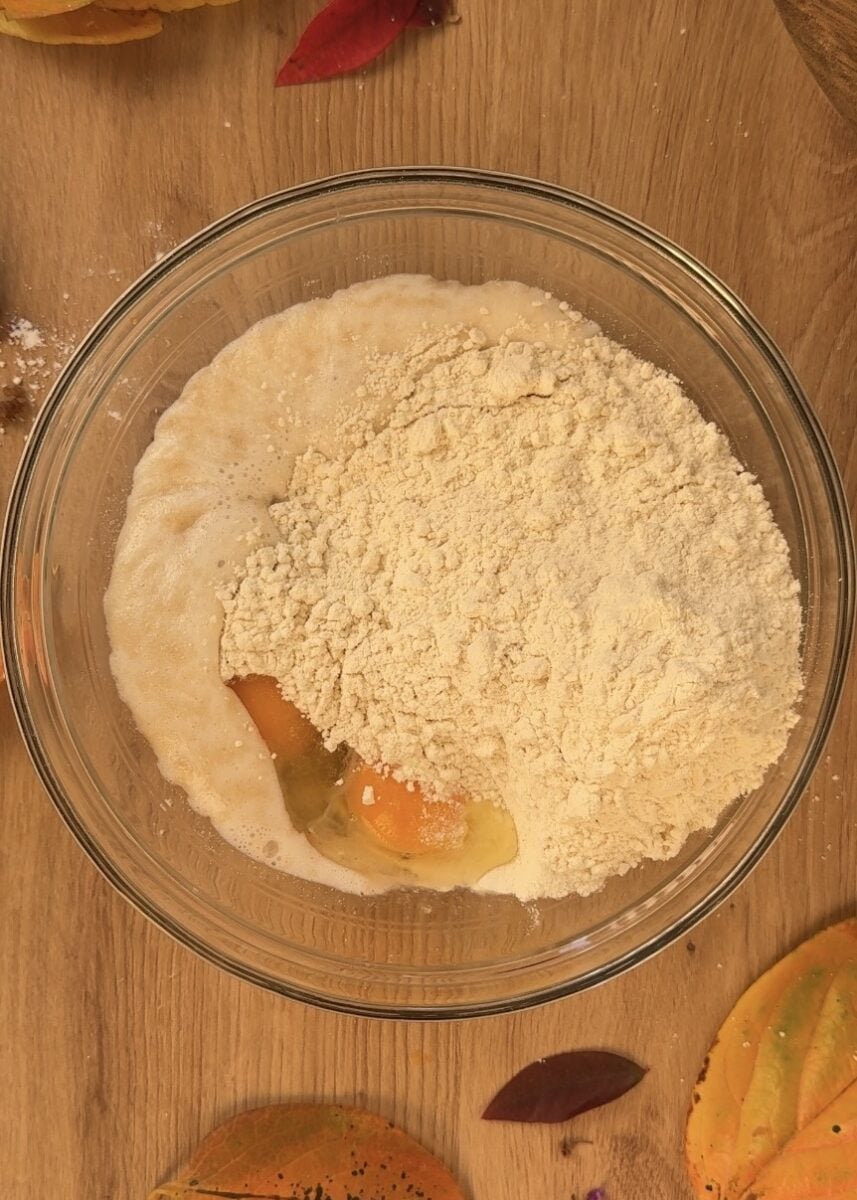
Begin by preparing the warm yeast mixture. Once it becomes frothy and activated, add the rest of the dough ingredients, leaving out the butter for now.
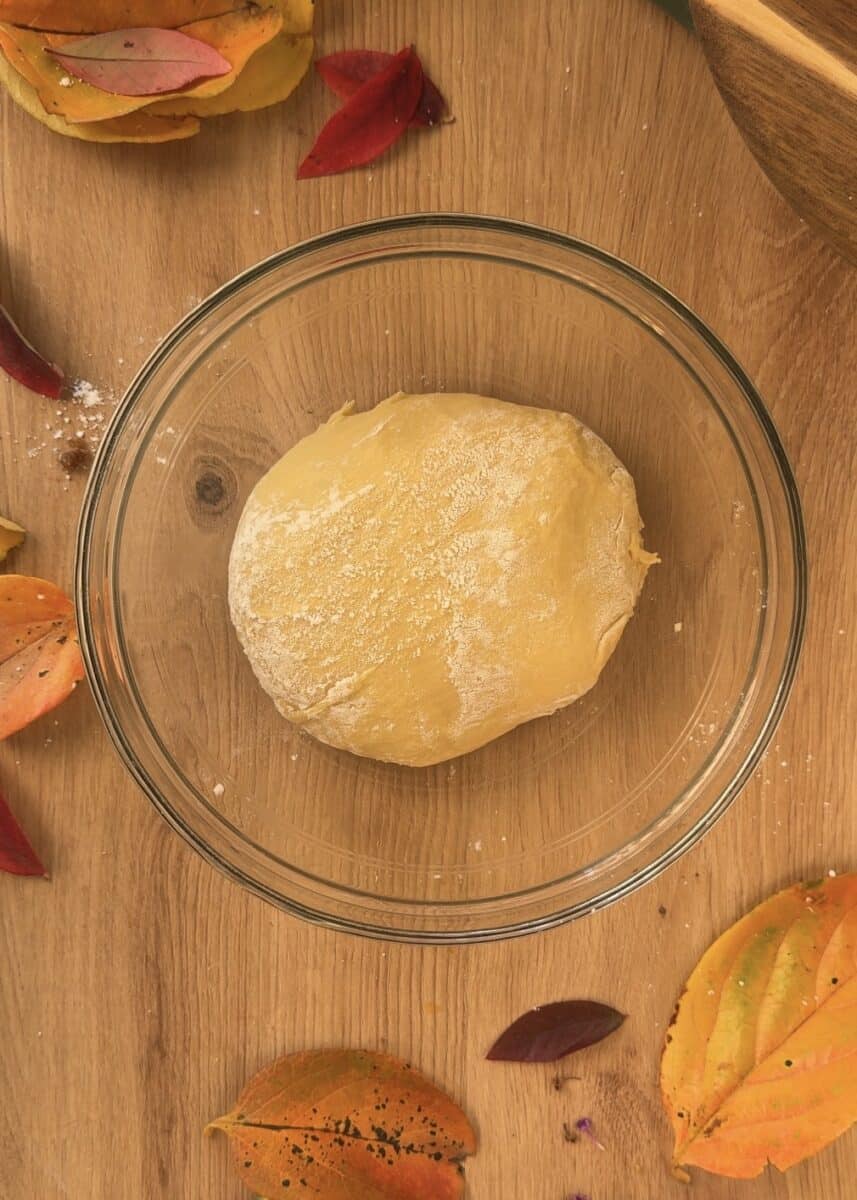
Knead the dough for about 14 minutes until smooth and elastic.
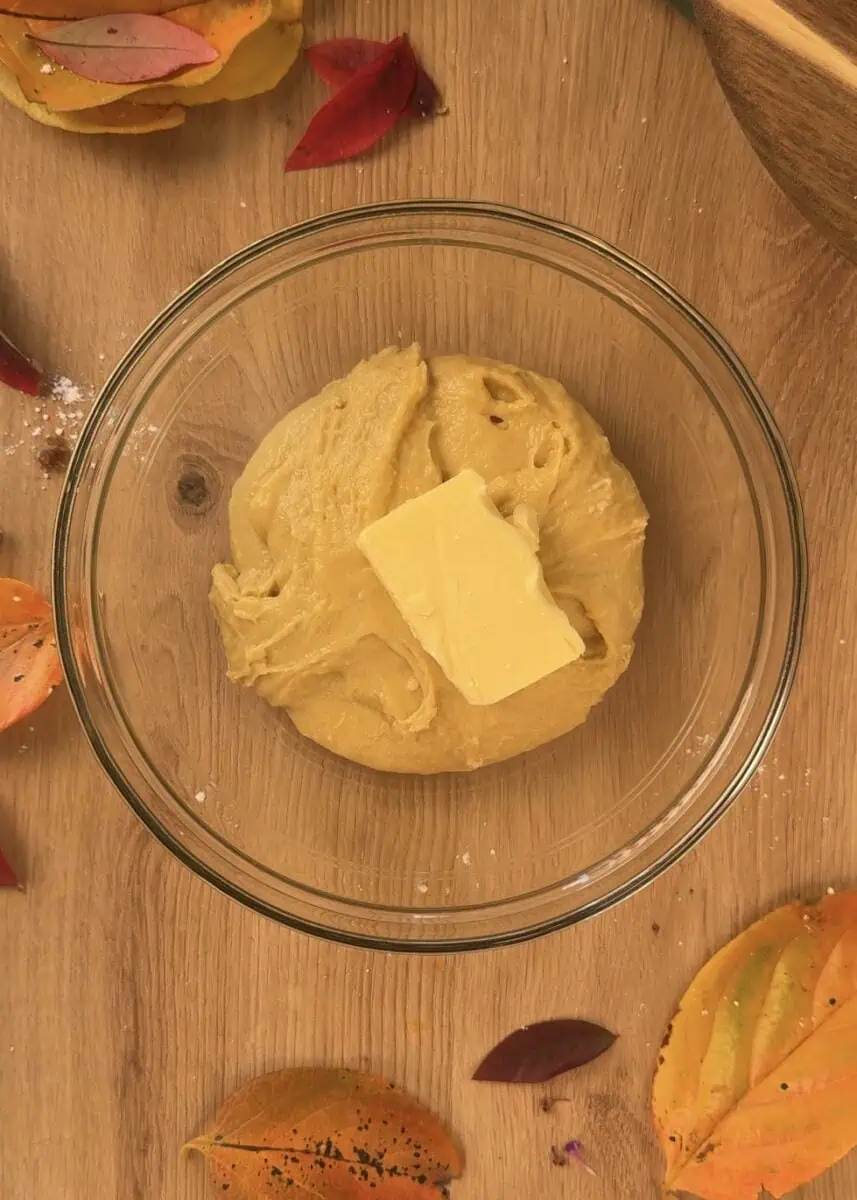
Then add the butter and continue kneading until fully incorporated and the dough is soft and pliable.
Place the dough in a lightly greased bowl, cover it, and let it proof in a warm environment for about 1 hour and 30 minutes, or until it has doubled in size.
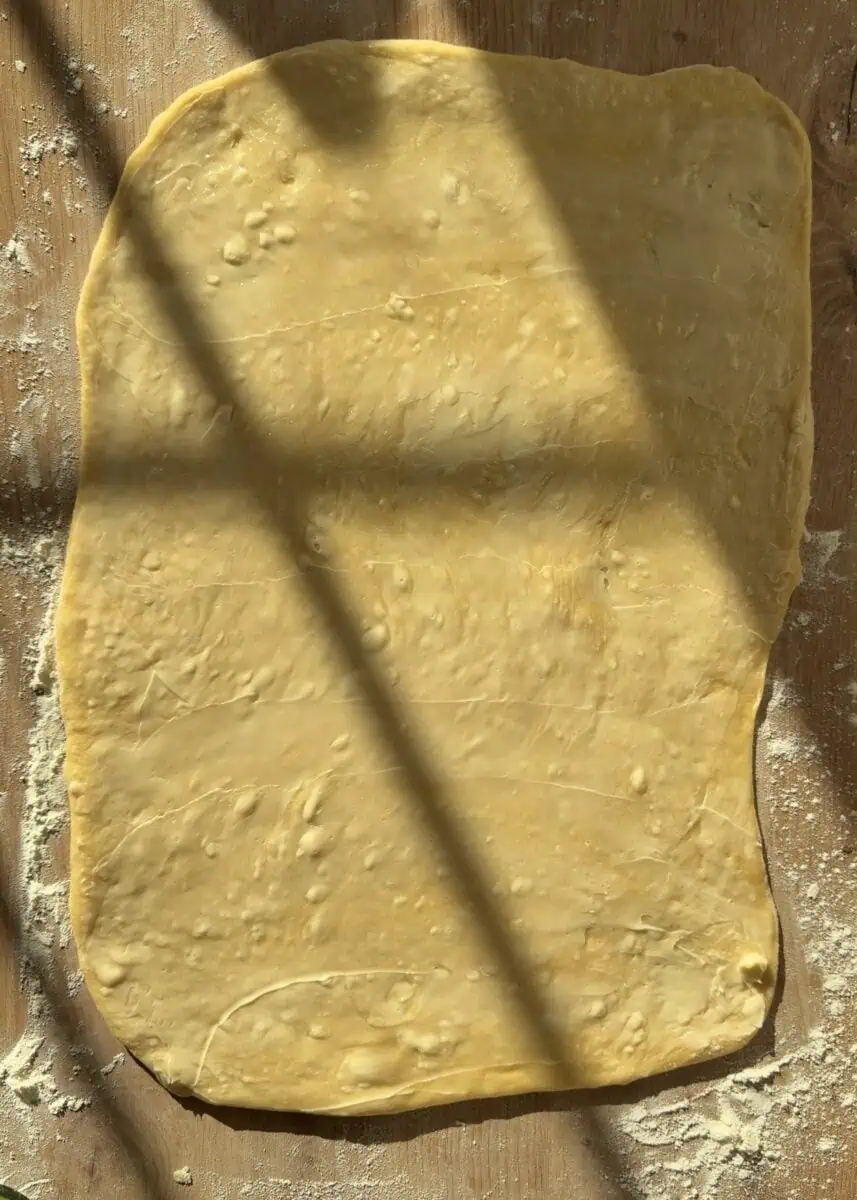
Once proofed, roll the dough out into a large rectangle and spread an even layer of butter over the surface.
In a food processor, blend the cinnamon and Oreos together until finely crushed, then sprinkle this mixture evenly over the buttered dough.

Cut the dough into long strips and roll each one tightly into individual rolls.
Arrange the rolls in a greased or parchment-lined baking dish, leaving a bit of space between each one to allow for rising. Let them proof again for about 30 to 40 minutes, until slightly puffed.

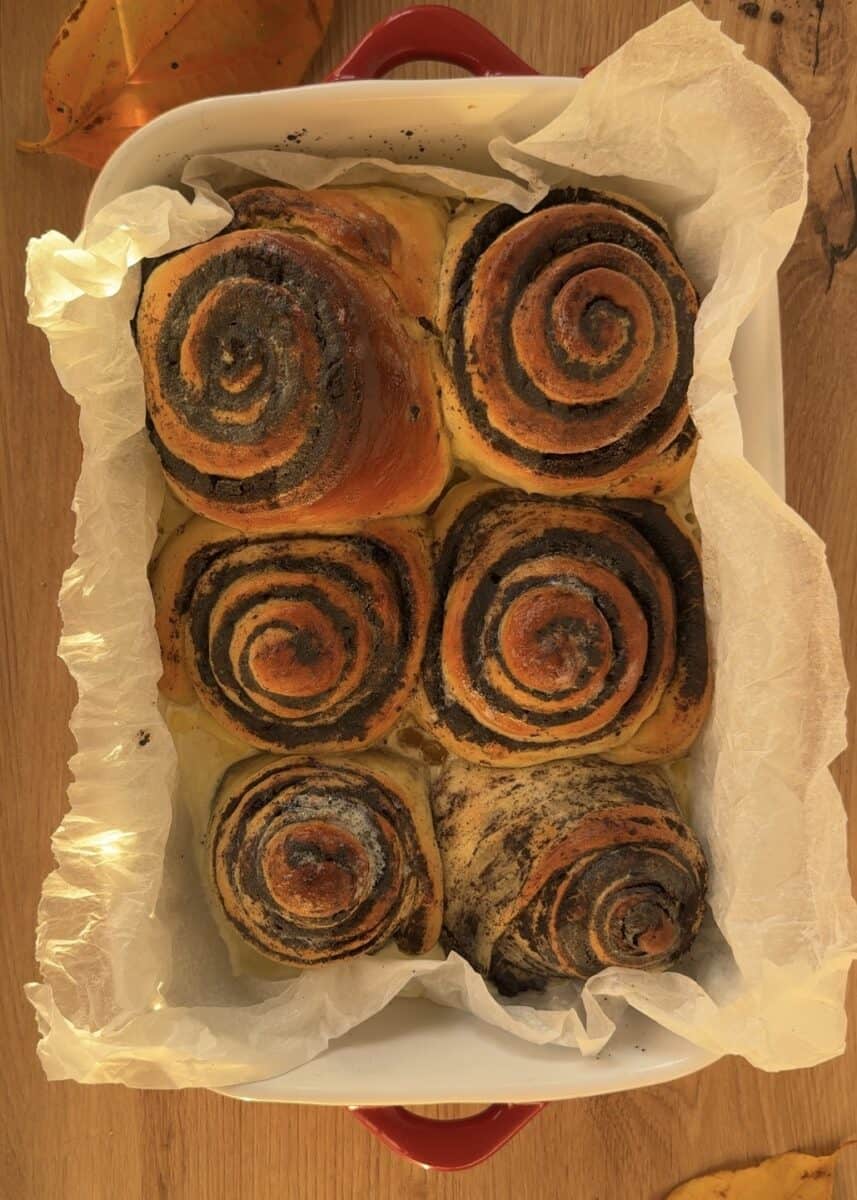
Bake the rolls in a preheated oven until they’re golden brown, soft, and fluffy.
Allow them to cool slightly before adding the icing.
The Best Way to Cut Your Oreo Rolls
I recently found a new favorite way to cut my cinnamon rolls, and honestly, it completely changed the game for me. It’s easier, less messy, and gives you so much more control over the shape and size of your rolls.
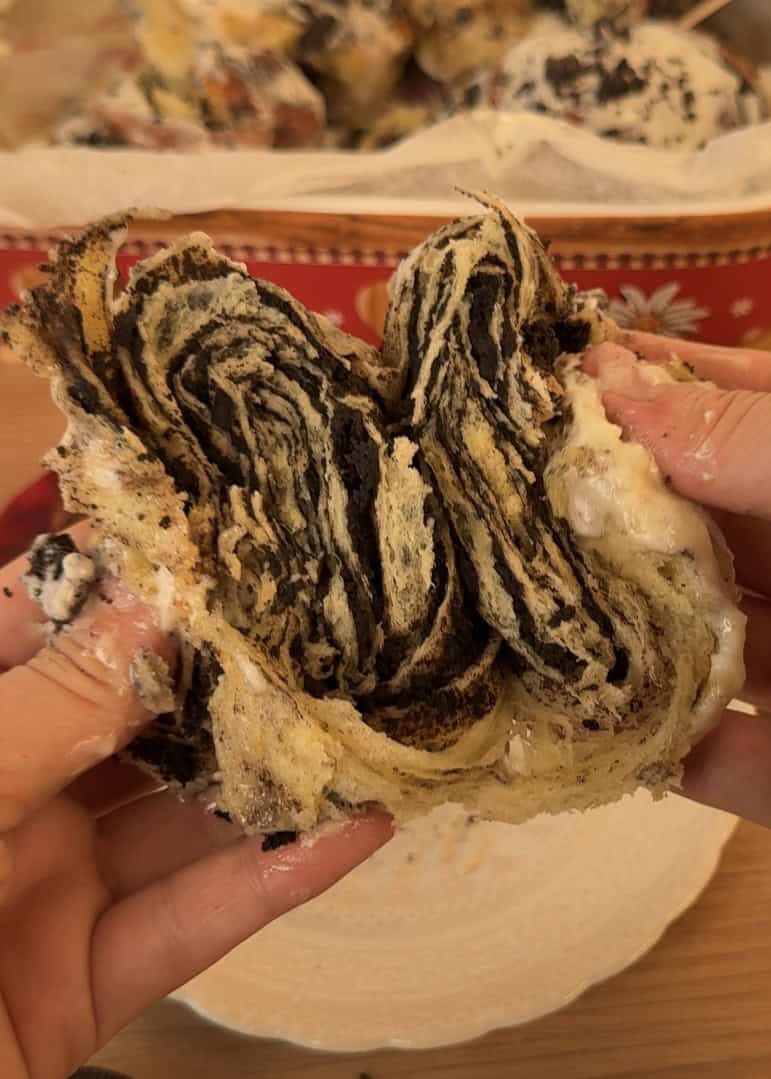
Traditionally, you’d roll up the dough and slice it with a knife, or use kitchen string or dental floss — both of which work great. But this new method is even better. Instead of rolling the dough into one large log, I like to cut long strips of dough after spreading the filling, then roll each strip individually. This keeps the rolls perfectly even and helps them bake more uniformly.
Now, full honesty — we didn’t roll every piece the same size this time (we got a little distracted), but they still turned out absolutely delicious. And that’s what matters most, right?
Icing Using Three Ingredients
For the perfect icing, we’re taking inspiration from our Funfetti Cinnamon Rolls. This one is simple yet delicious — you’ll only need butter, powdered sugar, and cream cheese.
Start by beating the room temperature butter in your stand mixer with the paddle attachment on high speed until it’s soft and fluffy. Make sure to stop the mixer occasionally to scrape down the sides and bottom of the bowl.
Next, add the powdered sugar and mix on low to medium speed until fully combined. Finally, add the cream cheese and keep mixing until the icing is completely smooth and creamy.
This frosting is rich, silky, and perfectly balanced — the ideal finishing touch for your warm Oreo Cinnamon Rolls.
Serving Suggestions
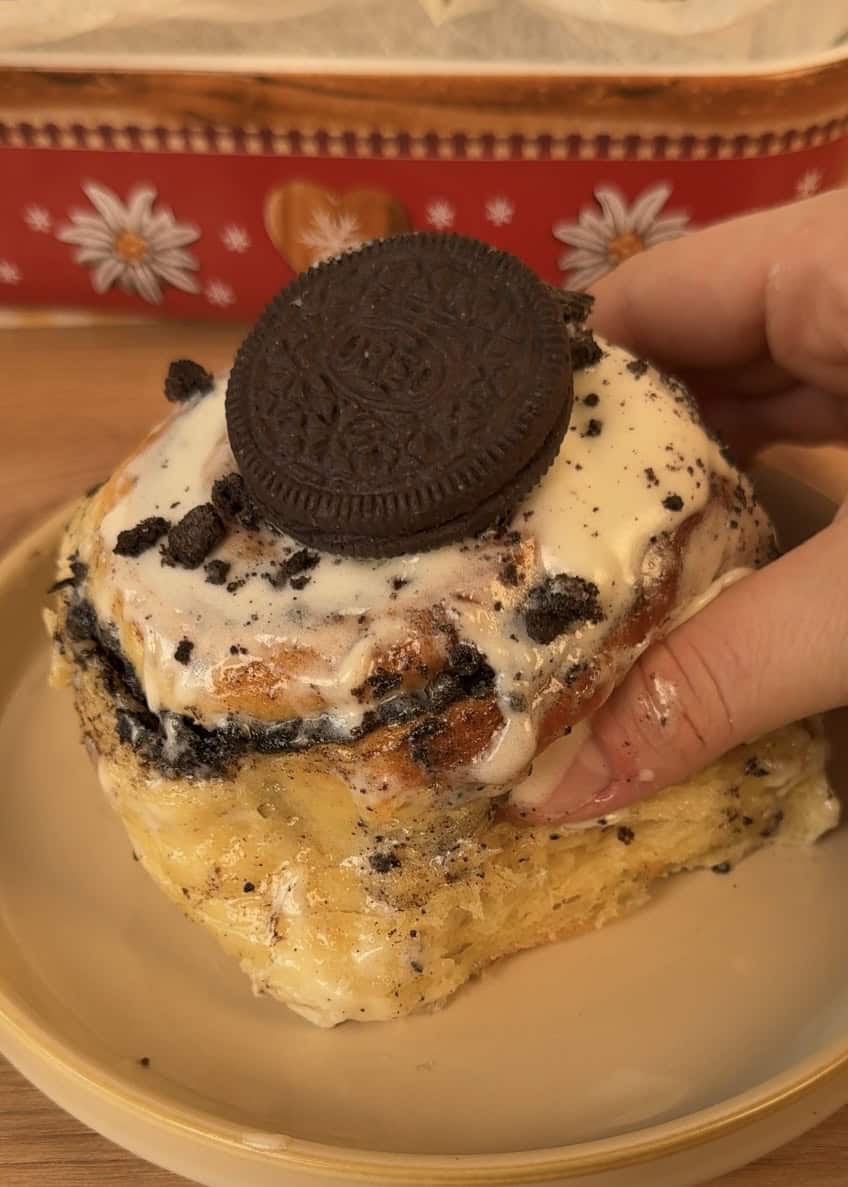
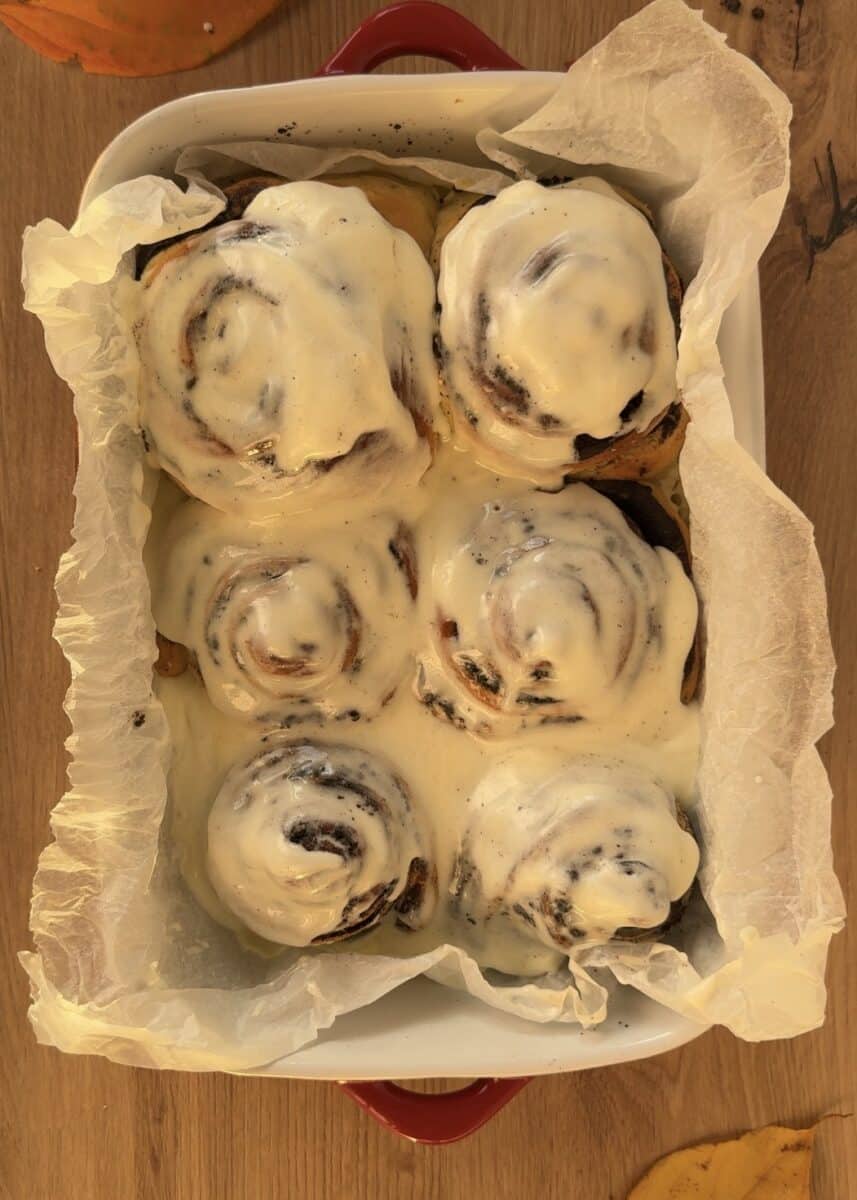
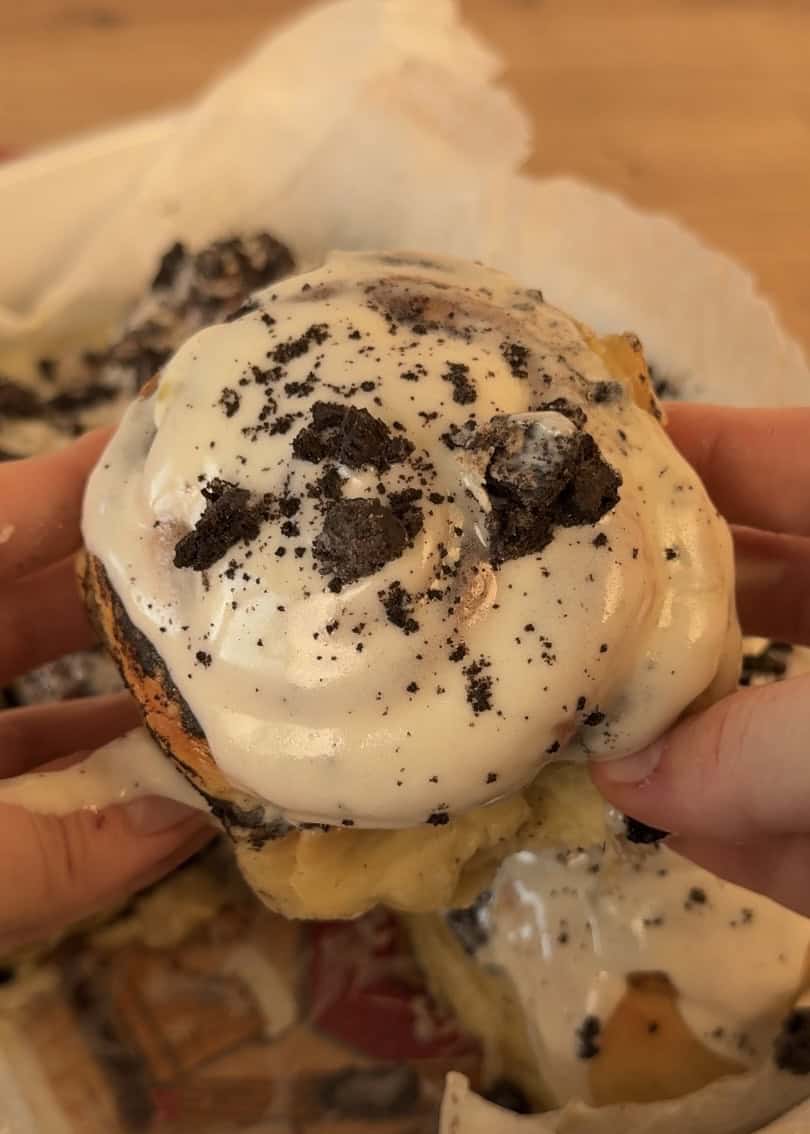
• Add the icing while the rolls are still slightly warm. This helps it melt just a bit and creates that glossy, bakery-style finish everyone loves.
• Sprinkle crushed Oreos on top for an extra layer of crunch and that signature cookies-and-cream flavor.
More options to try:
• A drizzle of warm Nutella over the icing for a decadent, chocolatey twist that pairs perfectly with the cinnamon filling.
Mini chocolate chips or a white chocolate drizzle if you want to make them look extra indulgent and festive.
• Dust a light layer of cocoa powder or powdered sugar on top right before serving for a beautiful finishing touch.
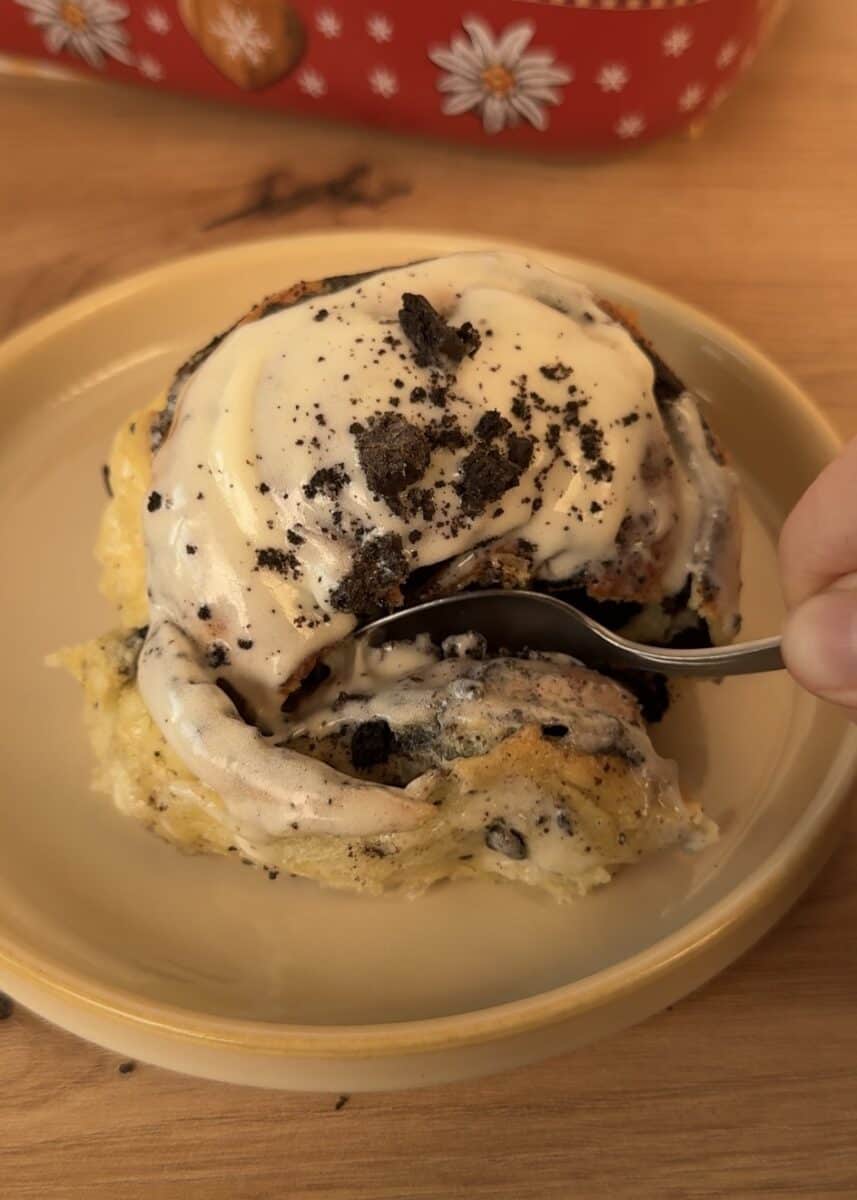
These Oreo Cinnamon Rolls are perfect for breakfast, brunch, or dessert — serve them warm and fresh for the ultimate comfort treat.
Serving Tip: Warm the rolls for 10 to 15 seconds in the microwave before serving. It brings back that soft, gooey texture and makes the icing perfectly melty again.
Storage Tips
- Room Temperature: Store cooled rolls in an airtight container for up to 2 days. This keeps them soft and moist without drying out.
- Refrigeration: Place rolls in an airtight container in the fridge for up to 5 days. Before serving, allow them to come to room temperature or warm slightly for the best texture.
- Freezing: Wrap individual rolls in plastic wrap and place them in a freezer-safe bag or container. Freeze for up to 2 months. Thaw overnight in the fridge and warm gently before serving.
- Icing Storage: If you haven’t added the icing yet, store it separately in an airtight container in the fridge for up to 1 week.
Delicious Variations of Oreo Cinnamon Rolls to Try
- Nutella: Spread a layer of Nutella on the dough before adding the Oreo-cinnamon filling for a rich, chocolatey twist.
- Cookies and Cream Icing: Mix crushed Oreos into your cream cheese frosting to add texture and extra cookies-and-cream flavor.
- White Chocolate Drizzle: Melt white chocolate and drizzle it over the baked rolls for a sweet, creamy contrast.
- Peanut Butter: Add a thin layer of peanut butter under the Oreo-cinnamon filling for a nutty, indulgent variation.
- Mini Rolls: Make smaller, bite-sized rolls, perfect for parties or gifting.
- Caramel: Drizzle warm caramel over the baked rolls to combine sweet, gooey caramel with crunchy Oreo pieces.

Irresistible Oreo Cinnamon Rolls
- Prep Time: 30 minutes
- Cook Time: 25 minutes
- Total Time: 2 hours 55 minutes
- Yield: 6 rolls
- Category: Breakfast, Dessert, Fall Recipes
- Method: Baking
- Cuisine: American
- Diet: Vegetarian
Description
Soft, fluffy, and irresistibly chocolatey, these Oreo Cinnamon Rolls combine the classic comfort of cinnamon rolls with crushed Oreos for a decadent twist. Perfect for a cozy fall breakfast, brunch, or dessert, they’re easy to make, fun to assemble, and topped with a creamy cream cheese icing for the ultimate indulgence.
Ingredients
Dough:
- 100 g (1/3 cup) milk
- 1 1/2 tsp active dry yeast
- 1 tsp sugar
- 250–270 g ( 2–2 1/4 cups) all-purpose flour
- 60 g (1/4 cup) granulated sugar
- 45 g (3 tbsp) butter
- 1 egg
- 1 egg yolk
Filling:
- 80 g (6 tbsp) soft butter
- 200 g Oreos ( 12–14 Oreos)
- 1 tsp cinnamon
Icing:
- 200 g (under 1 cup) butter
- 250 g (2 cups) powdered sugar
- 100 g (1/2 cup) cream cheese
Topping:
- 2 Oreos, chopped
Instructions
Dough
- Activate the yeast by mixing warm milk, sugar, and active dry yeast. Let it sit for 10–15 minutes until frothy.
- Make the dough by adding flour, granulated sugar, egg, and egg yolk. Knead for 14 minutes until smooth.
- Add the remaining butter and knead for about 10 more minutes.
- First proof: let the dough rise in a warm spot at about 29°C (84°F) until doubled in size, around 1 hour and 30 minutes.
Assemble
- Prepare the filling by blending Oreos with cinnamon. Spread softened butter over the rolled-out dough, then sprinkle the Oreo-cinnamon mixture evenly.
- Shape the rolls by cutting the dough into strips, rolling each individually, and placing them in a greased baking dish.
- Second proof: let the shaped rolls rise at 29°C (84°F) for 30–45 minutes until puffy. Preheat the oven to 180°C (350°F) and drizzle a little heavy cream over the rolls before baking for extra fluffiness.
Bake and prepare icing.
- Bake in the preheated oven for 20–25 minutes until golden brown.
- Make the icing by whipping room-temperature butter until soft, scraping the sides and bottom as needed. Add powdered sugar and mix until slightly white and fluffy, then add cream cheese and continue mixing until smooth.
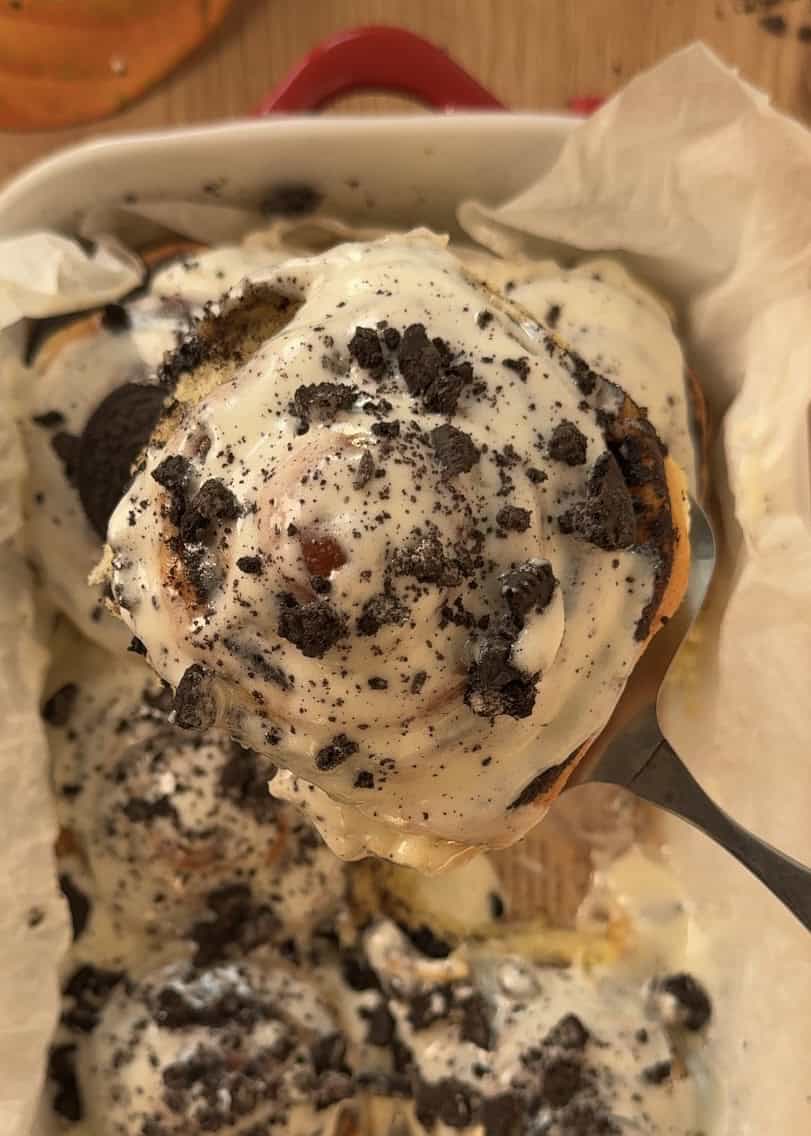
- Finish the rolls by spreading icing on top and sprinkling with chopped Oreos.
Equipment
Buy Now →
Buy Now →
Buy Now →
Buy Now →
Buy Now →
Buy Now →
Buy Now →
Buy Now →  Buy Now →
Buy Now →
Buy Now →
Buy Now →
Buy Now →  Buy Now →
 Notes
- Make sure your yeast is fresh and properly activated; old yeast can prevent the dough from rising.
- Use room-temperature butter and eggs for a smooth, elastic dough.
- Proofing is key: underproofed dough will result in dense rolls, overproofed dough may collapse.For evenly sized rolls, try to cut strips of similar width before rolling.
- Drizzling a little heavy cream before baking helps make the rolls extra fluffy.
- Always cool slightly before adding the icing to prevent it from melting.
Nutrition
- Serving Size: 1 roll
- Calories: 410 kcal
- Sugar: 30 g
- Sodium: 200 mg
- Fat: 22 g
- Saturated Fat: 13 g
- Unsaturated Fat: 8 g
- Trans Fat: 0 g
- Carbohydrates: 46 g
- Fiber: 2 g
- Protein: 6 g
- Cholesterol: 70 mg
ARCHER'S FOOD
Easy and delicious recipes


Very good