Soft, fluffy, and delicious Ferrero Rocher-inspired chocolate bun. This older recipe from our website has been updated and improved.

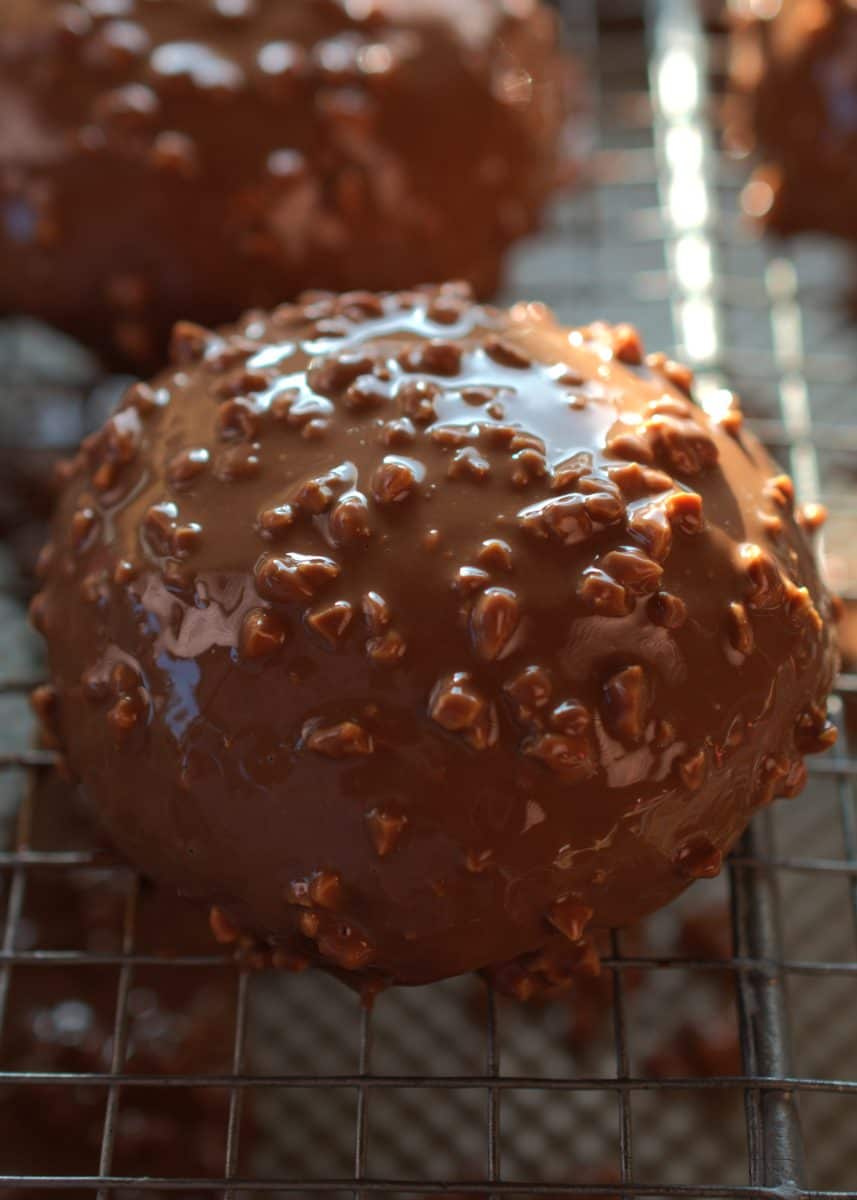
A soft chocolate brioche, filled with Nutella and covered in chocolate with a chopped hazelnut mixture. This bun recipe is like eating a Ferrero Rocher in a bun form.
Add to your shopping list!
For this recipe, we are using hazelnuts and Nutella. You can substitute both with any other nut you prefer, or no nut, and the Nutella can be changed to any brand of chocolate spread. Most of the ingredients from this recipe you can easily find at stores.
- Granulated sugar: It will sweeten the dough and feed the active dry yeast.
- Active dry yeast: Make sure you are using a fresh (not expired or old) yeast.
- Milk: warm to activate the yeast. If it’s too hot, it will kill the yeast, and if it’s too cold, it will not do anything.
- Eggs: leave them on the counter 1 hour before you start preparing this recipe so they are at the right temperature.
- All–purpose flour: It will give structure to the brioche.
- Salt: enhances the flavors. If you add too much, the brioche will not proof properly and will be too salty.
- Cocoa powder: Use rich 100% cocoa powder. No sugar added.
- Butter: unsalted room temperature butter. We will add it in the last 10 minutes of kneading.
- Nutella: to fill each one of the buns.
- Chocolate and cocoa butter: we will melt the chocolate and make it thinner so it’s not covered in too thick a layer.
- Hazelnuts: chopped.
If you don’t have cocoa butter, you can use coconut oil.
 Buy Now →
  Buy Now →
  Buy Now →
  Buy Now →
  Buy Now →
  Buy Now →
  Buy Now →
  Buy Now →
  Buy Now →
  Buy Now →
  Buy Now →
  Buy Now →
 Key points
- Kneading and proofing the dough.
- Shaping, Nutella should not escape.
- Bake thoroughly.
- Thin chocolate coating.

How to prepare the cocoa dough
In most of the doughs we prepare in the archersfood kitchen, we use active dry yeast, so it needs to be activated. Prepare a mixture of warm milk, sugar, and yeast. Let it sit for 15 minutes, and the top should become foamy.
If you don’t see foam on top of the mixture, here is the reason why it might not have happened.

1. Temperature of the milk
- The Ideal milk temperature to activate the yeast: 110F-115F (43C-46C). At this temperature, the yeast will be activated. It will feel warm to the touch, but it doesn’t burn at all.
- If the milk is too cold: under 100F (38 °C), the yeast won’t be activated; it’s sleeping, and it won’t do anything.
- When the milk is too hot: at 120F (49 °C), the yeast will be killed. You will need to start from zero, as the yeast is not going to be activated at all at this point.
2. Yeast is old or not stored properly
- I recommend you keep the yeast stored in the fridge. If your active dry yeast is stored in the counter or pantry, it can last from 2 weeks to 1 month.
- A yeast that is stored in the fridge will last you 3-4 months if stored properly.
- If you don’t normally use yeast and it normally goes bad, you can store it in the freezer for up to half a year.
3. Environmental conditions
If you are preparing the mixture in a windy and cold area, it will most likely not work properly and stay inactive. Make sure you are in a warm and wind-free environment.
When to add butter to your dough
When you add the butter to your dough matters in the result and proofing process.
Start by kneading the dough with all of the ingredients minus the butter. I recommend you knead on medium-low speed and use the dough hook attachment for 15 minutes.
After 15 minutes, add the room-temperature soft butter, and continue kneading for 10 minutes.
This will make your dough extra fluffy, soft, and airy, making it the perfect chocolate bun.
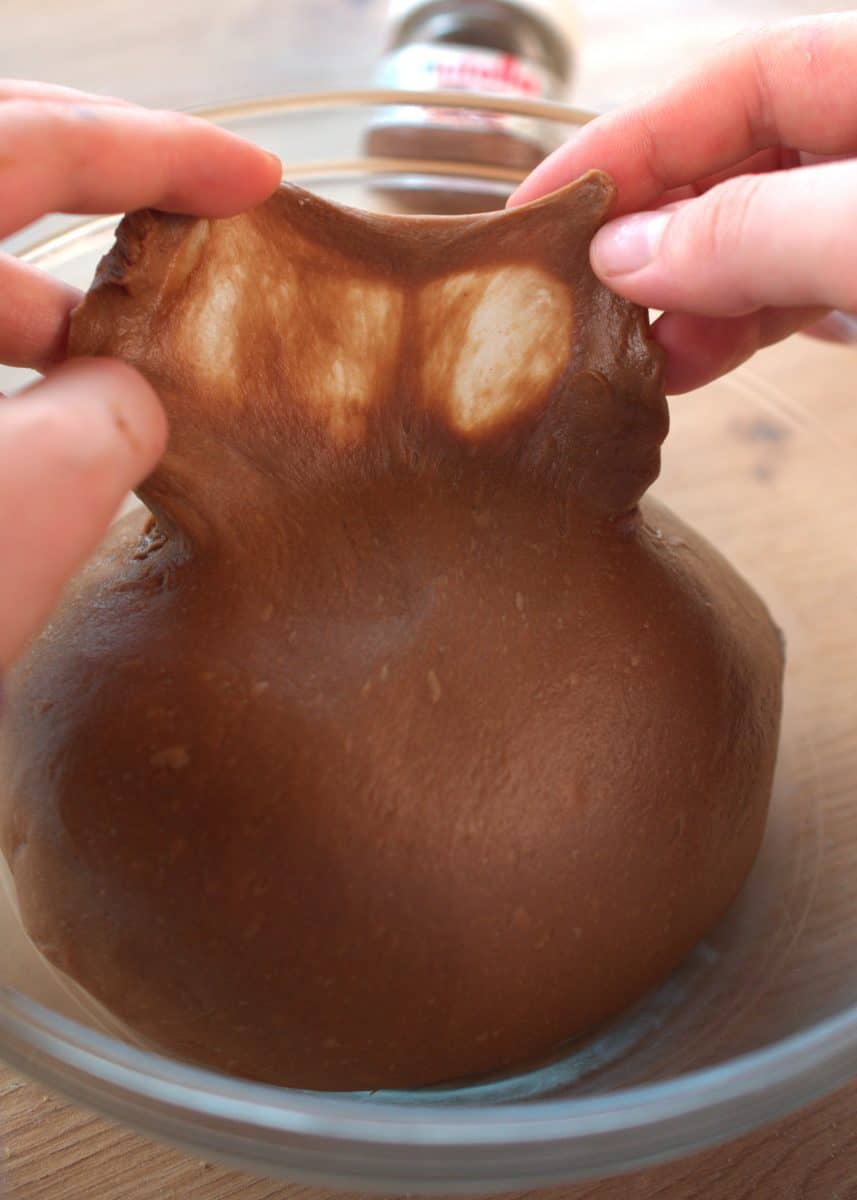
When the dough has been properly kneaded, you will be able to see through it when stretching it with your fingers.
Proofing your dough
The temperature you proof your dough is very important. If it’s in a cold environment, it will slow down the process (for example, in the fridge all night), but if it’s proofed in a warm environment, it will be ready faster and when needed.
If the dough is stuck in a temperature range between, it will become sour.
To have better control over the temperature, I use a dough proofer machine. I set the temperature to about 80F (27C) and let it proof without having to worry about wind or cold weather.

This dough needs to be proofed twice, first after kneading the dough and a second time after shaping it and filling it with Nutella. Both proofings are very important for a soft crumb. Don’t skip them.
BEST tips to make cacao brioche
- Add the butter at the right time, don’t rush it; it helps with the structure of the dough when proofing and baking. It will also give you a softer bun.
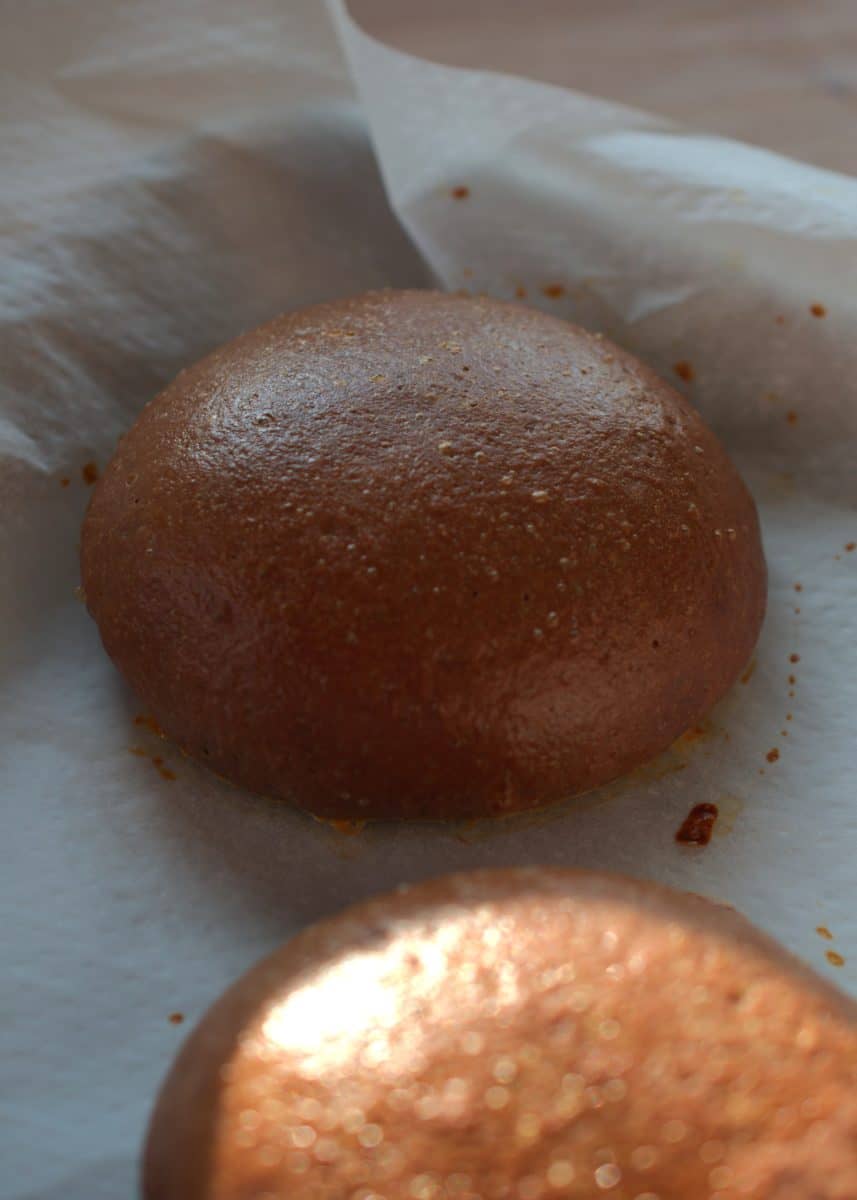
- Egg wash is ideal to help the dough have a nice golden color instead of pale and matte.
- Make sure you keep the Nutella inside; we don’t want it to escape the dough, as it will burn.
- Don’t rush the proofing times. This dough needs to be proofed twice, once after we knead the dough, which is the longest time, it takes about 1 hour and 30 minutes, and another time after we shape it, which takes about 30 minutes. When we proof the dough, we want to see the dough growing in size; it will become soft to the touch and airy.
- Proofing temperature matters. I proof my doughs always from 26° C (78.8F) to 30 °C (86F), depending on what I am making. The dough grows beautifully every time.
- Melt the chocolate with cocoa butter for a thinner coat.
How to shape
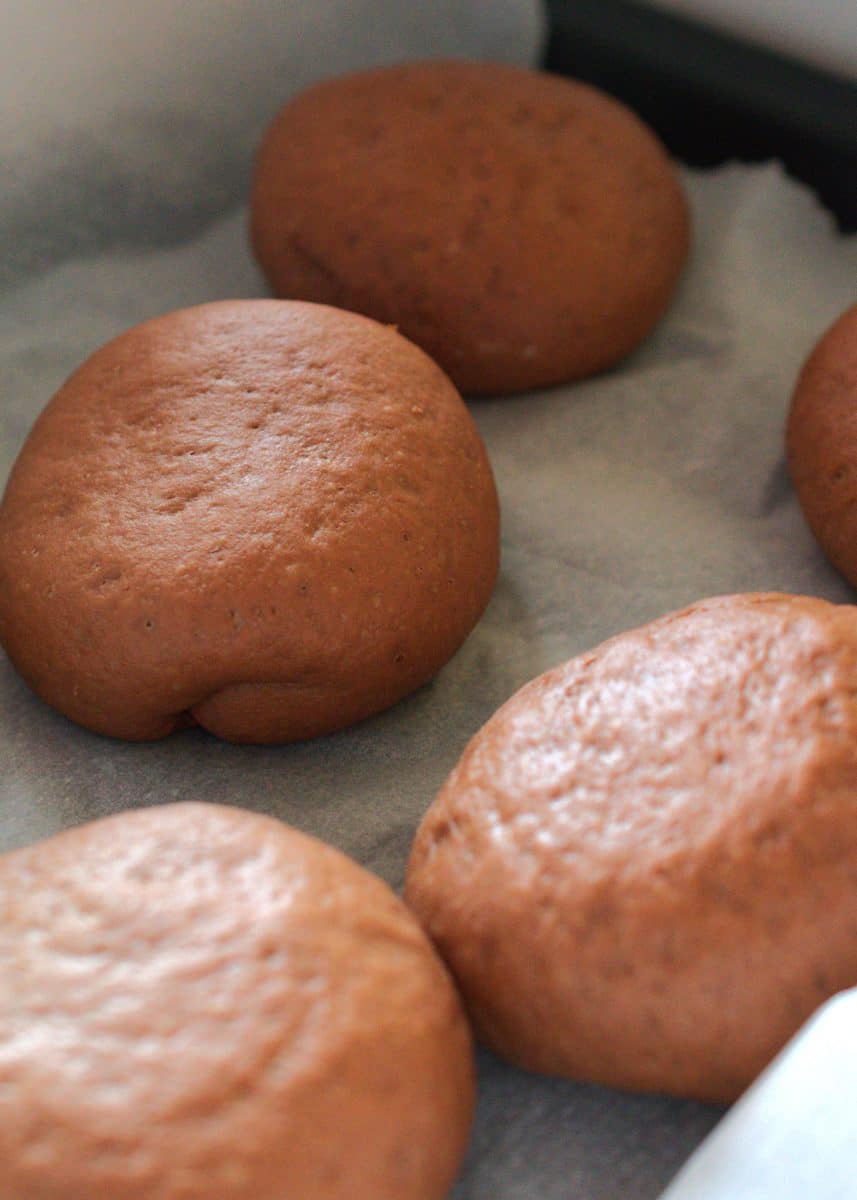
The most important thing when shaping this brioche is keeping the Nutella closed inside. Separate the dough into 8 equal portions and shape them round. Roll out the dough slightly, don’t do it too thin. Check for the smooth side and keep it touching the worktable; you should have the wrinkled side facing you.
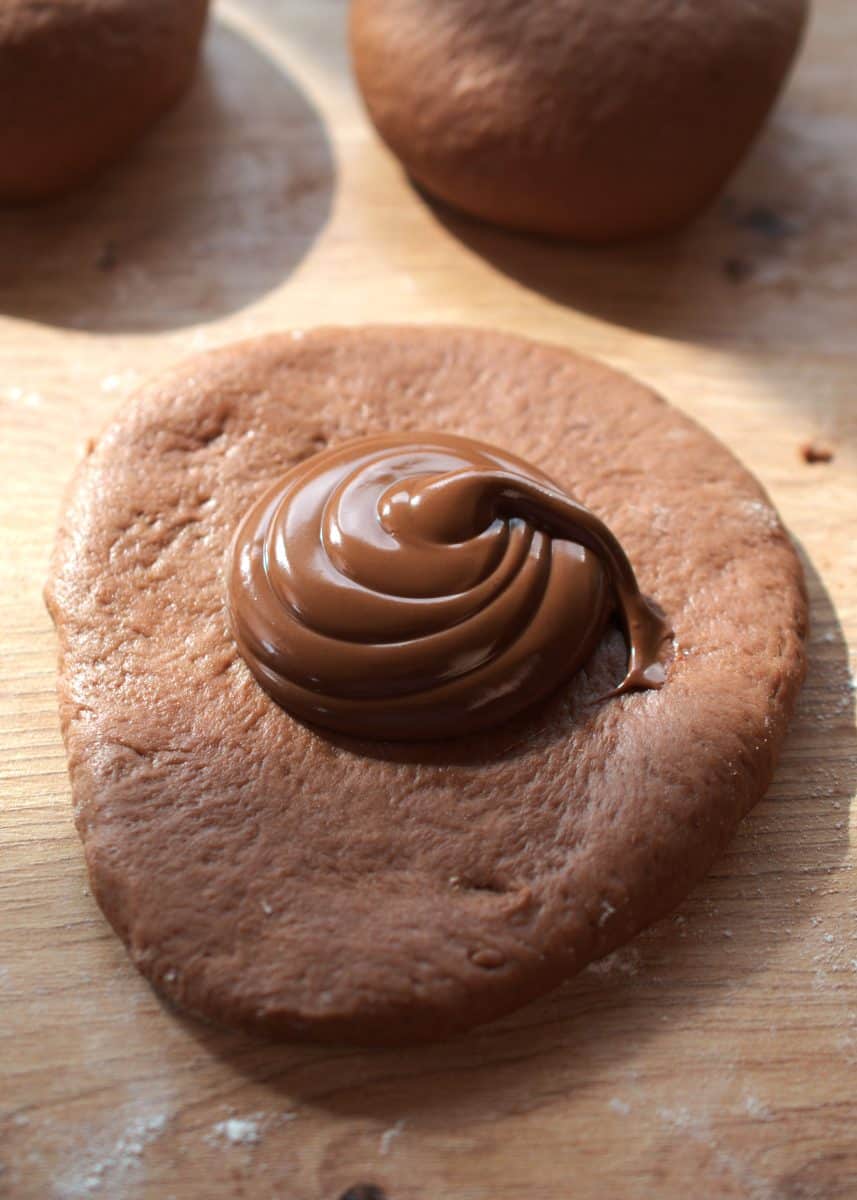
Using a piping bag filled with Nutella or a spoon, add the Nutella in the center. Grab all the sides and pinch them together. Put them in a baking tray lined with parchment paper or one that has a Silpat in it. Keep the closure facing down.
How to make a thin chocolate coating
A problem so many people encounter when coating things in chocolate is that it leaves a very thick layer of chocolate coating. Which we don’t want for different things, too expensive, unnecessary, and an uncomfortable amount of chocolate.
That’s why you have to make it thinner. We use cocoa butter, but you can use coconut oil, for example. The idea is to use something that, when it cools down, will harden. But when it’s warm, it will be thinner.
First, I melt the cocoa butter, and once it’s melted, I add the chopped chocolate and let it sit untouched for 3-4 minutes, and melt it fully.
Tools you will need
- Mixing bowl or the stand mixer bowl: this is where you will prepare the dough and the yeast mixture.
- Rolling pin: we will need it to roll out each one of the dough pieces.
- Piping bag: very useful to pipe the Nutella in the middle of the dough, you can use a spoon instead.
- A baking tray: any baking dish you have for the oven. Make sure it’s big enough so they can grow in the oven without touching each other.
- Parchment paper: It makes cleaning much easier and faster, and it prevents the dough from sticking to the pan. You can use a Silpat instead.
- Brush: for the egg wash.
- Dough proofer machine: super important if you love making dough recipes, this will be super helpful to proof the dough easily.
- Pan: to melt the cocoa butter and chocolate
- Cooling rack with a tray under: when you coat the buns, the excess chocolate will fall into the tray and collect it all.
shop the tools
 Buy Now →
  Buy Now →
 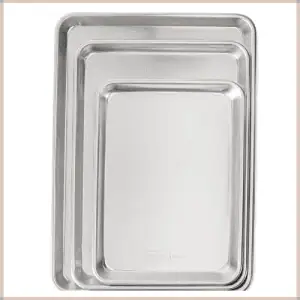 Buy Now →
 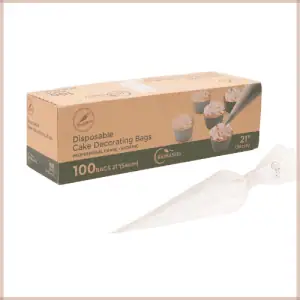 Buy Now →
 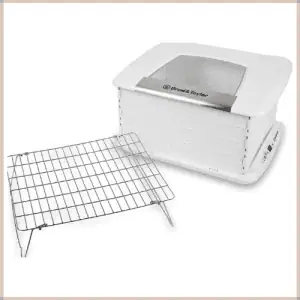 Buy Now →
  Buy Now →
 How to store and reheat
Most homemade brioche, breads, and donuts are delicious the first day, but lose so much quality in flavor and texture after the first day. That’s why proper storage will make them taste LIKE FRESH every day.
My number 1 recommendation is freezing. Freeze the fresh brioche and then just reheat whenever you want to enjoy it. It will taste exactly like freshly baked and will not lose much quality. The texture will still be pillowy soft and taste amazing. If you can’t freeze it, keep it in the fridge and reheat slightly before eating.
The chocolate coating will melt slightly, so make sure you don’t warm it up too long, only until just recovered.

How to freeze a brioche
Place all of the Ferrero Rocher-inspired chocolate buns in a tray lined with parchment paper and freeze for about 2-5 hours. All you want if the brioche to be slightly frozen.
Transfer from the tray to a freezer-safe bag. They will not get stuck together and will be very easy to remove, just one whenever needed. Make sure you add the date of the day you made it and the name of the food; this way, you can easily identify it.
It will be safe in the freezer for up to 4 months. After that, it can start to get freezer-burnt and catch weird flavors from the freezer. Make sure you store them properly to enjoy them for longer!
And that’s it! If you try this recipe, make sure to leave us a review below, select as many stars as you think this recipe deserves, and leave a small comment. We appreciate every review you can give. And don’t forget to follow our brand-new Facebook page!
Print
Ferrero Rocher Inspired Chocolate bun
- Prep Time: 30 minutes
- Cook Time: 15 minutes
- Total Time: 2 hours 45 minutes
- Yield: 6 Brioche buns
- Category: Baking, Bread, brioche
- Method: Baking
Description
This delicious treat was inspired by one of our favorite chocolates, Ferrero Rocher. It’s made with a pillowy soft cococa brioche and filled with Nutella. It’s covered in a thin layer of chocolate with halenuts.
Ingredients
DOUGH
- 1 tsp (4 g) granulated sugar
- 2 ¼ tsp (7 g) active dry yeast
- ½ cup + 1 tbsp (130 ml) warm milk
- 2 eggs, room temperature
- 2 ½ cups (320 g) all-purpose flour
- 3 tbsp (35 g) granulated sugar
- ½ tsp (3 g) salt
- 3 tbsp (18 g) cocoa powder
- 3 ½ tbsp (50 g) unsalted room temperature butter
FILLING
- ½ cup (150 g) Nutella
EGG WASH
- 1 egg
COATING
- 1 tbsp (14 g) cocoa butter
- 1 cup (170 g) dark chocolate couverture
- 3 tbsp (24 g) chopped hazelnuts
Instructions
- Start by preparing the sponge to activate the yeast. In a mixing bowl or your stand mixer bowl, mix 1 tsp (4 g) granulated sugar, 2 ¼ tsp (7 g) active dry yeast with ½ cup + 1 tbsp (130 ml) warm milk. Let this mixture sit for 10-15 minutes until foam appears on top of the mixture.
- Add 2 room temperature eggs, 2 ½ cups (320 g) all-purpose flour, 3 tbsp (35 g) granulated sugar, ½ tsp (3 g) salt, and 3 tbsp (18 g) cocoa powder. Knead the mixture for 15 minutes using a stand mixer with the dough hook attachment on medium-low speed.
- After 15 minutes, add 3 ½ tbsp (50 g) unsalted room temperature butter and knead for 10 more minutes.
- Let the dough proof covered in plastic wrap in a warm place, 81°F (27 °C), for 1 hour and 30 minutes, and it should double in size.
- Divide the dough into 8 equal portions and round them. Roll out the dough with a rolling pin until you have enough space to add the Nutella and close it. You don’t want to make it too thin, or the Nutella will break through. Keep the smooth side facing the work table and the wrinkled one facing you.
- Fill a piping bag with ½ cup (150 g) Nutella and pipe Nutella in the center of the dough, pinch the edges together so they stick and the Nutella can’t escape. Place them in a tray lined with parchment paper and let them proof covered with plastic wrap for 30 more minutes.
- Preheat the oven to 355°F 180 °C. Beat 1 egg and brush the buns with it. Bake for approximately 20 minutes.
- After they have been baked, place them in a cooling rack with a tray under.
- Prepare the chocolate coating. In a pan, melt 1 tbsp (14 g) cocoa butter. Once melted, turn off the stove and add 1 cup (170 g) chopped dark chocolate couverture. Let it sit for about 4 minutes and stir to melt. Mix with 3 tbsp (24 g) chopped hazelnuts.
- Pour the chocolate all over the buns, making sure it coats them fully. Let them sit in the cooling rack for 10 minutes. The tray under will collect all the extra chocolate If the top layer didn’t harden, you can place it in the freezer for 5 minutes. Enjoy!
Notes
Wash the cooling rack with hot water so it can easily melt the chocolate that’s stuck.
Nutrition
- Serving Size: 1 bun/8
- Calories: 485 kcal
- Sugar: 23 g
- Sodium: 155 mg
- Fat: 25 g
- Saturated Fat: 14 g
- Unsaturated Fat: 9 g
- Trans Fat: 0 g
- Carbohydrates: 53 g
- Fiber: 4 g
- Protein: 9 g
- Cholesterol: 70 mg
ARCHER'S FOOD
Easy and delicious recipes