
Get ready to fall in love with the most festive, fun, and delicious Christmas dessert of the season, our adorable Grinch No-Bake Cheesecake! This magical treat is perfect for holiday parties, Christmas Eve, or as a sweet surprise for kids and adults alike.
The best part? That gorgeous green color comes naturally from creamy, dreamy pistachio spread, not from artificial food coloring. You get an incredible, nutty flavor in every single bite.

This easy no-bake cheesecake recipe has three simple layers:
- A rich, buttery crust that tastes like Christmas cookies.
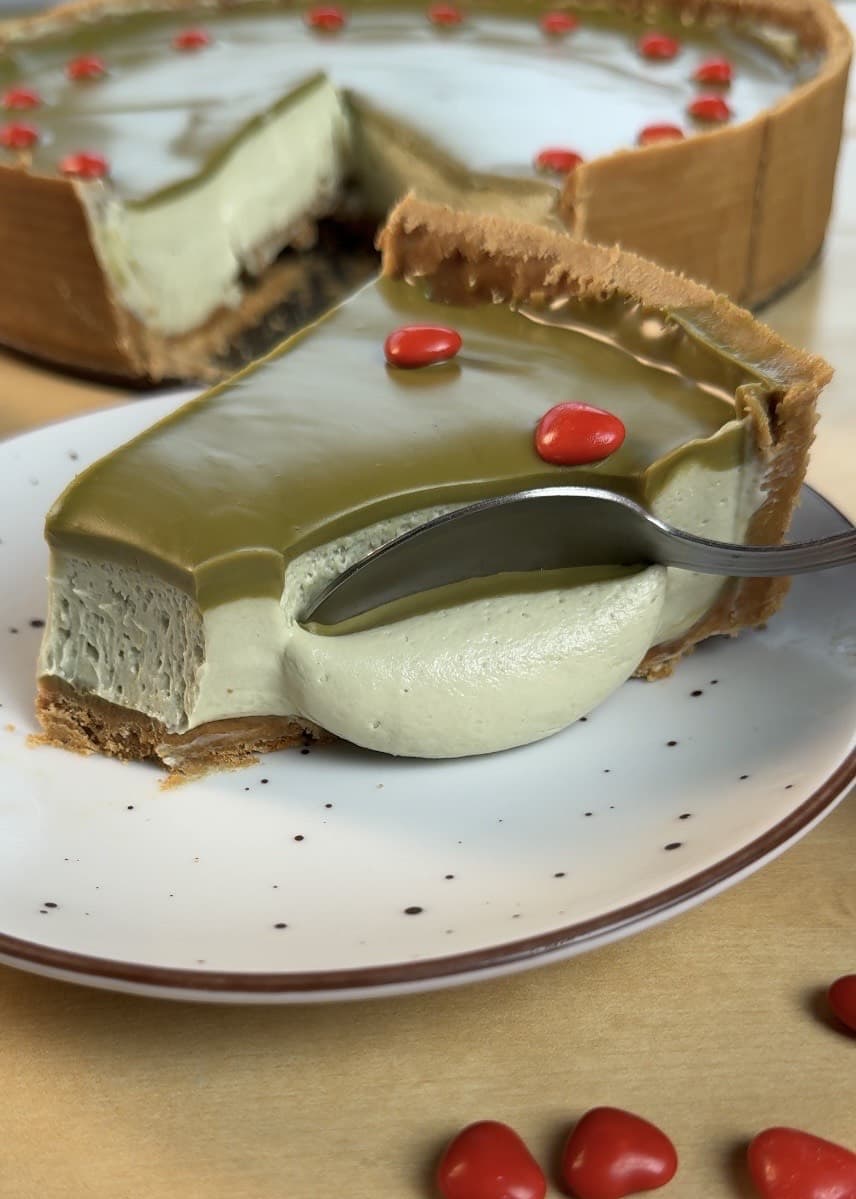
- A velvety smooth pistachio cheesecake filling that’s impossibly creamy.
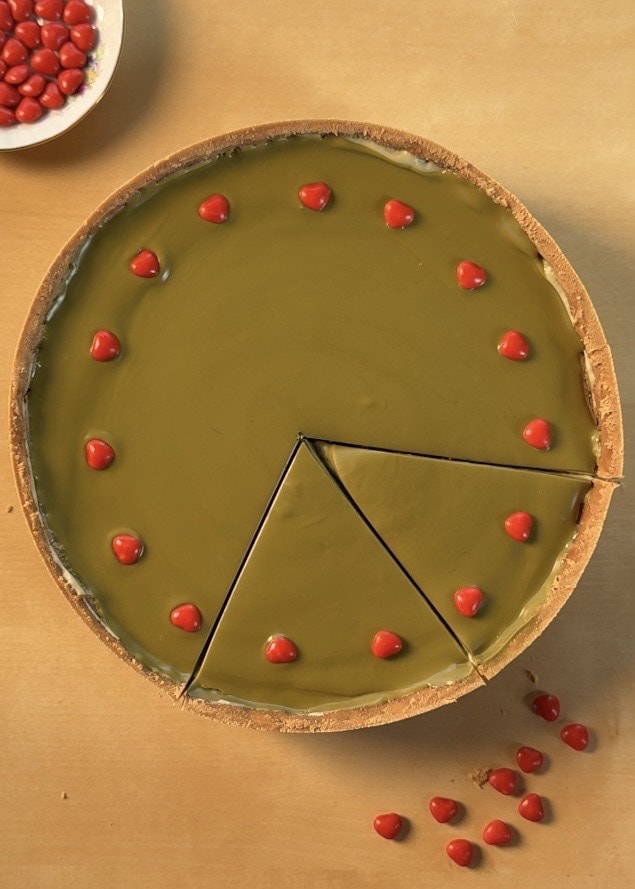
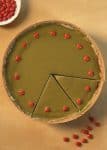
- A glossy pistachio topping decorated with cute little red hearts.
It’s the ultimate make-ahead Christmas dessert, no oven needed, minimal fuss, and maximum holiday cheer. Let’s make some magic!
Grinch Christmas Cheesecake
I love the Grinch. It is one of my favorite movies, and I have been wanting to make Grinch-inspired desserts for a long time.
For this recipe, I did not want to use food coloring for the green. Instead, I decided to use delicious pistachio spread. This makes the cheesecake even more flavorful and gives it a beautiful natural color without any artificial dyes.
If you are looking for more Christmas dessert ideas, try our Candy Cane No-Bake Cheesecake. It is another delicious and easy no-oven dessert that is perfect for the holidays.
Why you’ll love this recipe
- So easy to make, mix and chill for a perfect no-bake dessert
- Incredibly creamy and delicious with a rich, nutty pistachio flavor
- Beautiful natural green color from real pistachio spread, no artificial coloring
- The festive Grinch theme makes it a fun Christmas treat for the whole family
- No oven needed, just simple preparation for stress-free holiday baking
- Make-ahead friendly so that you can prepare it in advance for parties
- A crowd-pleasing dessert that everyone will enjoy and remember
Ingredients you need and why
- Biscuits or Graham Crackers: Blended into fine crumbs for a sweet, buttery crust.
- Butter: Melted and mixed with the crumbs to create a perfect, press-in base.
- Cream Cheese: Use full-fat, room-temperature blocks for the smoothest, creamiest filling.
- Powdered Sugar: Sieved to sweeten the cheesecake without any lumps.
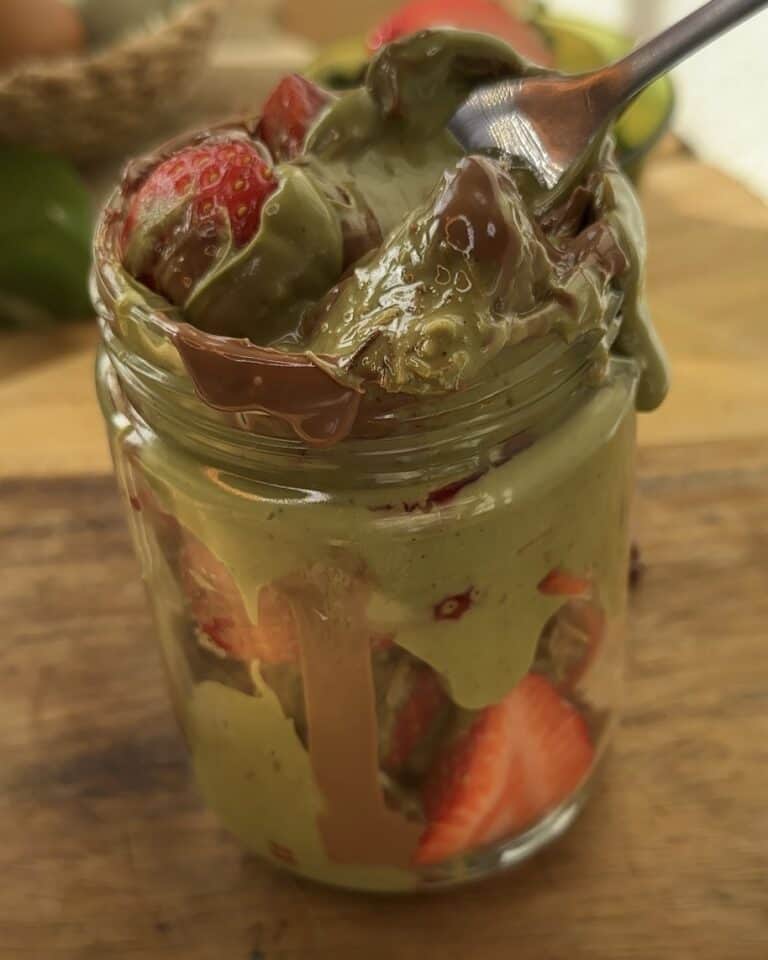
- Pistachio Spread: The star ingredient for a gorgeous, natural green color and rich, nutty flavor.
- Heavy Whipping Cream: Chilled and with at least 35% fat to create a light, fluffy texture in the filling.
- Candy Hearts (Optional): Cute red heart-shaped candies for the perfect festive touch on top.
 Buy Now →
  Buy Now →
  Buy Now →
  Buy Now →
  Buy Now →
  Buy Now →
  Buy Now →
 How to make gelatin-free cheesecake
Creating a beautiful, sliceable cheesecake without gelatin might seem tricky, but I promise it’s totally doable, it just needs a little care. I’ve worked hard to perfect this method, and I’m so excited to share the simple secrets with you.
The wonderful thing about this recipe is that the pistachio spread does more than add amazing flavor and color. When it gets cold, it naturally firms up, which actually helps the cheesecake set beautifully!
Here are my best tips to make sure your Grinch cheesecake turns out perfectly firm and creamy:
- Use room‑temperature cream cheese. Let it soften completely on the counter. This way, it blends smoothly and easily with the other ingredients without any lumps.
- Mix gently with a spatula, not a whisk. I always use a silicone spatula to fold everything together. A whisk can change the texture of the cream cheese and make it harder for the cheesecake to set properly.
- Be patient and don’t overmix. Once you add the whipped cream, fold it in gently just until no white streaks remain. Overmixing can make the filling too soft.
- Give it plenty of time to chill. Let your cheesecake set in the fridge for a full 8 hours, or even overnight. The cold allows the pistachio spread and cream cheese to firm up perfectly.
Follow these simple tips, and you’ll have a stunning, sliceable Grinch cheesecake that’s as fun to make as it is to eat!

Ginch Cheesecake Overview with Photos
How to make a cheesecake cookie base
We start with a crust made from finely crushed biscuits mixed with melted butter. Press the buttery crumbs firmly into a springform pan.
The mixture should hold together when you pinch it—like wet sand. If it seems too dry, just add a little more melted butter.

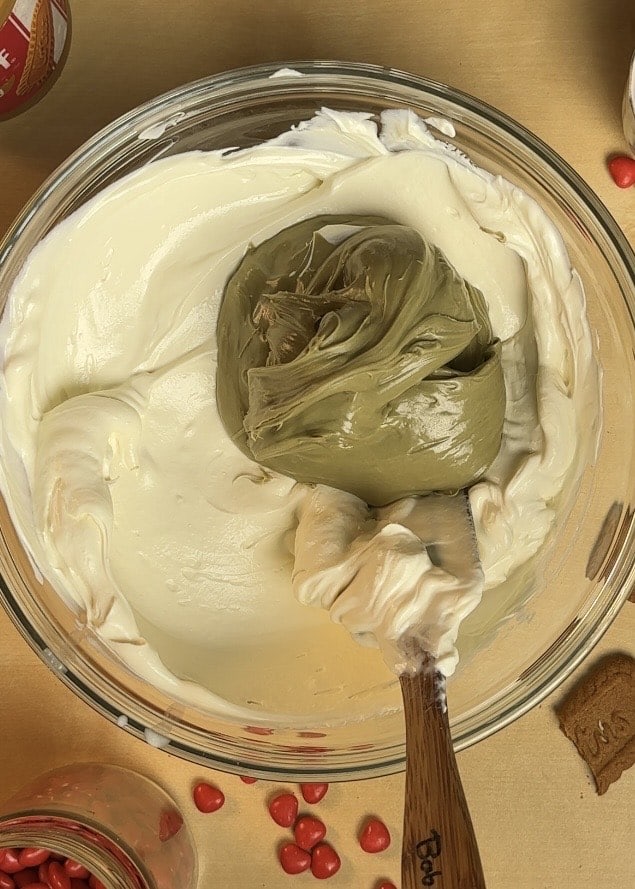
In a large bowl, mix the room-temperature cream cheese with the pistachio spread using a spatula until completely smooth.
In a separate, cold, dry bowl, whip the heavy cream with the powdered sugar until it’s light and fluffy.
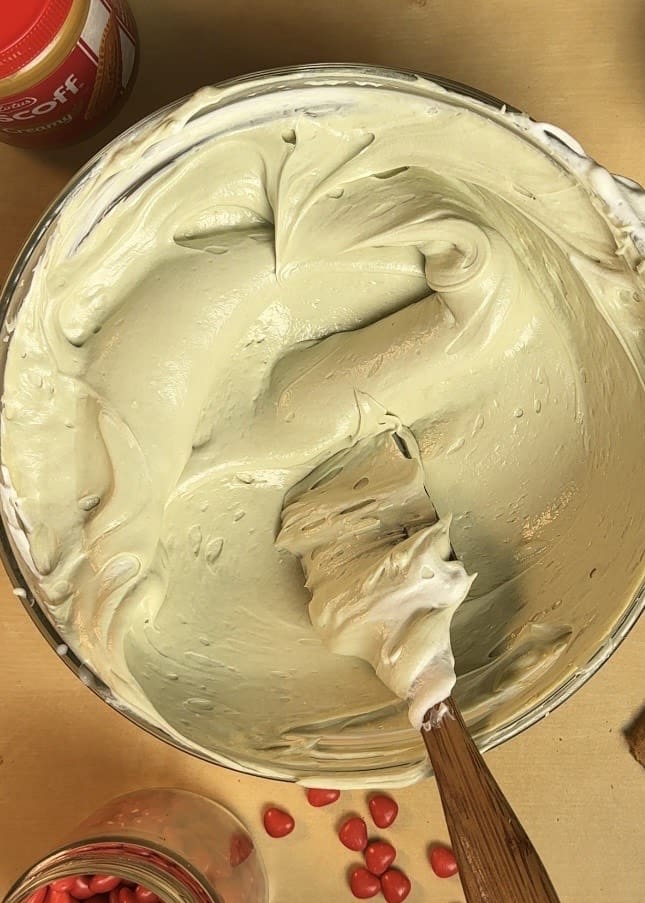
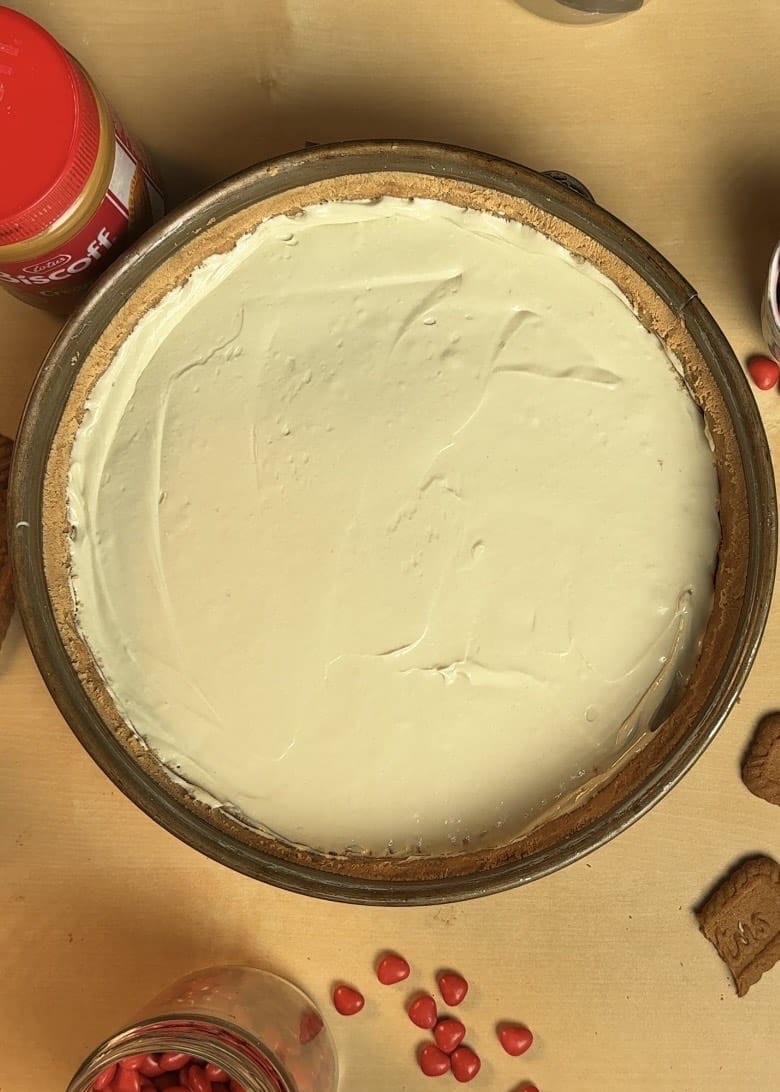
Then, gently fold the whipped cream into the cream cheese mixture until you have a beautifully smooth and uniform green filling.
Pour the creamy cheesecake filling into the prepared cookie crust. Smooth out the top with a spatula, then place it in the refrigerator to chill and set completely.
How to choose the right Heavy Whipping Cream
Picking the right heavy cream for a no-bake cheesecake can be a game-changer. I’ve definitely been there, wondering why my cream wasn’t whipping up right. Let me save you the trouble.
Go for the good stuff. You’ll want a carton that says “heavy whipping cream” with at least 35% milk fat. The lower-fat options like light cream won’t whip up properly—save those for your coffee.
Here’s the real tip: even heavy cream can get a little moody. If you whip it for too long, it can turn grainy instead of staying smooth. The sweet spot is stopping as soon as you get soft peaks—that’s when it’s perfectly fluffy but still gentle enough to fold into your filling without overworking it.
And don’t worry, the cream will keep firming up as the whole cheesecake chills in the fridge. Getting those soft peaks just right is the secret to a cheesecake that’s light, creamy, and totally sliceable.
My Best Tips for a Perfect Grinch Cheesecake
- Chill time is non-negotiable. Seriously, give it a full 8 hours in the fridge, or even overnight. This is what makes it sliceable and perfect. No shortcuts here.
- Your cream cheese must be at room temperature. Take it out a few hours before you start. If it’s cold, it won’t mix smoothly, and you’ll end up with lumps.
- Whip your cream in a cold, dry bowl. Any bit of grease or water in the bowl can stop the cream from whipping up properly. Stop as soon as you get soft peaks—if you go too far, it gets grainy.
- Keep your pistachio spread at room temperature, too. If it’s cold straight from the fridge, it will be too thick to mix in evenly. Let it sit out with your cream cheese.
- The crust should feel like wet sand. If your biscuit crumbs seem dry and aren’t sticking together, just add a little more melted butter until they hold their shape when you press them.

Helpful tools
- Springform Pan: This is a game-changer. The removable sides mean you can release your beautiful cheesecake perfectly, without a single crack or crumble.
- Food Processor: This is the easiest way to get super fine, even biscuit crumbs for a smooth crust. (No processor? A zip-top bag and a rolling pin work great too.)
- Electric Mixer (Hand or Stand): This makes whipping the cream to soft peaks quick and effortless. (You can absolutely use a whisk and some muscle power if you prefer!)
- Two Spatulas: I like to use a sturdy spatula to really mix the cream cheese and pistachio spread together. Then, I switch to a flexible silicone one to gently fold in the whipped cream without deflating it and to get every last bit out of the bowl.
- Mixing Bowls: You’ll need a couple, one for mixing the crust, and separate ones for the cream cheese and for whipping the cream.
 Buy Now →
 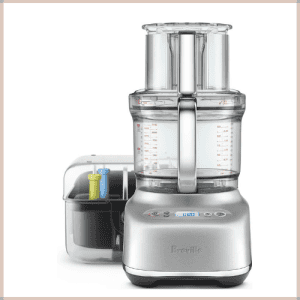 Buy Now →
 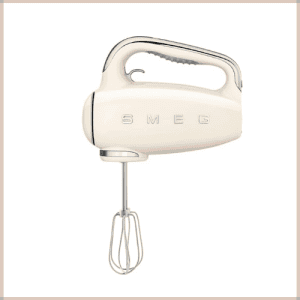 Buy Now →
  Buy Now →
 How to store
Keeping It Fresh in the Refrigerator:
- Tuck your cheesecake into an airtight container or wrap it snugly with plastic wrap to lock in moisture and flavor.
- For the best quality, place it in the coldest part of your fridge, usually toward the back.
- Enjoy it at its absolute best within 4 days for a perfect, creamy texture and a crisp crust.
Freezing:
- This cheesecake is a fantastic make-ahead dessert that freezes wonderfully!
- For long-term storage, wrap the entire dessert tightly in two layers of plastic wrap. Then, give it a secure outer layer of aluminum foil or place it in a sturdy freezer bag.
- Always label it with the date. It will maintain its delightful taste and texture for up to 2 months in the freezer.
- To serve, simply transfer it from the freezer to your refrigerator and let it thaw gently overnight (about 8-12 hours). This slow thawing keeps the filling luxuriously smooth and the crust perfectly firm.
Troubleshooting Your Cheesecake
My filling is lumpy or grainy.
This almost always happens when the cream cheese is still too cold. If you notice lumps before pouring, don’t stress. You can press the whole mixture through a fine-mesh sieve to make it perfectly smooth again. Next time, just be sure to let your cream cheese sit out until it’s soft to the touch.
My heavy cream is too runny and won’t whip.
If your cream isn’t thickening, let’s check a few things:
- Is everything cold? Your bowl, whisk, and the cream itself should all be very cold. If needed, pop the bowl and cream in the freezer for 10-15 minutes and try again.
- Is your cream fatty enough? Look for “heavy whipping cream” with at least 35% milk fat on the label. Light creams won’t work.
- Is your equipment totally clean and dry? Even a tiny bit of grease or water in your bowl can stop the cream from whipping up properly.
Christmas Grinch No-Bake Cheesecake
- Yield: 10 portions
- Category: Dessert
- Method: No-Bake
- Cuisine: American
- Diet: Vegetarian
Description
Make a fun and festive Christmas Grinch Cheesecake with no baking required. This easy dessert has a buttery cookie crust and a creamy green filling made from pistachio spread—so there’s no artificial food coloring. It’s topped with cute red candy hearts for the perfect holiday look. A simple, delicious, and impressive treat for any Christmas celebration.
Ingredients
For the Crust:
- 300 g biscuits ( 2 ½ cups of fine crumbs)
- 100–120 g butter (½ cup or 1 stick)
For the Filling:
- 500 g cream cheese ( 2 ¼ cups or two 8-oz blocks)
- 290 g pistachio spread (1 cup)
- 50 g powdered sugar (½ cup)
- 230 g heavy whipping cream (1 cup)
For Decoration:
- 200 g pistachio spread (¾ cup)
- 15 small red heart-shaped candies
Instructions
Crust
- Crush the biscuits into fine crumbs using a food processor or a zip-top bag and rolling pin.
- Mix the crumbs with the melted butter until they resemble wet sand. Press the mixture firmly into the bottom and up the sides of a springform pan.
- Place it in the fridge to set while you make the filling.
Make the Filling
- In a large bowl, mix the room-temperature cream cheese and pistachio spread with a spatula until completely smooth.
- In a separate, cold bowl, whip the heavy cream and sifted powdered sugar together until soft peaks form.
- Gently fold the whipped cream into the cream cheese mixture until no white streaks remain.
Assemble & Chill
- Pour the filling into the chilled crust and smooth the top.
- Cover and refrigerate for at least 8 hours, or overnight, until completely set.
Decorate & Serve
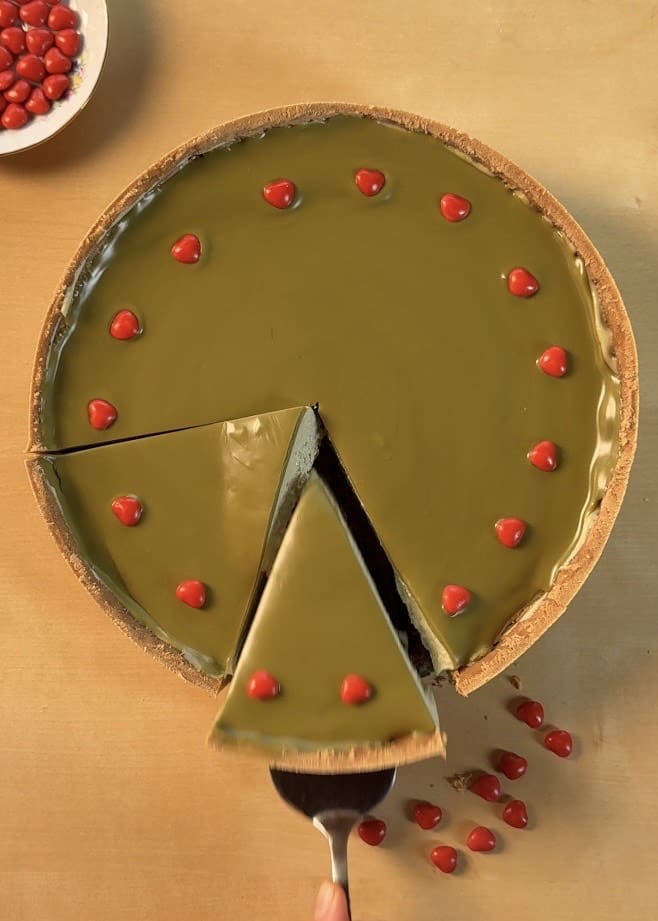
- Once set, carefully remove the cheesecake from the springform pan.
- Warm the pistachio spread slightly so it’s pourable, then pour it evenly over the top of the cheesecake.
- Immediately place the red heart candies on top before the spread sets. Slice, serve, and enjoy!
Nutrition
- Serving Size: 1 slice
- Calories: 680 kcal
- Sugar: 42 g
- Sodium: 380 mg
- Fat: 52 g
- Saturated Fat: 22 g
- Unsaturated Fat: 27 g
- Trans Fat: 0.3 g
- Carbohydrates: 48 g
- Fiber: 2 g
- Protein: 10 g
- Cholesterol: 100 mg


Princess Cake is one of those desserts that looks delicate but delivers a very satisfying experience once you taste it.