The best dessert we have made in so long: a baked happy hippo cheesecake Looking for the perfect Kinder-inspired dessert? Look no further! Our Happy Hippo Cheesecake is the ultimate treat—creamy, dreamy, and downright addictive. One bite and you won’t be able to stop!

On our website, you’ll find two irresistible versions:
- No-Bake Happy Hippo Cheesecake (easy, fuss-free)
- Baked Happy Hippo Cheesecake (rich, classic texture)
Both are decadently creamy, packed with that iconic Kinder flavor, and guaranteed to disappear fast! ٠࣪⭑
Baked cheesecakes set through oven heat, using eggs to create a firm yet velvety texture, while no-bake versions rely on refrigeration for a lighter, mousse-like consistency.

We’ve taken our classic baked cheesecake recipe and made it even creamier and more indulgent with special ingredient tweaks. The result? Pure magic—silky, rich, and packed with that iconic Kinder Bueno flavor.
Pro Tip: This is the ultimate make-ahead dessert! Let it chill overnight to set properly. Don’t rush it—trying to unmold too soon will lead to a cheesecake disaster (trust us, we speak from experience!).
For optimal results, refrigerate the baked Kinder cheesecake overnight (8-12 hours) to ensure complete setting. A minimum of 8 hours is required for proper texture and clean slicing.
3 parts to this Happy Hippo Cheesecake
- The Crust: A crisp, buttery base made from crushed biscuits bound with melted butter, pressed firmly into the pan for optimal texture.
- The Filling: An exceptionally creamy Kinder Bueno cheesecake layer, elevated with Kinder Spread by Prozis (kindly provided by the brand). For savings on this ingredient, use code ARCHERSFOOD at checkout.
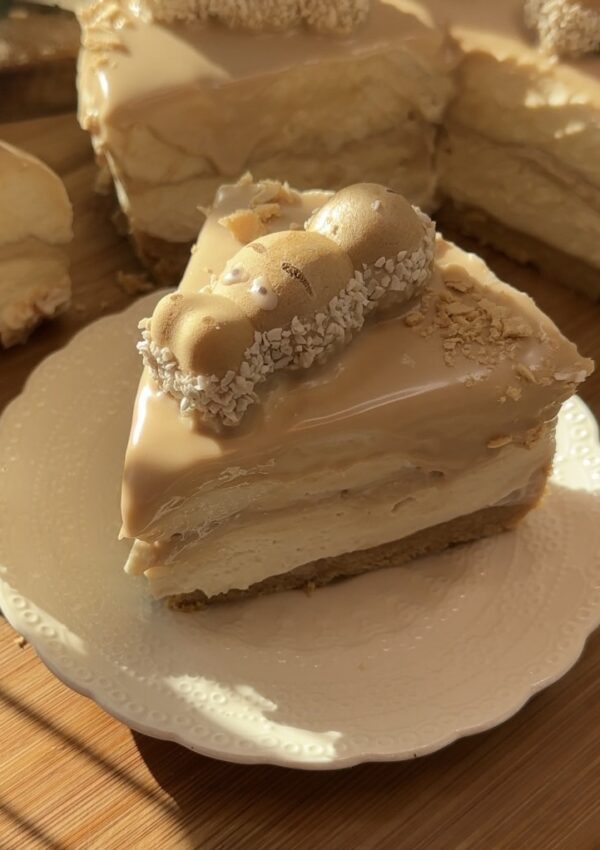
- Finishing Touches: The cheesecake is crowned with a glossy layer of premium hazelnut white chocolate spread, artfully arranged Happy Hippo treats, and finely chopped roasted hazelnuts for contrasting texture.

BAKED HAPPY HIPPO CHEESECAKE ٠࣪⭑
Grab these ingredients
Ingredients & Preparation Notes:
- Biscuits: Crush into fine crumbs for the crust. A food processor yields the most consistent results.
- Butter: Melt completely, then allow to cool slightly before combining with other ingredients.
- Cream Cheese: Must be at room temperature to ensure a smooth, lump-free filling.
- Granulated Sugar: Provides sweetness, may substitute with powdered sugar if preferred.
- Heavy Whipping Cream: Use pastry-grade with 35% fat content for optimal texture.
- White Chocolate Hazelnut Spread: (Kinder Bueno-style spread – code ARCHERSFOOD for savings) The key flavor component.
- Eggs: Fresh, room temperature eggs incorporate more evenly into the batter.
- Cornstarch: Added for structural stability during baking.
- Happy Hippos: The signature element – reserve whole pieces for decoration.
- Hazlenuts: Toasted and chopped for decorative crunch; apply just before serving.

For a subtle variation, mascarpone cheese may replace cream cheese. While mascarpone will impart a slightly tangier flavor profile, it maintains the desired creamy texture and performs equally well in this recipe.
How to make Happy Hippo Cheesecake ٠࣪⭑
Start with the crust
We are going to start by preparing the crust, using crushed biscuits and melted butter. With just two ingredients, you’ll have the best crust for this easy Kinder Bueno dessert. We always chill our crusts in the freezer or fridge while we prepare the rest of the ingredients


Prepare the filling
The hazelnut-white chocolate spread is what gives this cheesecake its decadent depth. While Kinder Bueno doesn’t yet offer an official spread (we’re hopeful!), we’ve tested multiple brands with excellent results.
The spread blends seamlessly into our creamy filling, creating the perfect balanced texture and signature Kinder-inspired taste.

Pro Tip: When using any sweet spread—whether Nutella, Kinder, or others—We always reduce the added sugar accordingly. Nothing ruins a dessert faster than overpowering sweetness!

Start by working the cream cheese with a spatula to soften it and create a smooth base. Once creamy, incorporate the Kinder Bueno spread, mixing thoroughly until fully blended. Add the rest of ingredients.
Cornstarch Technique: For a perfectly smooth texture without lumps, mix the cornstarch with the remaining half of the heavy cream in a separate bowl first. Once fully dissolved, gently fold this mixture into the main batter. This extra step ensures a flawlessly creamy consistency.
The process is simple: blend all components just until uniformly incorporated. Avoid overmixing to maintain the ideal cheesecake texture.
Decorate ٠࣪⭑
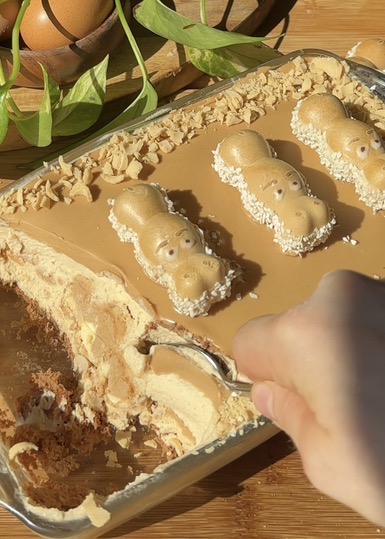
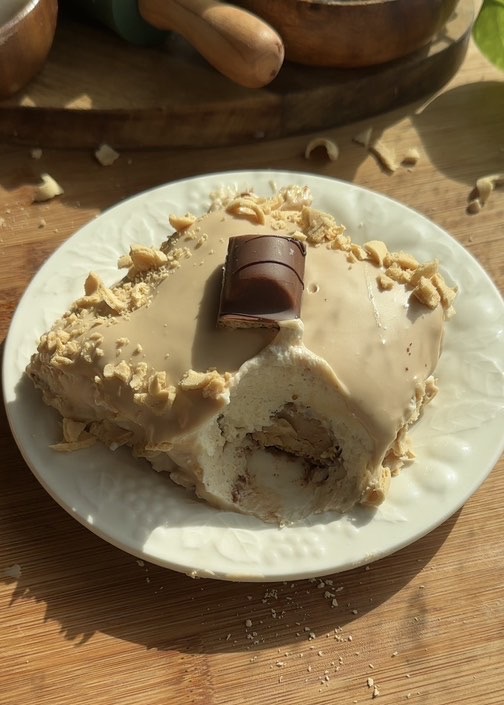
For an easy yet playful finish, cover the entire cheesecake with a smooth layer of melted Kinder spread. Arrange Happy Hippos on top, then press crushed hazelnuts along the sides for crunch. Feel free to get creative—the best decorations are ones you genuinely enjoy making!

How to properly cool a cheesecake
The number one cause of this is cooling too quickly as we always say, it scares the cheesecake and then, crack form.
I’ve often skipped the proper cooling step, which always leads to those unsightly cracks on top of my cheesecake. Here’s the best way to avoid them: When the baking time ends, turn off the oven and wedge a kitchen towel in the door to keep it slightly ajar (about 2-3 inches). This creates a gentle temperature drop without shocking the delicate cheesecake. Let it cool this way for 1 hour

Happy Hippo Cheesecake Tips ٠࣪⭑
- Room Temperature Ingredients: Ensure all ingredients—especially cream cheese and eggs—are at room temperature for smooth incorporation.
- Lump-Free Cornstarch: Mix the cornstarch with half of the heavy whipping cream first to form a smooth paste, then blend it into the main batter.
- Proper Setting Time: Refrigerate the cheesecake for at least 8 hours (overnight is ideal). This creamy filling needs full chilling to prevent collapse.
- Texture Adjustment: For a velvety (less creamy) texture, extend baking time by 15 minutes.
- Gradual Cooling: After baking, turn off the oven and prop the door slightly open with a kitchen towel. Let it cool inside for 1 hour to prevent cracks.

Special Tools
To make this baked Happy Hippo cheesecake, we won’t need a big list of ingredients. To crush the biscuits, we will need a food processor, but a ziplock bag and rolling pin will also work. The cheesecake filling will be mixed in a bowl with both a spatula and a whisk. For baking this cheesecake recipe, we will need a good baking pan.
I recommend measuring all the ingredients using a food scale instead of measuring cups, as it’s more accurate.
This is truly a delicious recipe that anyone can make—perfect for any occasion! Who doesn’t love a good cheesecake? Creamy, velvety, and full of flavor.
If you try this recipe, please leave us a review on our website! And if you have any questions, feel free to ask in the comments—I’ll try to reply as fast as I can. Happy baking!
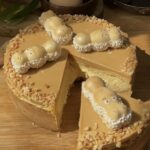
Happy Hippo Cheesecake (Baked)
- Yield: 12 1x
Description
This velvety cheesecake is the ultimate dessert recipe. Made with our childhood favorite Happy Hippos, this baked Happy Hippo cheesecake comes out perfect every time and is loved by everyone.
Ingredients
CRUST
CHEESECAKE FILLING
- 450 grams cream cheese
- 200 grams heavy whipping cream (35%)
- 75 grams granulated sugar
- 3 eggs
- 40 grams cornstarch
- 200 grams white chocolate hazelnut spread
DECORATE
- 150 grams white chocolate hazelnut spread
- 4 happy hippo
- 60 grams chopped hazelnuts
Instructions
-
Crust Preparation: Start by crushing the biscuits into fine crumbs using a food processor. In a bowl, mix the crumbs with cooled melted butter until the texture resembles wet sand.
-
Pan Assembly: Transfer the crumb mixture to a cheesecake pan. Press firmly onto the bottom and slightly up the sides to create an even layer. Place the pan in the freezer while you prepare the filling.
-
Filling Base: In a large bowl, use a spatula to work room-temperature cream cheese until smooth. Blend in the Kinder or hazelnut white chocolate spread until fully incorporated.
-
Egg Incorporation: Add the eggs one at a time, mixing thoroughly after each addition to ensure a homogeneous mixture.
-
Cornstarch Mixture: In a separate bowl, whisk the cornstarch with half of the heavy whipping cream until completely smooth. Add this to the cheese mixture along with the remaining cream and granulated sugar. Mix just until combined and smooth.
-
Baking Instructions: Preheat your oven to 190°C (375°F). Once heated, bake the cheesecake for 30 minutes for a creamy interior or 45 minutes for a firmer, velvety texture.
-
Gradual Cooling: When the baking time is complete, turn off the oven and slightly open the door. Place a kitchen towel to keep it ajar, allowing the cheesecake to cool gently inside for one hour.
-
Final Chilling: After the gradual cooling, transfer the cheesecake to the refrigerator. Chill for at least 8 hours, though overnight is ideal for the best texture.
-
Decoration: Before serving, drizzle the top with melted Kinder spread. Press chopped hazelnuts along the sides and arrange Happy Hippos in the center as desired.
-
Serving: Slice and serve your beautifully decorated Happy Hippo cheesecake chilled. Enjoy this nostalgic treat with friends and family!
Archersfood
Recipes from my family to yours
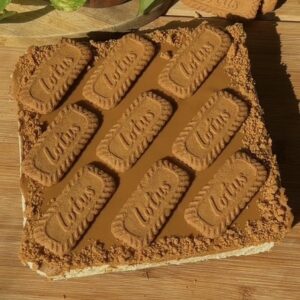
I made this yesterday for Easter. Tastes great, but the biscuit base was a little crumbly and a bit burned from baking for 45 minutes. Otherwise solid recipe!