
Vanilla pistachio tiramisu
A delicious layered vanilla pistachio tiramisu. We love any dessert with pistachios; it’s one of the best ingredients.
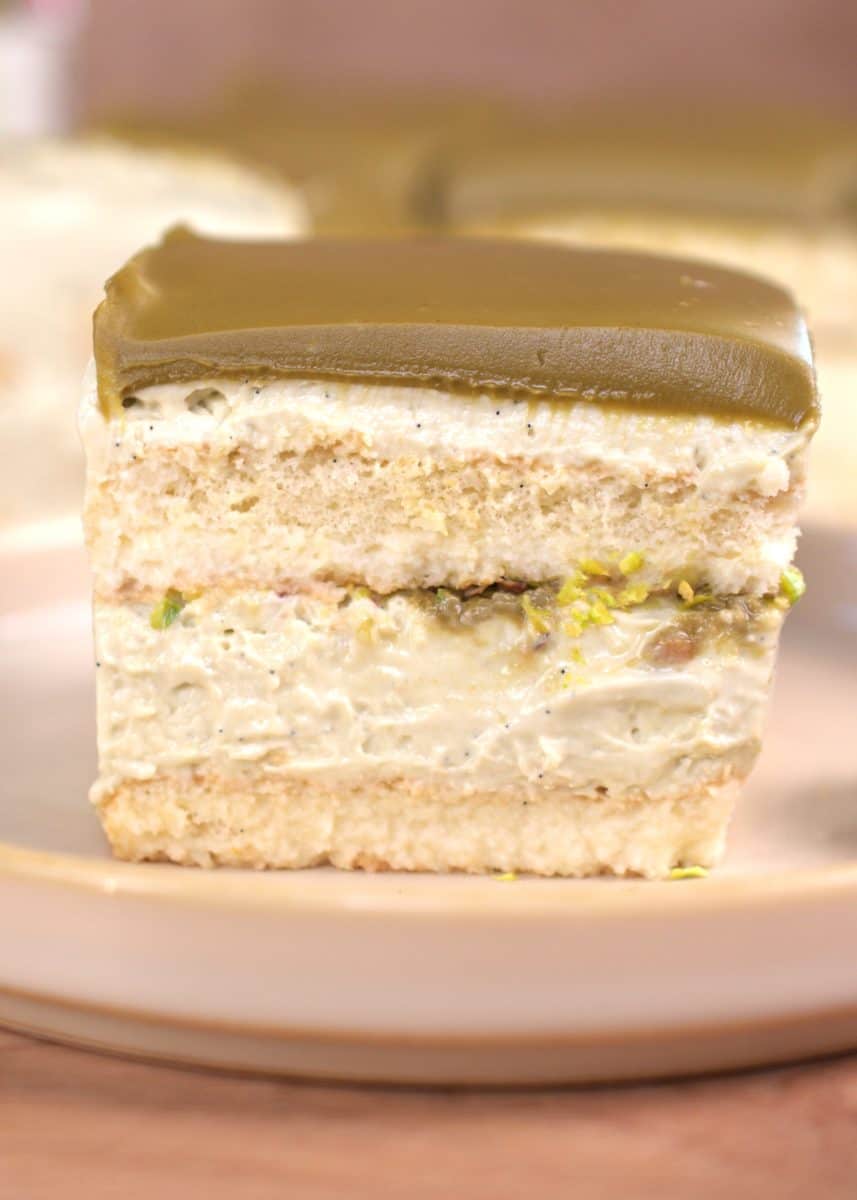
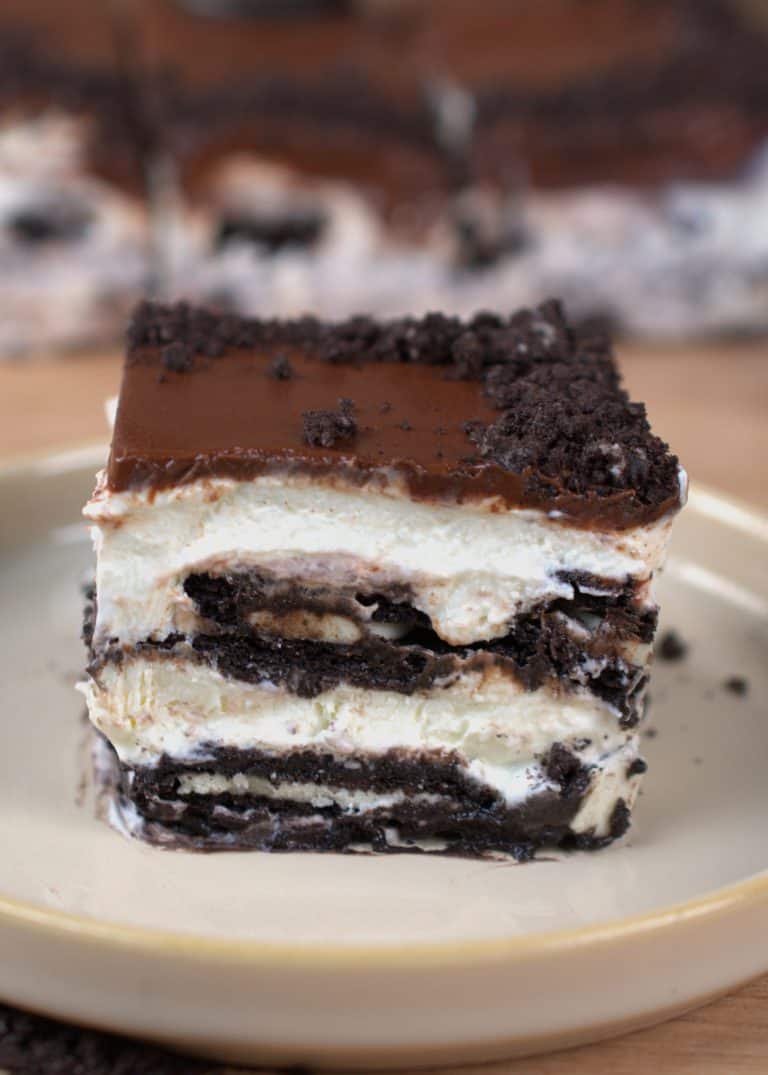
This dessert consists of a layer of white chocolate-milk-soaked ladyfingers, pistachio filling, pistachio spread, finely chopped pistachio, more ladyfingers, tiramisu filling, and a final layer of pistachio spread.
Hello! We are posting a recipe every day for the rest of the year, and we are on day…?I lost count as we are posting so many recipes every day, but today we bring a very special recipe—a coffee-free, gelatin-free, egg-free pistachio tiramisu. In the past, we shared a pistachio tiramisu shaped like a cake that everyone loved so much, so we recreated it and made a different version of it, with no coffee.
I’m obsessed with any pistachio dessert; if it wasn’t for the price of pistachios, I would be making them every day.

Add to your shopping list!
Most of the ingredients we use to make this recipe are ingredients you can easily find in stores or online. Some ingredients, like pistachios and pistachio spread, might be a little harder to find in local stores, but they’re always available online.
This recipe is not a traditional tiramisu, so we are using different ingredients; feel free to use coffee instead of white chocolate milk.
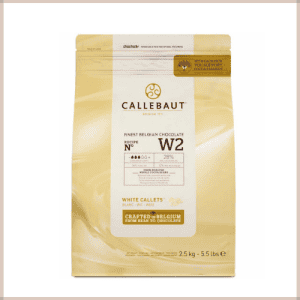
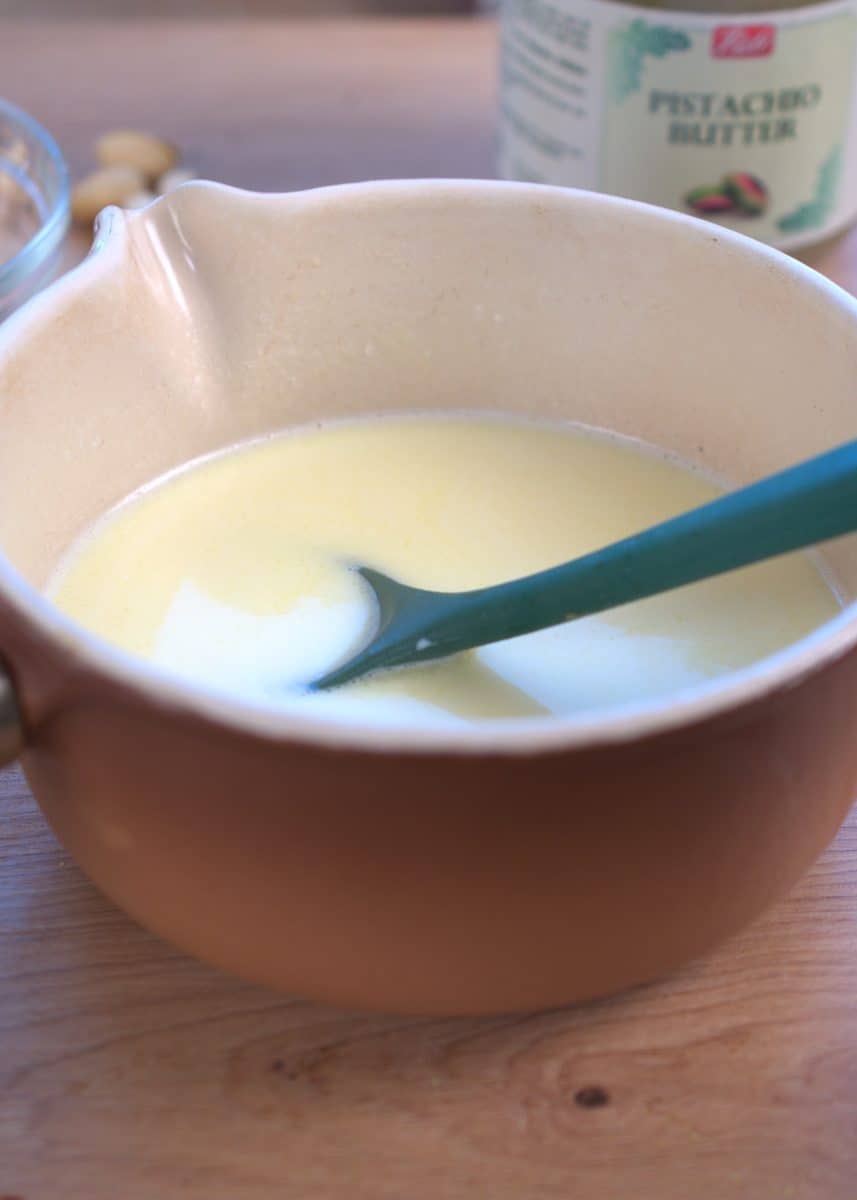
- White chocolate: we will melt it and combine it with the milk; this will give us a delicious chocolate milk to soak the ladyfingers in.
- Milk: Make sure to use whole milk; it gives it a better flavor.
- Ladyfingers: they’re sweet, sponge-like biscuits from Italy; you can find them anywhere.
- Mascarpone cheese: it is the base of our tiramisu.
- Vanilla beans: slice them, and if you have kitchen tweezers, you can easily remove all the beans from inside, and none of it will be left behind.
- Cream cheese: We are mixing it with the mascarpone to achieve a perfect consistency.
- Pistachio spread: a pistachio tiramisu needs pistachio spread; it’s sweet and creamy. Make sure to use spread and not paste. We link below to the one we use.
- Powdered sugar, also known as icing sugar, is a very fine powder-like sugar. You can easily do it yourself by blending normal granulated sugar until fine powder.
- Pistachios: We are going to chop them very finely. They will add a nice crunch to this dessert.
- Heavy whipping cream: We are using 35% cream, so it can whip beautifully. If it has less fat, it won’t be able to whip, and the tiramisu might collapse.
 Buy Now →
  Buy Now →
 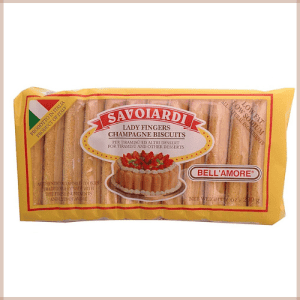 Buy Now →
 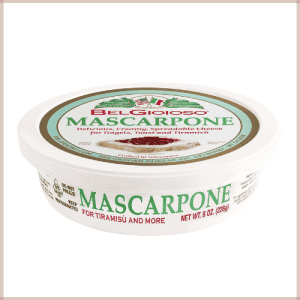 Buy Now →
 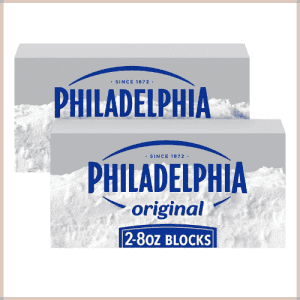 Buy Now →
  Buy Now →
  Buy Now →
 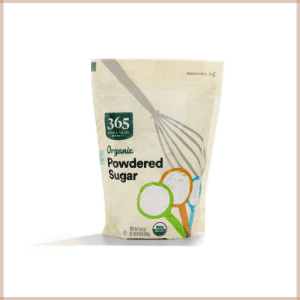 Buy Now →
  Buy Now →
 Tiramisu layers
This recipe for vanilla pistachio tiramisu has different layers; some layers are for softness, creaminess, crunch, or nice sweetness.
- A bottom layer with soaked ladyfingers. This will hold the tiramisu. It is very soft and nice to eat.
- Topped by a layer of delicious and creamy pistachio tiramisu filling.
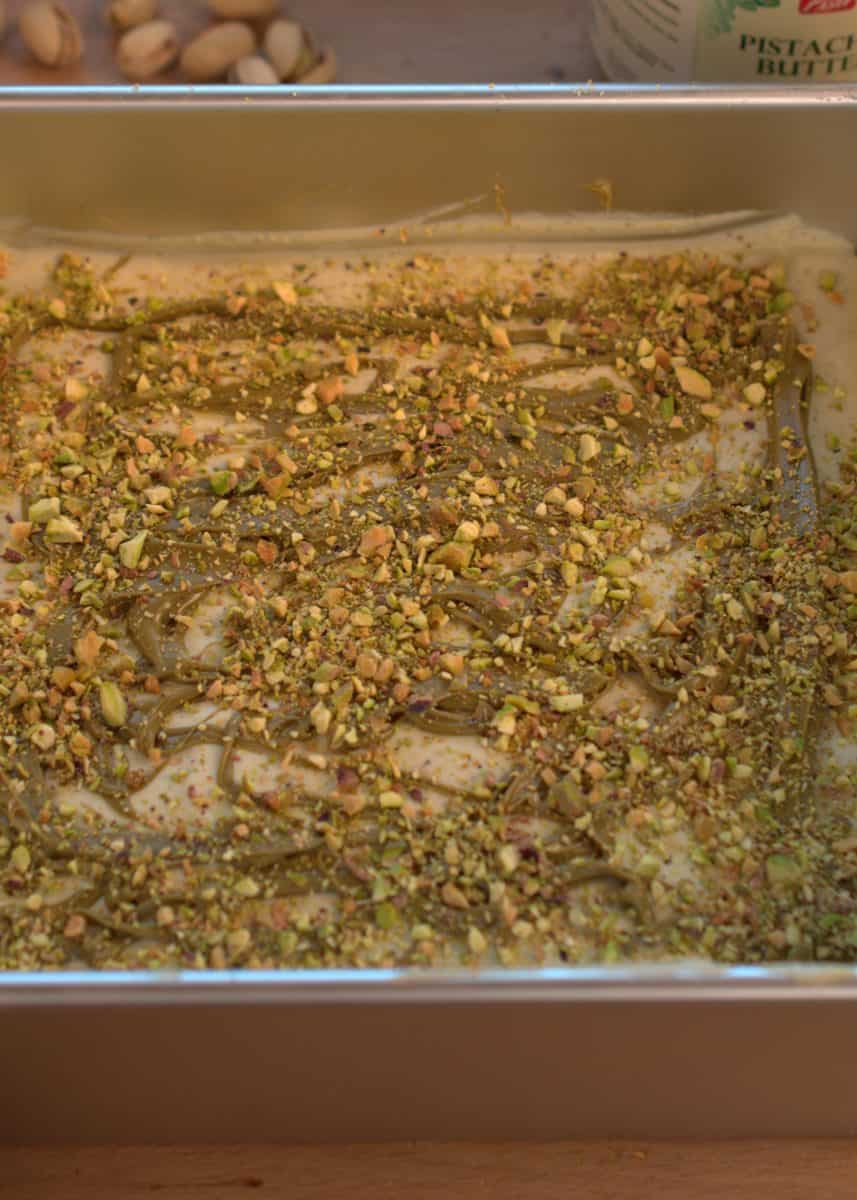
- Pistachio spread and crushed pistachios. They add a really nice crunch.
- Another layer of soaked ladyfingers.
- Tiramisu filling.
- The last layer is to decorate with pistachio spread.

Avoid grainy mascarpone cheese.
Mascarpone cheese is very delicate; if it gets overmixed, has big temperature changes, or gets mixed with the ‘wrong’ ingredients, it happens to look grainy, which is a texture we always want to avoid when making any dessert or food.
There are different things you can do to avoid all of this.
- Make sure to remove the mascarpone cheese from the fridge about 1 hour before you start with this recipe. You don’t want it to be warm, but also you don’t want it to be so cold that you can’t even work with it.
- Combine it with cream cheese. As soon as the mascarpone gets combined with cream cheese, it turns super creamy instead of a curdled-like texture.
- Don’t over-mix it! Use a spatula for the mascarpone cheese and only stir it to combine. Mascarpone is like…whipped cream. As soon as you reach a point where you mix too long, you can’t go back to normal, and you have a grainy dessert.
Recipe elaborations and order.
- 1 hour before you start, remove the mascarpone cheese, cream cheese, and pistachio spread from the fridge.
- Prepare the white chocolate milk mixture.
- Whip the heavy whipping cream until medium peaks.
- Prepare the tiramisu filling.
- Chop the pistachios.
- Layer the pistachio tiramisu.
- Chill.
- Decorate.
Whipped cream
Every recipe that contains heavy whipping cream calls for a specific way we are going to use it.
Some recipes don’t require that you do anything, like, for example, a baked cheesecake, which just needs to be mixed with the cheesecake batter.
Some recipes ask for soft peaks, which are great for recipes where you know you are going to mix the batter more, and you don’t want it to be overmixed.
Medium peaks like this one are heavy whipping cream that can hold its shape but then drops; it’s not fully whipped.
Stiff peaks, you can flip the cream upside down, and it’s going to stay in the bowl. (only after you whip it, after some minutes, it will slip from the ball, and all of it will fall into your head).

How to fix overwhipped cream
Over-whipped cream can be fixed only at the medium peaks or stiff peaks point; after that, there’s no point of return. It has happened to everyone: you get distracted for a second, and the cream goes from medium peaks to stiff.
- Option 1. Remove about ¼ part of the cream and warm it up until it turns liquid. Slowly fold it into the whipped cream.
- Option 2. Add heavy whipping cream that has not been whipped. I’d recommend starting from ¼ part of the total weight of the cream you have whipped and going from there.
- Option 3. Combine both options.
You mustn’t whisk the cream anymore, and you only use a spatula to slowly and carefully fold the cream.
Special tools you need!
Here is a list of all the tools you need or might find really useful for this recipe.
- Mixing bowls: Make sure you have different-sized bowls to use.
- A spatula: I love having a hardwood spatula to work the mascarpone, or cream cheese, and then a silicone one to gently fold in the ingredients.
- Whisk, electric hand whisk, or a stand mixer: whichever one you prefer, it is to whip the cream. I personally love using a stand mixer. I timed it today, and it took 1minute 20 seconds to whip the cream to medium peaks. If you use a whisk, it will take slightly longer.
- Square pan: we are using an 8-inch, 20 cm square pan. I love using one with the removable bottom because it makes it much easier, but you can use a normal square pan and then line it with parchment paper; you can easily lift the tiramisu, pulling up from the parchment paper.
Each slice of cake is measured with a ruler, which we like to use for accurate sizing. Each piece should measure 2.59inch or 6.6 cm; this is very, very approximate. I like to measure the size and then just divide it by 3, and I measure every size from the pan.
 Buy Now →
  Buy Now →
  Buy Now →
  Buy Now →
  Buy Now →
 I recommend you use kitchen twizeers to remove most of the vanilla bean from the pod.
How to serve a vanilla pistachio tiramisu
This dessert must be served cold. If it gets warm, it will melt and probably collapse, especially because it doesn’t contain any gelatin.
Make sure to keep it always refrigerated to make sure it stays fresh for as long as possible.

Storing tips for a no-bake pistachio dessert
As we just mentioned, this dessert must always be refrigerated.
You can keep it in the fridge for up to 3-4 days. Something to keep in mind is that the crushed pistachios will start to get softer as the days go by, so you will lose that crunch over time.
Depending on the conditions of the ingredient you use, hygiene or the storing temperature can make this dessert spoil faster, so always be very careful when you bake or cook, as you want it to last as long as possible.
Freeze this pistachio tiramisu
This tiramisu can be frozen, there’s some things that will change from the texture after being frozen.
- Pistachios will lose its crunchiness.
- Ladyfingers can get slightly soggy when defrosting. Make sure you don’t dip them in the milk for too long if you plan on freezing.
Freeze:
- Freeze whole: cover the square pan with aluminum foil and place it inside a big enough freezer-safe container. You can also put it in a serving plate instead of keeping it in the square pan.
- Freeze in servings: for this recipe, I recommend 9 servings. Slice and place them in a tray lined with parchment paper. Make sure they don’t touch each other, so it is easier to separate after they are frozen. Freeze for 2-5 hours and then transfer them to a freezer-safe bag. I like to then place it inside a freezer-safe container because I don’t want it to get any freezer taste.
*Make sure you add the name of the food you are freezing (Vanilla bean pistachio tiramisu) and the date of the day you made it in the container or bag, somewhere where it is easily visible.
They can be stored safely in the freezer for up to 3 months if stored in the right conditions.

And that’s it! That’s the whole recipe and every tip I know to make it. If you try this recipe, I would highly appreciate any review you can give us. Select as many stars as you think this recipe deserves, then add a little comment and post! Make sure to follow our new Facebook page for new videos every day!
Print
Vanilla pistachio tiramisu
A delicious and creamy No-bake pistachio dessert. Vanilla pistachio tiramisu. Made with real vanilla beans.
- Yield9 servings
Ingredients
MILK MIXTURE
- ¼ cup, chopped (45 g) white chocolate couverture
- 1 cup (250 ml) milk
TIRAMISU FILLING
- Slightly under 1 cup (230 ml) heavy whipping cream
- 2 cups (500 g) mascarpone cheese, room temperature
- Slightly under 1 cup (100 g) cream cheese, room temperature, full-fat
- ½ cup (150 g) pistachio spread
- 2 vanilla beans
- 1 ¼ cups (150 g) powdered sugar, sift after measuring
LAYERS ASSEMBLE
- 14 ladyfingers, bottom layer
- 4 tbsp pistachio spread
- 3 tbsp crushed pistachios
- 14 ladyfingers, middle layer
DECORATE
- Slightly over 2/3 cup (200g) pistachio spread
Instructions
- Start by melting ¼ cup (45 g) of chopped white chocolate couverture, microwave it in 10-15 second intervals to avoid burning it. Warm up 1 cup (250 ml) of milk and mix it with the melted chocolate. This will be our milk to soak the ladyfingers.
- Whip slightly under 1 cup (230ml) of heavy whipping cream, using a whisk or stand mixer on high speed. It should take about 1 minute and 20 seconds. You want it to be at medium peaks. If you are using a normal hand whisk, whisk vigorously until it reaches that point. Set aside.
- In a mixing bowl, combine 2 cups (500 g) of room temperature mascarpone cheese, slightly under 1 cup (100 g) of full-fat room temperature cream cheese, and ½ cup (150 g) pistachio spread. Combine it well with a hard spatula.
- Split open two vanilla beans and scrape the beans. Weigh 1 ¼ cups (150 g) of powdered sugar and then sift it over the mixture. Incorporate. Fold in the previously whipped cream until no streaks remain; don’t overmix.
- Assemble the tiramisu. Dip 14 ladyfingers into the white-chocolate-milk mixture. Cover the whole bottom of the pan. You might need to cut some pieces to make it fit.
- Spread half of the pistachio tiramisu filling. Smooth it out with a large offset spatula. Pour 4 tbsp of pistachio spread all over the top. It doesn’t need to cover everything, but try to make sure it’s not all in the same spot. Sprinkle 3 tbsp of crushed pistachios.
- Dip 14 ladyfingers into the white-chocolate-milk mixture and cover the pistachios. Try to follow the same order with the ladyfingers so you don’t have some looking on one side and others on the other side.
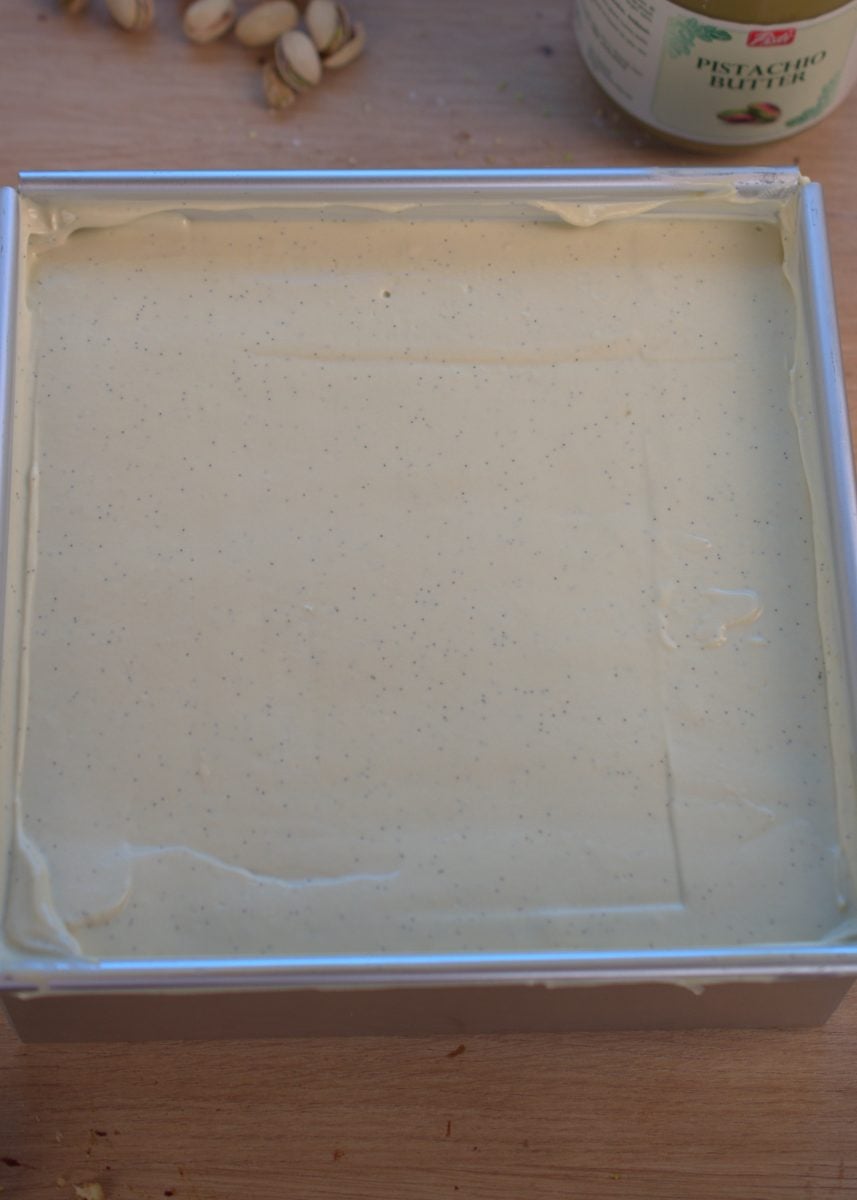
- Cover with the remaining tiramisu filling. Smooth it out and chill in the refrigerator for at least 8 hours, best overnight.
- Before serving, melt in the microwave or in a pan, slightly over 2/3 cup (200 g) pistachio spread. Pour it over the chilled tiramisu, tilt the pan around so it covers all the edges. The cold from the tiramisu will help this layer set in less than 5 minutes. It’s ready to serve.
Notes
– If the pistachio spread is too hard, you might need to microwave it before mixing it with the mascarpone.
- Category: Dessert
- Method: No bake
Nutrition
- Serving Size: 1/9
- Calories: 510 kcal
- Sugar: 36 g
- Sodium: 170 mg
- Fat: 32 g
- Saturated Fat: 17 g
- Unsaturated Fat: 14 g
- Trans Fat: 0.6 g
- Carbohydrates: 41 g
- Fiber: 2 g
- Protein: 7 g
- Cholesterol: 95 mg


What size of dish do you recommend ?
Hello Rivi, We are using an 8-inch, 20 cm square pan with a removable bottom.
These recipes are very good.
Thank you so much!
Amazing!!!
Thank you!!!
Amazing ♥️🫠🍰
Thank you so much, Sofia