
I love brownies, and I have been loving creating new red velvet flavors. That’s why we created red velvet Nutella brownies.
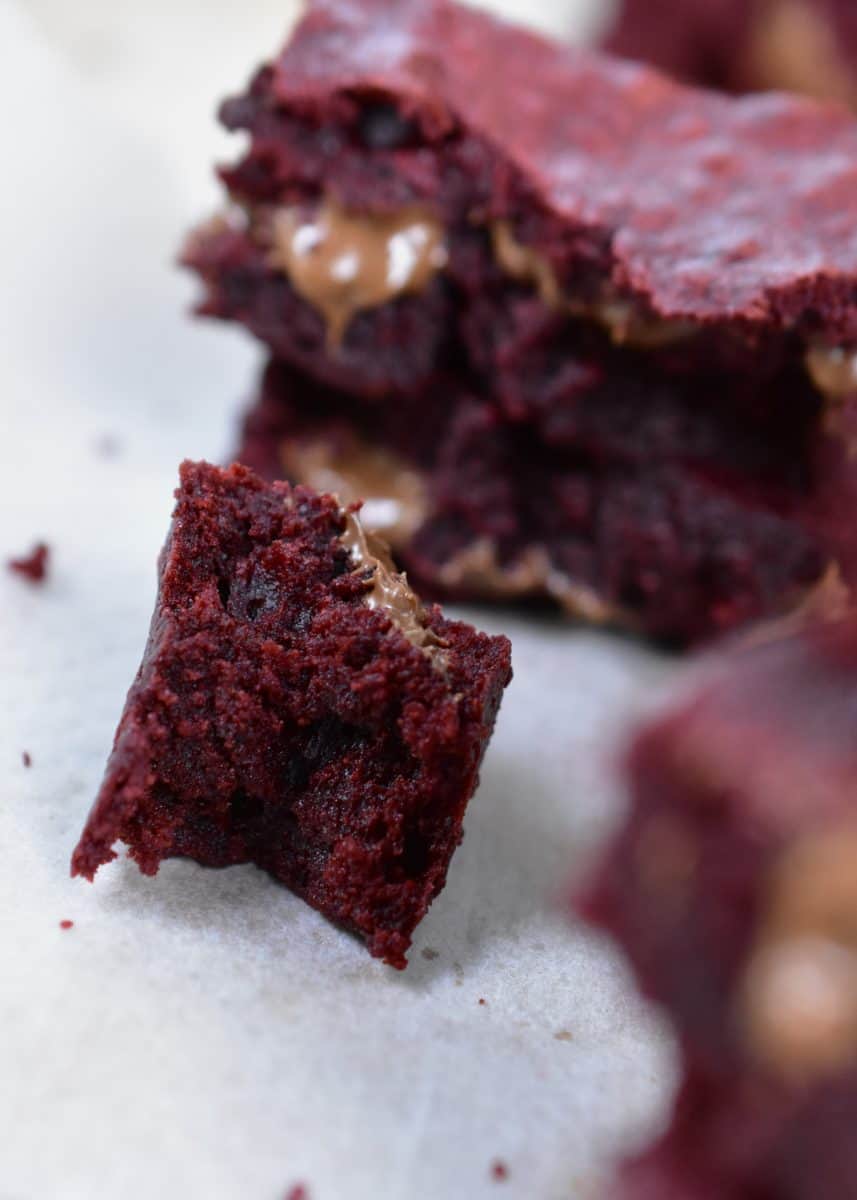
Fudgy brownies with lots of Nutella inside, they’re so easy to prepare and perfect for Valentine’s Day!

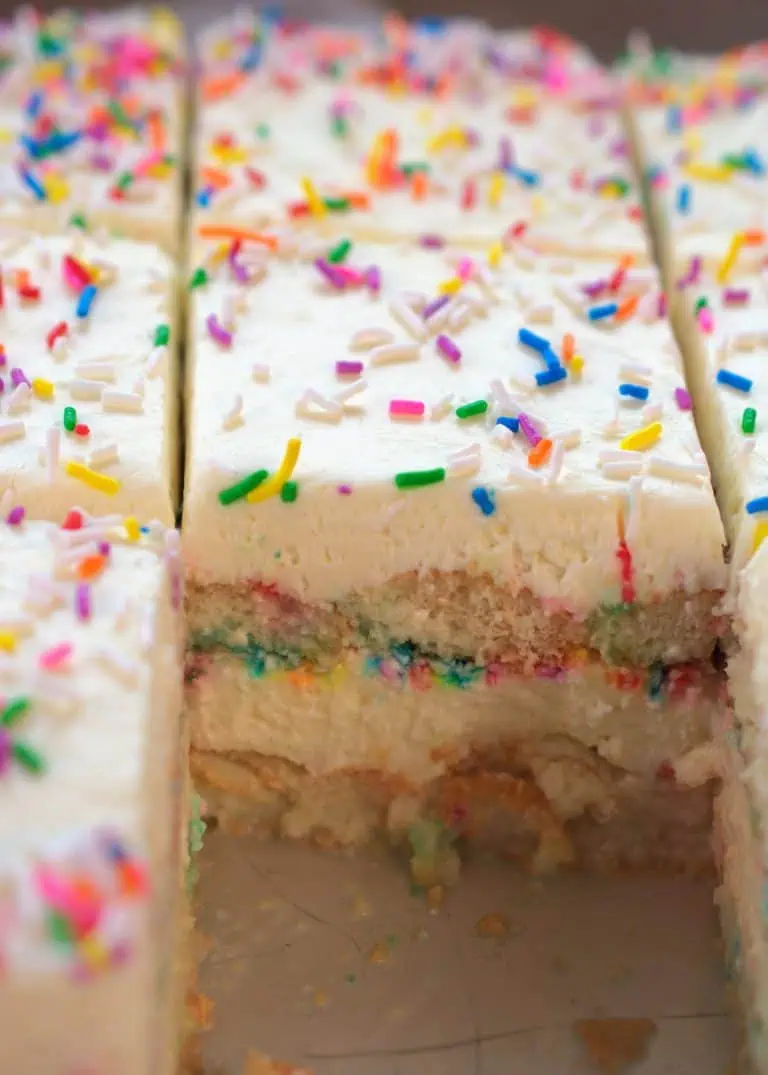
Hello! Welcome to the archersfood kitchen today is day 6/327 of posting a new recipe every day for the rest of the year. Today, we wanted to bring a special recipe for Valentine’s Day. We just shared the cutest heart red velvet donuts, and a delicious sugar cookie cheesecake recipe; both are amazing recipes to try on this special day. If you see this, please follow our new Facebook page; our old one got hacked.
What’s special about this brownie
They’re not normal brownies, they’re red. They have real chocolate and cocoa powder; they’re rich and so flavorful. We changed our chocolate brownies recipe so we could achieve the beautiful reddish color, and it turned out amazing.
This brownie has Nutella pockets all over that we add with a piping bag after it’s been baked. It makes it so fun. You can omit the Nutella from this recipe and just prepare the red velvet brownie.
Add to your shopping list!
- Nutella, or any other brand of chocolate spread.
- Eggs, we will beat them until they double in size and turn pale.
- Sugars, we are using mostly brown sugar and a little granulated sugar
- Unsalted butter, I prefer using unsalted butter to have more control over the final flavor.
- Salt, we are using just a little.
- Red food coloring, make sure you have a good quality one, or you will need a lot of it.
- Cocoa powder, every brownie recipe needs cocoa powder. Make sure to use unsweetened 100% cocoa powder.
- Milk chocolate, mainly because it is a lighter color than dark chocolate.
- All–purpose flour gives structure to the red velvet brownie.
- Vinegar, acidic, will help with flavor to achieve a red velvet traditional flavor.
 Buy Now →
  Buy Now →
  Buy Now →
  Buy Now →
  Buy Now →
  Buy Now →
  Buy Now →
  Buy Now →
  Buy Now →
  Buy Now →
 Most of the ingredients you can find at any store, or you already have them in your house. For the red food coloring, I used almost the whole container of 20g. I’ll be trying other brands like Americolor to see if the colors get right with less product.
Why is there no baking powder or baking soda in this recipe? A brownie doesn’t need any. The eggs will give it the perfect texture and rise. If you added any leavening agent, the brownie would turn cakey instead of fudgy like a brownie.
Eggs in brownies
I think it’s very important to beat them until they turn a really pale color and double in size. Some people (sometimes me too) avoid beating the eggs and just mix them with the rest of the ingredients, but I do feel like it makes a big difference.
In this case, we don’t have a brownie top shiny crack because we modified the original recipe to be lighter in color to be able to have a nice, beautiful red velvet red color, but if you were to make normal plain brownies, you’d need to beat the eggs to be able to have the nice shiny crack on tip.

Important things you need to know to beat the eggs:
- Make sure the bowl and the whisk you are using are very clean and dry.
- I recommend using an electric hand whisk or stand mixer, it will be so useful because if you do it with a hand whisk, it might take some time.
- Once the eggs are a nice pale color and have doubled in size, you don’t need to continue beating, or they will start to deflate.
- Stand mixer bowl, whisk attachment, high speed.
A little tip to know if the egg is ready is to lift the beater and see how the beaten egg falls. If it forms a ribbon that stays visible for 10-30 seconds, it means it’s ready. It would not be ready if the egg falls 1. Falls really, really fast. 2. As soon as it touches, the rest of the beaten egg disappears.

Recipe elaborations and order
- Chocolate
- Eggs
- Dry ingredients
How to prepare red velvet brownies
There are only three things to do when making brownies. (1) Chocolate + butter. (2) getting the eggs ready. (3)Dry ingredients.
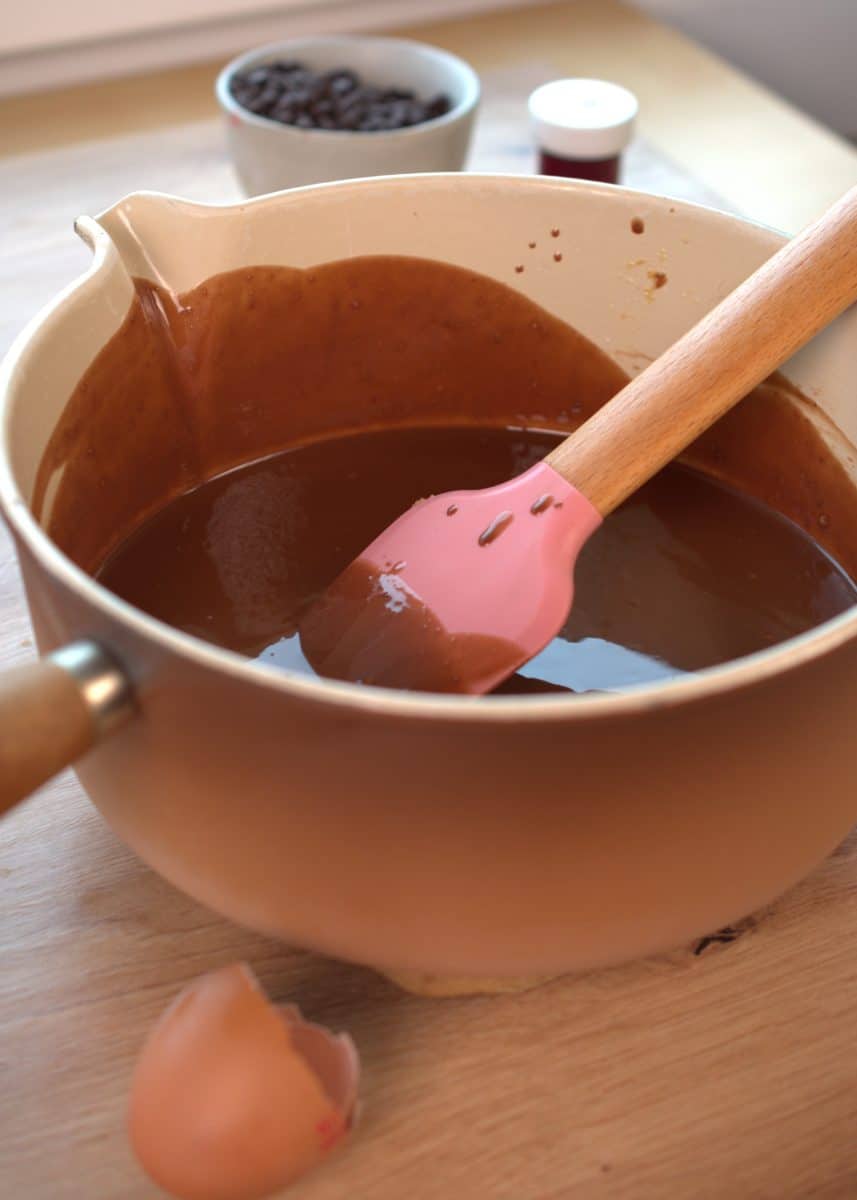
Start by heating the butter in a saucepan, and add the chocolate. Leave it in the pan without stirring, and then after 5 minutes, you can stir; this way, it will melt completely without having to put it back in the stove. This will be our chocolate mixture (1).
Beat the eggs with both sugars on a stand mixer on high speed for about 8-10 minutes. Add the food coloring and beat again. (2)

Combine the dry ingredients. (3)
Add the melted chocolate to the dry ingredients. Fold in the beaten egg.

Preheat the oven and bake the brownie for about 40-45 minutes. We want the brownie to be fudgy and not raw.

After baking, inject Nutella everywhere you want to.
Tips to prepare the best red velvet brownies
I still remember the first time I made brownies; they were the oiliest mess. It was like a pool of oil. That was when I was studying in culinary school. It was a mess; I drained the oil and ate it anyway because I was craving brownies so badly.
- We want a fudgy texture in brownies; we don’t overcook them or undercook them. It’s very important to check your oven a little before the minimum time sometimes, because all ovens work differently.
- We reduced the quantity of chocolate, butter, sugar, and cocoa powder for this recipe. You can adjust the sugar to your liking; you can add up to 50 grams. If you add more cocoa powder or chocolate, the red will not show on the brownie.
- Beat the eggs until they are white; this is very important for texture and appearance.
- You can also add chocolate chips to the batter instead of Nutella.
- We add the Nutella after baking using a piping bag because if we add it before we bake it, it could mix with the brownie batter, and we want those nice Nutella pockets.
- Don’t over-mix the brownie batter, or it can become dense.
- Don’t open the oven door in the middle of baking; this can cause sinking in the middle. Wait until the last 5 minutes to open the door.
Baking tools you need
- Mixing bowl, to combine ingredients
- Whisk, electric hand whisk, or stand mixer.
- Saucepan or pot, you will melt the butter here.
- Spatula, to fold the eggs
- Square pan, we are using a 8inch or 20 cm-sized pan.
- Piping bag and piping tip
- Parchment paper, for easy removal from the pan.
We got the cutest vintage Le Creuset set, and I love it so much, I would link it if I could.
 Buy Now →
  Buy Now →
  Buy Now →
  Buy Now →
 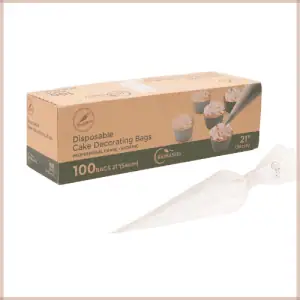 Buy Now →
 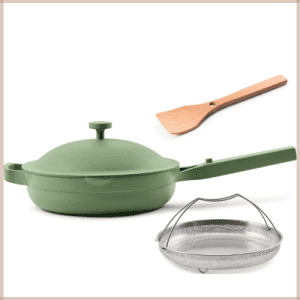 Buy Now →
 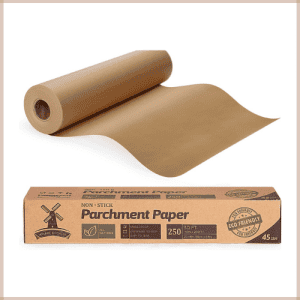 Buy Now →
 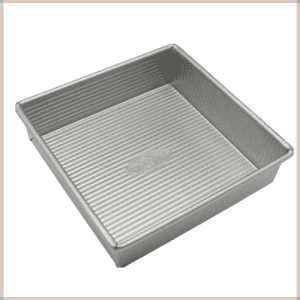 Buy Now →
 How to store red velvet brownies
Red velvet brownies can be stored in the fridge and can also be frozen. Store them in the fridge if you have any leftovers; they’re safe to eat for up to 4 days. Before you want to enjoy a square, microwave it slightly for about 20-30 seconds so you can enjoy a warm and delicious brownie. Warming up your red velvet brownie also helps with the texture.
Keep the brownies in a food-safe container or the same baking pan we used to bake them.

Freeze the red velvet brownies
You can easily freeze them, and they are still amazing.
Slice the brownies into 9 equal-sized brownies, for reference each square measures 2.5 inches, 6.3cm. Place all the squares in a prepared tray with parchment paper, making sure to leave some distance between each square so they don’t touch each other when freezing. Freeze for about 2-5 hours. After this time, they should be hard and frozen. Place all the squares in a freezer-safe bag with the name of the product (red velvet brownies) and the date of the day you made the recipe (for example: 2/14/26). Place the freezer bag inside a freezer-safe food container.
You must use a freezer-safe bag because you don’t want the product to burn from the cold or pick up any freezer taste. The reason why we are using a freezer container is that it doesn’t break with the cold; not all containers are made to endure cold temperatures, and they just explode.

If you try this recipe, make sure to leave us a review; they help us so much. Let me know in the comments what recipe you want me to do next.
Print
Red Velvet Nutella Brownies
- Prep Time: 30-35 minutes
- Cook Time: 40minutes
- Total Time: 0 hours
- Yield: 9 brownie squares
- Category: Dessert
- Method: Baking
- Cuisine: American
Description
Delicious fudgy red velvet Nutella brownies, perfect for valentines day or any red velvet lover!
Ingredients
RED VELVET BROWNIES
- 1 cup, almost two sticks (220g) unsalted butter
- 1 1/3 cups, chopped, (240g) milk chocolate couverture
- 4 eggs
- 2/3 cup, packed (140g) brown sugar
- ¼ cup (50g) granulated sugar
- 2 tbsp red food coloring
- ¾ cup (90g) all-purpose flour
- ½ cup (45g) cocoa powder 100%
- ½ tsp salt
- 1 tsp vinegar
FILLING
- 3–4 tbsp Nutella
Instructions
- In a saucepan or pot, melt 1 cup, 220g unsalted butter over medium heat. Once the butter is completely melted and bubbly, turn off the stove. Add 1 1/3 cups, 240g of milk chocolate couverture. Leave untouched for 5 minutes. After 5 minutes, stir until completely melted.
- In your stand mixer bowl, add 4 eggs, 2/3 cup, 140g brown sugar, and ¼ cup, 50g granulated sugar. Using the whisk attachment, beat on high speed for about 8-10 minutes until the eggs turn pale and have doubled in size. Add about 2tbsp of red food coloring and beat for 1 more minute.
- In a mixing bowl, whisk together ¾ cup, 90g of all-purpose flour, ½ cup, 45g cocoa powder, and ½ tsp salt. Add the melted chocolate mixture and mix. Add 1 tsp vinegar. Using a spatula, fold in the beaten eggs.
- Prepare a 8inch 20cm square pan with parchment paper. Add the red velvet brownie batter and smooth the top.
- Preheat the oven to 355°F (180 °C) and bake for 40-45 minutes. Let it cool in a cooling rack for about 1 hour before cutting.
- Cut the brownie into 9 squares, each measuring 2.5 inches/6.3 cm. Grab a piping bag with a piping tip and add 3-4 tbsp of Nutella. Grab individual squares and pipe the Nutella all over the sides to the center.
Notes
– Brownies are best enjoyed warm
– Check the oven after 35 minutes; all ovens work differently, yours might be ready slightly earlier than mine.
If the Nutella is too cold, you can slightly warm it up to melt.
Nutrition
- Serving Size: 1 square
- Calories: 465kcal
- Sugar: 35g
- Sodium: 115mg
- Fat: 31g
- Saturated Fat: 19g
- Unsaturated Fat: 10g
- Trans Fat: 0.8g
- Carbohydrates: 41g
- Fiber: 3g
- Protein: 6g
- Cholesterol: 115mg


I made them for my wife on valentines day she loved them, thank you for the recipe we will be trying more.
She rated them 9.7/10