
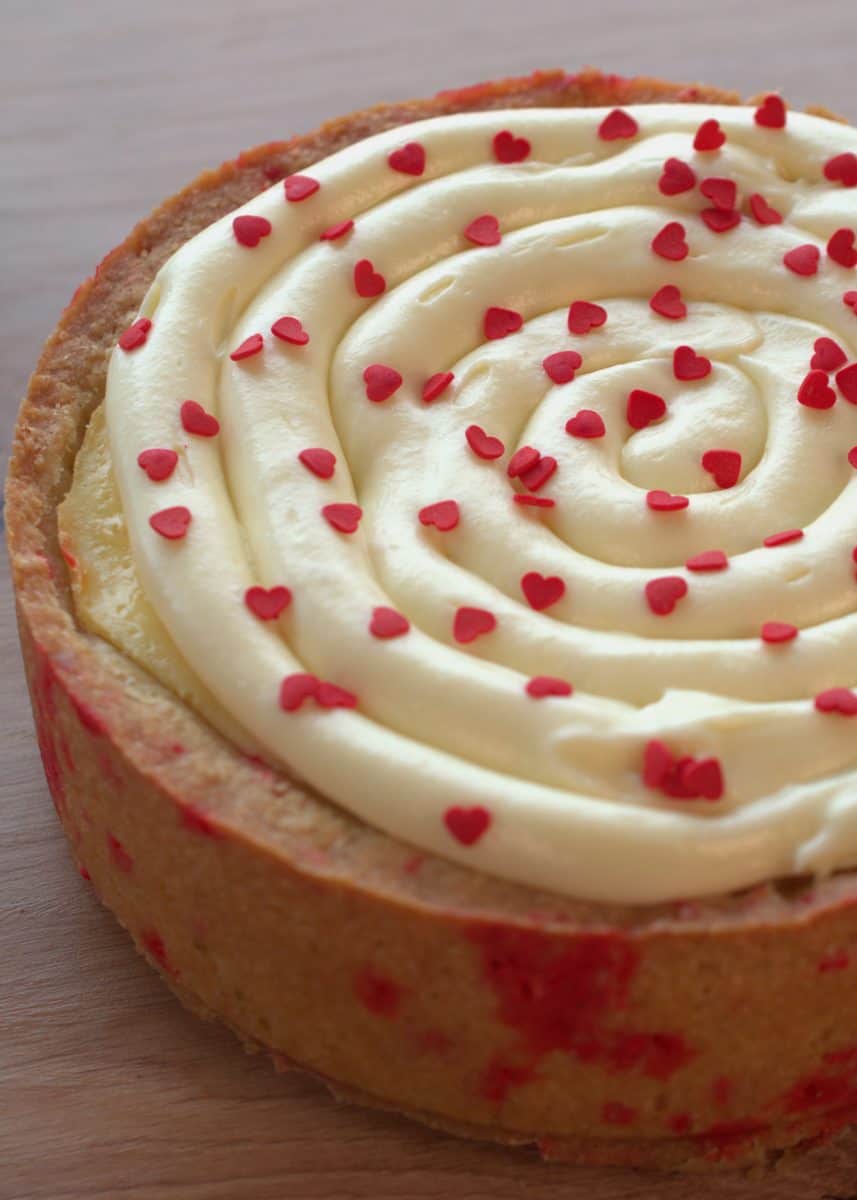
Sugar Cookie Valentine’s Cheesecake
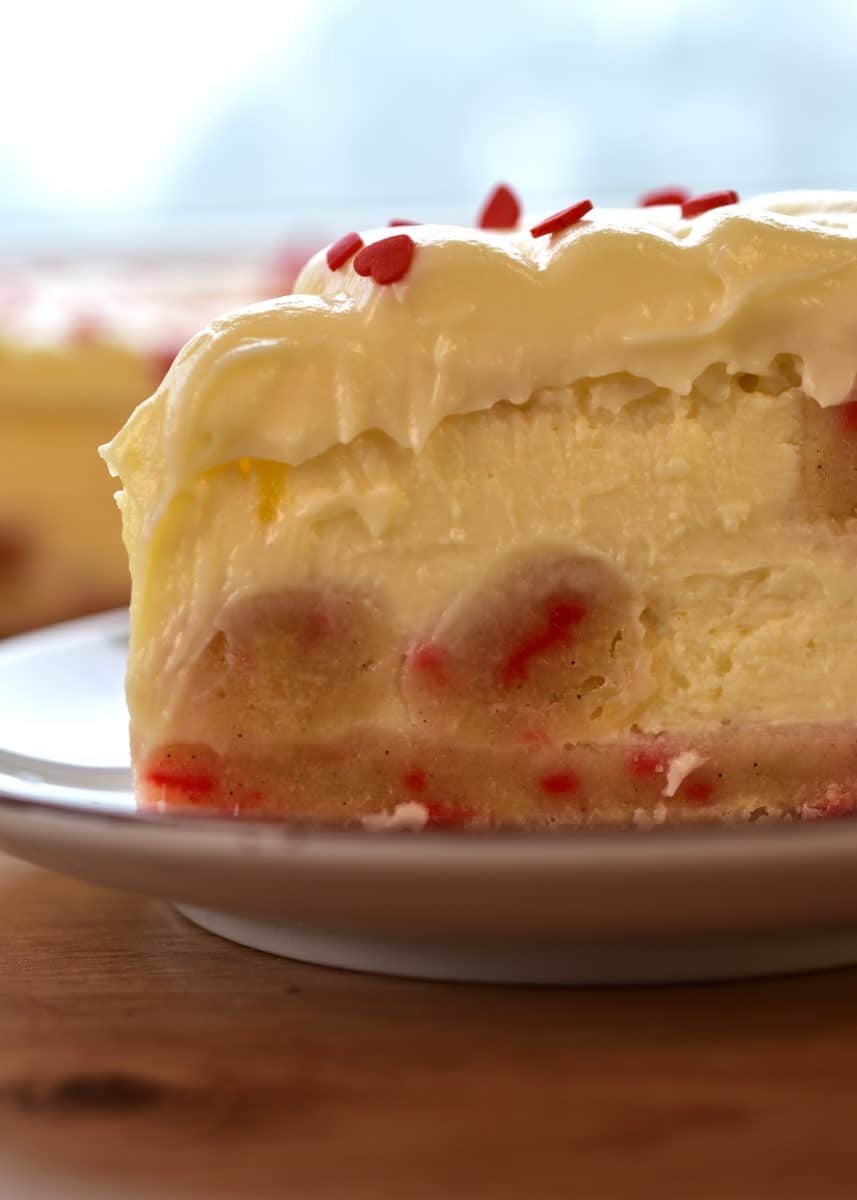
This sugar cookie Valentine’s cheesecake was inspired by our Christmas sugar cookie cheesecake. A sugar cookie crust with red sprinkles for Valentine’s Day, a rich cheesecake filling, and topped with a delicious buttercream icing.
I’m actually so, so excited to share this recipe and another one that will come right after; they are both perfect for Valentine’s Day. Today, we are on day 5/327, where we are posting a recipe every day for the rest of the year. This recipe is very special because it’s the perfect dessert for Valentine’s Day.
We had so much fun filming this recipe in our kitchen, and we had even more fun eating a slice.

What’s so special about this Valentine’s Day cheesecake
We have three different layers and even four If we count the cutest cookie dough balls that are scattered all over the cheesecake.
The bottom layer and sides are made of a delicious homemade sugar cookie dough; we added red sprinkles, so it was Valentine’s Day. We are using most of the cookie dough, but make sure to reserve some for the layer.
On top of the crust, we have a rich and creamy cheesecake. This cheesecake is made with the same recipe we use for almost all our baked cheesecakes. We scatter some cookie dough balls over the top and sink them with a knife.
Once the cheesecake is baked and chilled, we decorate it with the yummiest buttercream cheese frosting and lots of hearts.

Add to your shopping list!
Here is a list of all the ingredients we will use when making this valentines day dessert. They are all ingredients you can easily find at the grocery store or have around our house.
- Butter: unsalted room temperature butter.
- Sugar: for this recipe, we are using powdered or icing sugar and granulated sugar.
- Vanilla: you can use vanilla extract, paste, powder, or bean. For this recipe, we used vanilla bean.
- Salt: really good to enhance the flavors of your dessert.
- Eggs: room temperature.
- Sprinkles: any colors that you like for Valentine’s Day, red, pink, white… we are also using hearts, I got my hearts from the Valentine’s baking confetti from fancy sprinkles.
- Cream cheese: room temperature, full-fat.
- Heavy whipping cream: Use cream with a minimum of 35% of fat.
- Cornstarch: will thicken the cheesecake.
 Buy Now →
  Buy Now →
  Buy Now →
 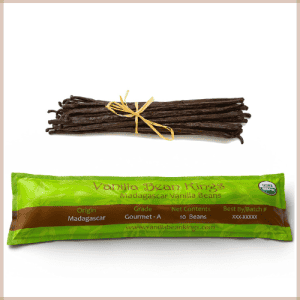 Buy Now →
  Buy Now →
 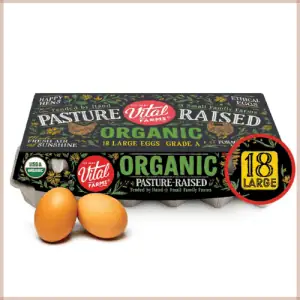 Buy Now →
 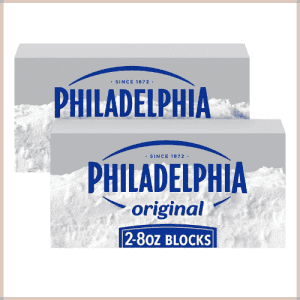 Buy Now →
  Buy Now →
 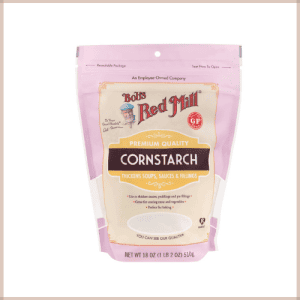 Buy Now →
Make sugar cookie dough
The sugar cookie dough will be the base for our cheesecake. To prepare this recipe is very important that we treat the flour to remove the raw taste before cooking it with a cheesecake filling on top.
The cookie dough will be cooked in the oven, so you don’t have to worry about safety.
Start by treating the flour in a dry pan or in a baking tray in the oven. You need to stir constantly so it doesn’t burn.
To the melted butter, add a vanilla bean. Leave it inside the warm butter for a little while, then remove it and split it in half, empty the pod inside the butter. Combine the butter with the sugar. Add the rest of the ingredients.


You mustn’t add the sprinkles to the cookie dough when it’s warm; the butter and flour need to be cooled, or the red from the sprinkles will dye the whole cookie dough.

Recipe elaborations and order
- Treat flour
- Sugar cookie dough
- Cheesecake filling
- Bake
- Cool down
- Prepare icing
- Decorate

Tips to prepare the best sugar cookie Valentine’s cheesecake
As someone who loves baking and learning every day, I can give you some of the best tips I know on making this delicious and creamy cheesecake.
- Treat the flour to remove the wet-raw taste from the sugar cookie dough.
- Don’t add sprinkles when the ingredients are worm or they bleed through the dough.
- Whisk together the cornstarch with the heavy whipping cream first; this will avoid any lumps.
- Make sure the eggs and cream cheese are at room temperature.
- Don’t overmix the cheesecake batter or the cookie dough.
- When you prepare the icing, make sure the butter is at room temperature and soft; if the butter is cold, it will be lumpy.
- If the icing is lumpy, pass it through a fine sieve, then whisk it in a clean, dry bowl using whisks; it will give it the perfect smooth consistency.
- After you bake the cheesecake, leave it in the oven for 45 minutes, and release the springform pan latch to avoid major cracks.

The reason why we release the latch and then tighten it again after it’s been baked is so it doesn’t crack.
Imagine all of the sides pulling, every side is pulling out. If you release the latch, you stop that pressure.
Tips to avoid major cracks in a cheesecake
Sometimes it’s normal to have a simple crack at the top, but you can always minimize the damage. When you use the ingredients at the right temperature, don’t rush the process; always pay attention to the making of the cheesecake. This gives you the perfect cheesecake with a smooth top.
- Eggs and cream cheese should be at room temperature. When we add the cheesecake to the oven, we want to minimize the temperature shock as much as possible.
- Release the latch from the springform pan and then tighten it again. It stops the cheesecake from pulling from all sides.
- First bake at 320°F 160 °C for 20 minutes, then increase the temperature to 355F 180C for 45 minutes.
- Slowly cool down the cheesecake after it’s been baked. Don’t try to rush it.

What tools do you need to prepare a cheesecake
- Mixing bowls: You will need different mixing bowls for the cookie dough and cheesecake filling.
- Saucepan: To warm up the butter and melt it. You can also use a microwave-safe bowl.
- Whisk: We will use it in different steps.
- Spatula: to combine ingredients. Use a wooden or/and silicone spatula.
- Stand mixer: we will need it to prepare the icing.
- Springform pan: use a 9-inch or 23cm.
- Round piping tip and medium-sized piping bag.
 Buy Now →
 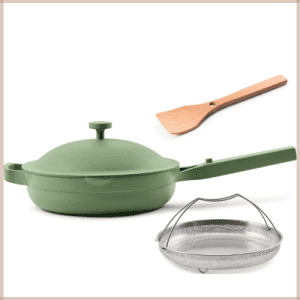 Buy Now →
  Buy Now →
  Buy Now →
  Buy Now →
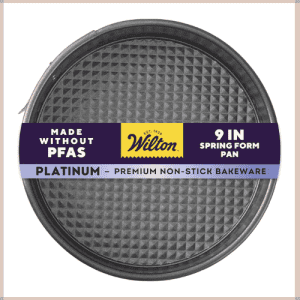
9 Inch Springform Cheesecake Pan
Buy Now →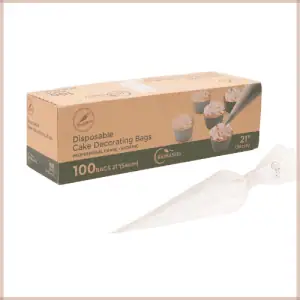 Buy Now →
 How to store a sugar cookie Valentine’s cheesecake
The day you bake the cheesecake, it will need to cool down at room temperature before you place it in the fridge. When you place it in the fridge to chill, it should stay for 6 to 8 hours to be able to set.
This cheesecake needs to be stored in the refrigerator. Wrap it in aluminum foil on the same serving plate and add it to a food-safe container if you want the whole cake. If you want to refrigerate it in slices, slice it and place it inside a food-safe container. It will be safe to eat for up to 4 days since the day it was made.
*The reason why we put the whole cake in a serving plate and then a container is so you can easily grab it from the container without worrying about breaking it or touching it.

Freeze the cheesecake:
This cheesecake freezes well. We always freeze all our desserts after we have taken the pictures to share the recipe here. This way, we can give it away to friends and family. We then defrost a slice and try to compare the textures and flavors before giving it.
- Freeze in slices: my favorite way of freezing any dessert is by servings, this way I don’t have to defrost a whole cake that maybe I don’t want to eat all in one setting. It makes meal prep so much easier and faster.
To freeze in slices, start by cutting the cake into as many servings as you’d like. For this recipe, I recommend 8 slices. Place the cheesecake slices in a prepared tray with parchment paper and fast freeze, about 2-4 hours. This step is to make sure it hardens slightly. After being frozen, place it inside a freezer-safe bag. For extra safety, place the bag inside a freezer-safe container.
- Freeze the whole cake: sometimes we need to prepare a cake for an occasion, but don’t have time to prepare it the day before. When that happens, you can make the cheesecake and then just freeze it to thaw when needed; it will save you so much time.
Place the whole cake on a serving plate wrapped with aluminum foil. Place the plate inside a freezer-safe container.
Freezing tips
Don’t forget to add the date and name of the product when you are freezing. When the dessert is fresh, you can easily tell what it is, but when it’s frozen, sometimes you can’t.
- This cheesecake is safe in the freezer for 3-4 months. I don’t recommend keeping it for longer to avoid freezer-burnt taste.
- Once you thaw a product, you cannot freeze it again.
- Thaw the cheesecake in the refrigerator. Don’t leave it in a warm environment, as it can grow bacteria really fast.
- It’s very important that the containers and bags are freezer-safe. If you are using a container not made for the freezer, it can break and will also not keep the food safe. Using a normal bag will give your food freezer taste and will burn from the cold.
How to decorate the cutest cheesecake for Valentine’s Day
The decoration for this cheesecake is simple but beautiful. Using a big piping tip and a medium-sized bag, starting from the center and moving outside, you will draw a spiral with the frosting. Sprinkle some hearts to make it extra cute.

You can change some things to still make it valentines day themed.
- Dye the icing pink or red.
- Add red sprinkles as well over the top.
- Edible glitter would be super cute on this dessert.

I hope you love this recipe. If you do, make sure to leave a review. It helps me stay motivated to bring recipes for all of you every day. Take a picture, share it on social media, and tag me. I love to see your creations.
Print
Sugar Cookie Valentine’s Cheesecake
Try this super delicious sugar cookie Valentine’s cheesecake recipe for Valentine’s Day. It has a rich, creamy texture with a velvety filling.
Ingredients
SUGAR COOKIE BASE
- 2 ¾ cups (350g) all-purpose flour
- under 1 cup, 7.05 oz, 1 ¾ sticks (200g) room temperature unsalted butter
- ½ vanilla bean
- 1 cup (200g) granulated sugar
- ¼ tsp salt
- 2 eggs
- ¼ cup (35g) red sprinkles
CHEESECAKE FILLING
- 2 tbsp cornstarch
- 5,75 Fl oz, ¾ cup (170ml) heavy whipping cream
- 2 cups, 16 oz (450g) room temperature, full-fat cream cheese
- ¼ tsp salt
- 1 cup, 200g granulated sugar
- 2 eggs
BUTTER-CREAM CHEESE FROSTING
- 2/3 cup, 5.3 oz, 1 1/3 sticks (150g) room temperature unsalted butter
- 1 2/3 cups (200g) powdered sugar/icing sugar
- ¼ cup, 2.3 oz (65g) room temperature, full-fat cream cheese
DECORATE
- Heart sprinkles
Instructions
- Using a dry and large pan, heat treat 2 ¾ cups, 350g of all-purpose flour, keep it on low heat and stir constantly, when it starts to stick slightly to the bottom, and clump turn off the stove and let it cool completely.
- In a saucepan, melt 1 ¾ sticks or 200g of unsalted butter. Once the butter is melted, add half a vanilla bean. Leave it inside for a couple of minutes; the vanilla will soften, and the flavor will also be more intense. Split the vanilla in half and scrape the beans; mix them with the melted butter.
- In a large mixing bowl, add 1 cup, 200g of granulated sugar, add the melted butter, and mix with a whisk. Add ¼ tsp of salt. Add 2 eggs and whisk the mixture. Now you can add the cooled flour and combine it using a silicone spatula.
- Once the sugar cookie dough is cooled, add ¼ cup, 35g of red sprinkles.
- Scoop a little over ¾ parts of the cookie dough and press it into a 9-inch, 23cm springform pan, making sure to bring it to the sides and the bottom. With the rest of the cookie dough, shape small round balls that we will shatter later over the cheesecake. Refrigerate the crust while we prepare the cheesecake filling.
- In a large mixing bowl, whisk together 2 tbsp of cornstarch with ¾ cup, 170ml of heavy whipping cream until there are no lumps. Add 2 cups, 450g of room temperature full-fat cream cheese, and stir it with a spatula; don’t use a whisk at this point. Add ¼ tsp of salt and 1 cup, 200g of granulated sugar. Combine it with a spatula.
- In a separate bowl, beat 2 eggs. Add them one by one to the cheesecake mixture, mixing after each addition.
- Pour the cheesecake filling over the chilled crust. Shatter the cookie dough balls we made previously.
- Preheat the oven to 320°F (160 °C). Once the oven is ready, bake the cheesecake for 20 minutes. Increase the temperature to 355°F 180 °C and bake for about 45 more minutes. The top should be golden brown.
- Turn off the oven and leave the cheesecake inside for about 45 minutes. Release the latch from the springform and tighten it again. Let it cool inside again for 45 minutes to 1 hour. After this time, place it over a cooling rack and let it cool completely. Once the cheesecake has cooled, refrigerate it for 6 to 8 hours so the cheesecake has time to set.
- Place 2/3 cup, 150g of room temperature soft unsalted butter in your stand mixer bowl, and using a paddle attachment, beat the butter for 10-15 minutes. It will stick to the sides, so you must bring it down constantly to avoid butter lumps. The butter should be whiteish. Sift the 1 2/3 cups, 200g of powdered sugar, and then throw it over the butter slowly until it’s fully incorporated. Lastly, add ¼ cup, 65g of room temperature cream cheese. Beat it until incorporated.
- If you want your icing extra smooth, pass it through a fine mesh and then slightly whisk it. Pour the mixture over a prepared piping bag with a big round tip.
- To decorate, starting from the middle of the cheesecake, start creating a spiral pattern going from the middle to the outside. Add some heart sprinkles over the top to decorate.
- Category: Baking, Dessert
- Method: Baking
Nutrition
- Serving Size: 1 slice from 8 servings
- Calories: 780kcal
- Sugar: 58g
- Sodium: 290mg
- Fat: 48g
- Saturated Fat: 29g
- Unsaturated Fat: 16g
- Trans Fat: 0.5g
- Carbohydrates: 82g
- Fiber: 1g
- Protein: 8g
- Cholesterol: 185mg


You are amazing in every way.