
Biscoff cheesecake bars
You’re going to love these super-easy no-bake Biscoff cheesecake bars! They’re absolutely delicious, and we’ve tried out a few different versions of this recipe. I have to say, this one is definitely the simplest to whip up! Enjoy!
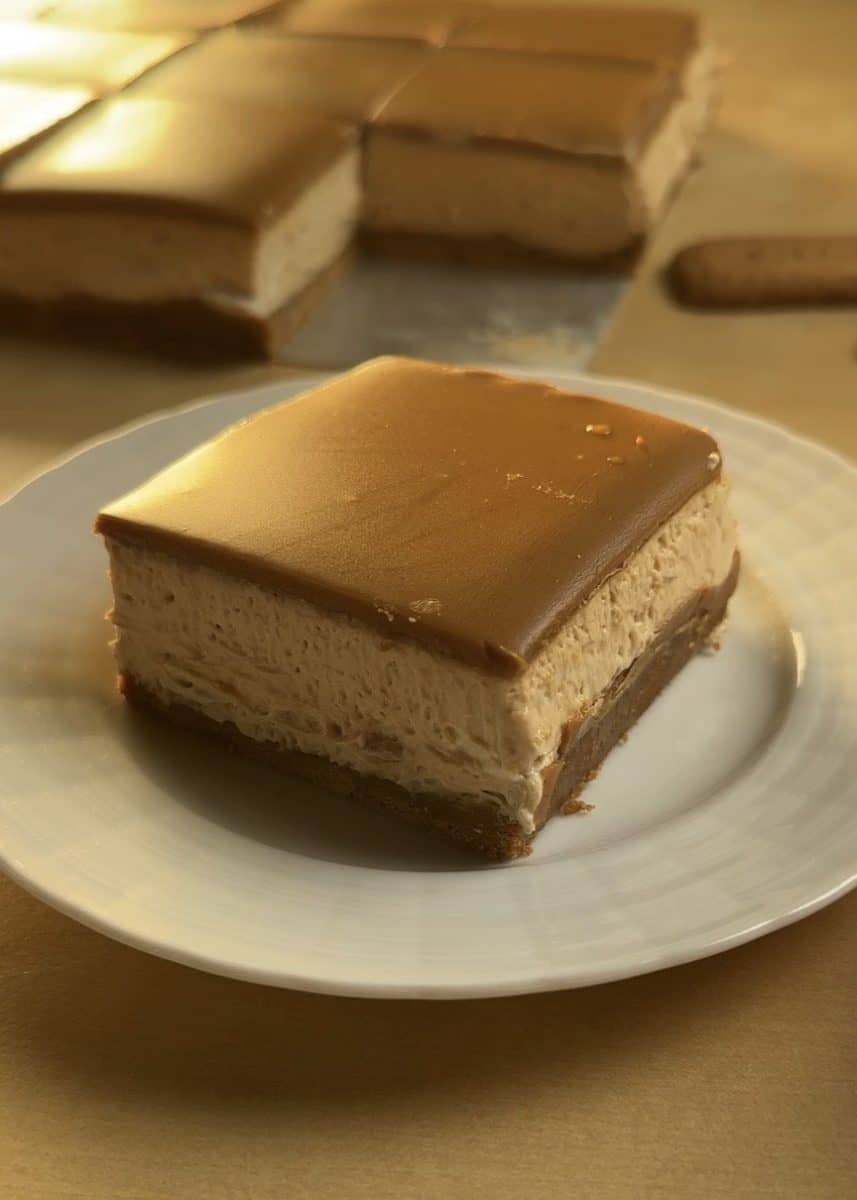
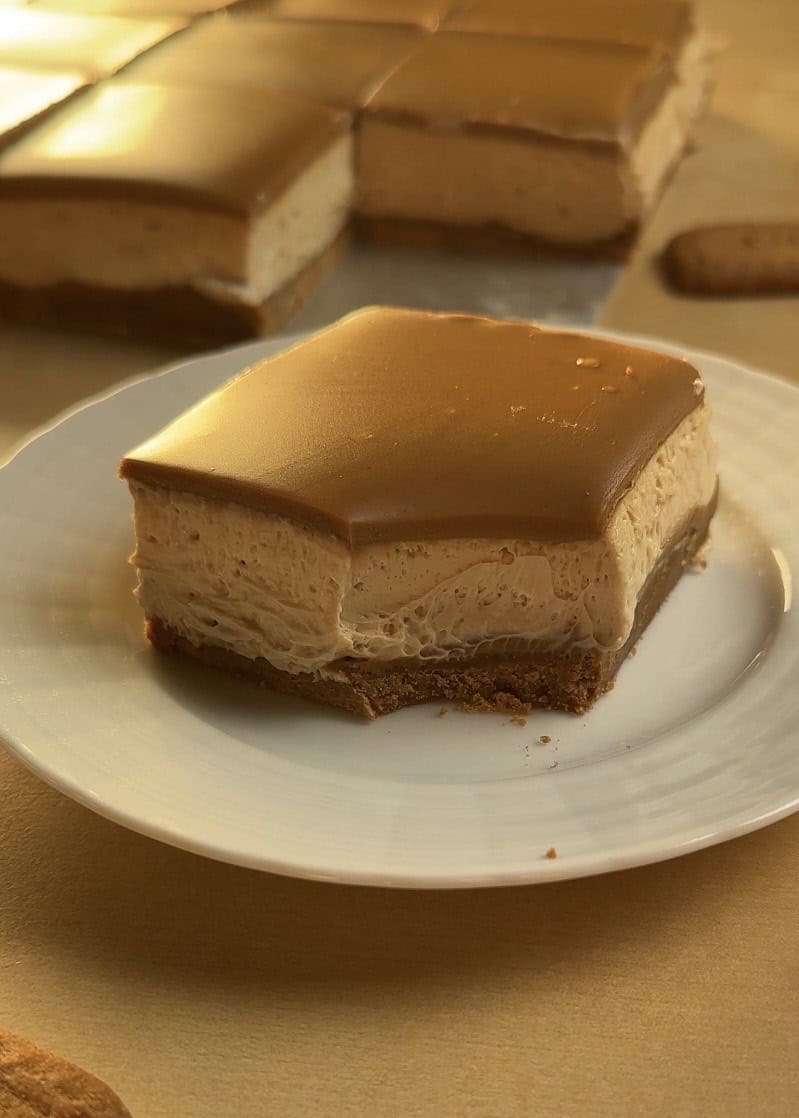
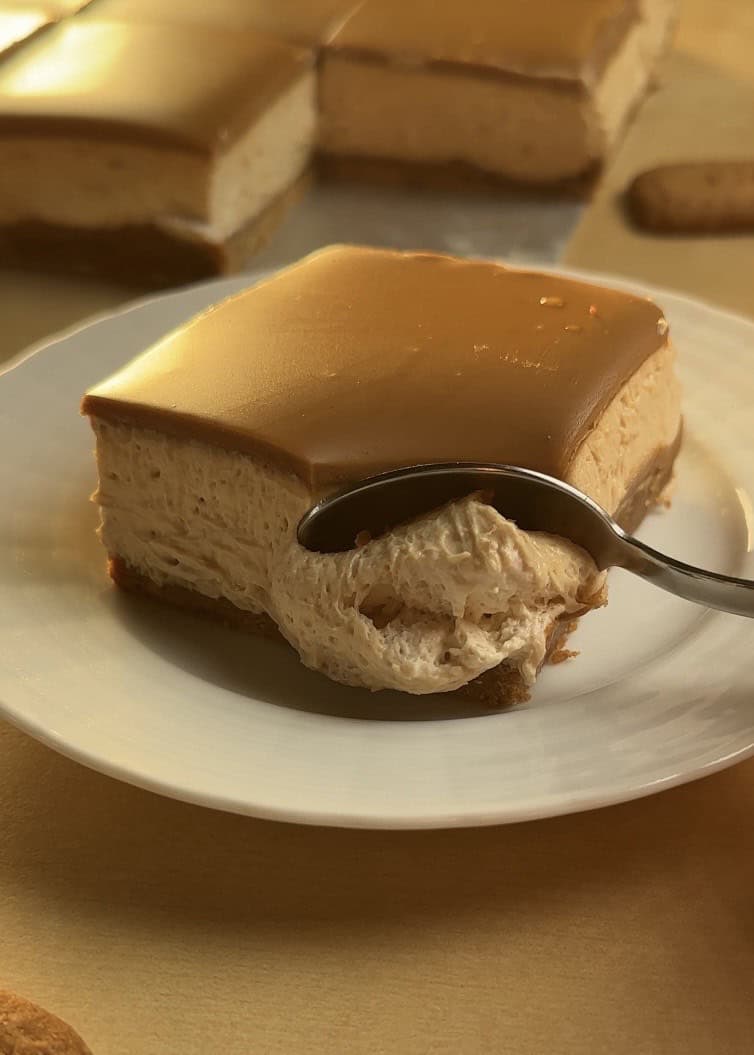
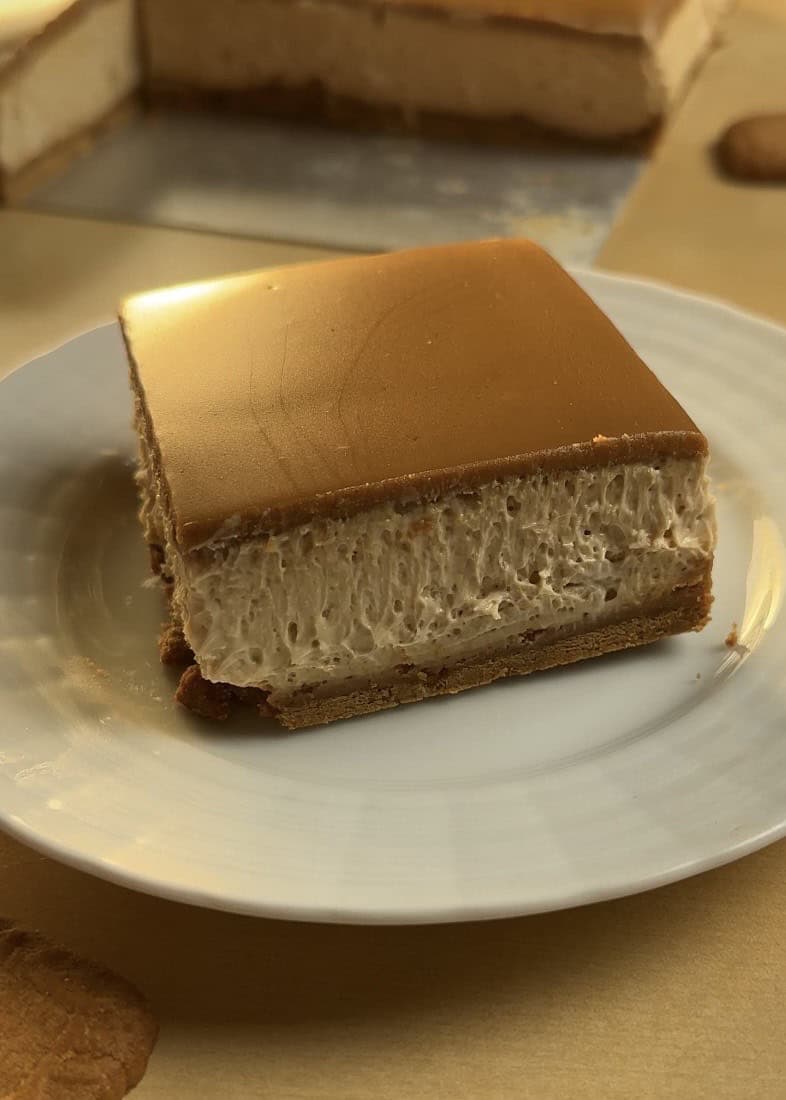
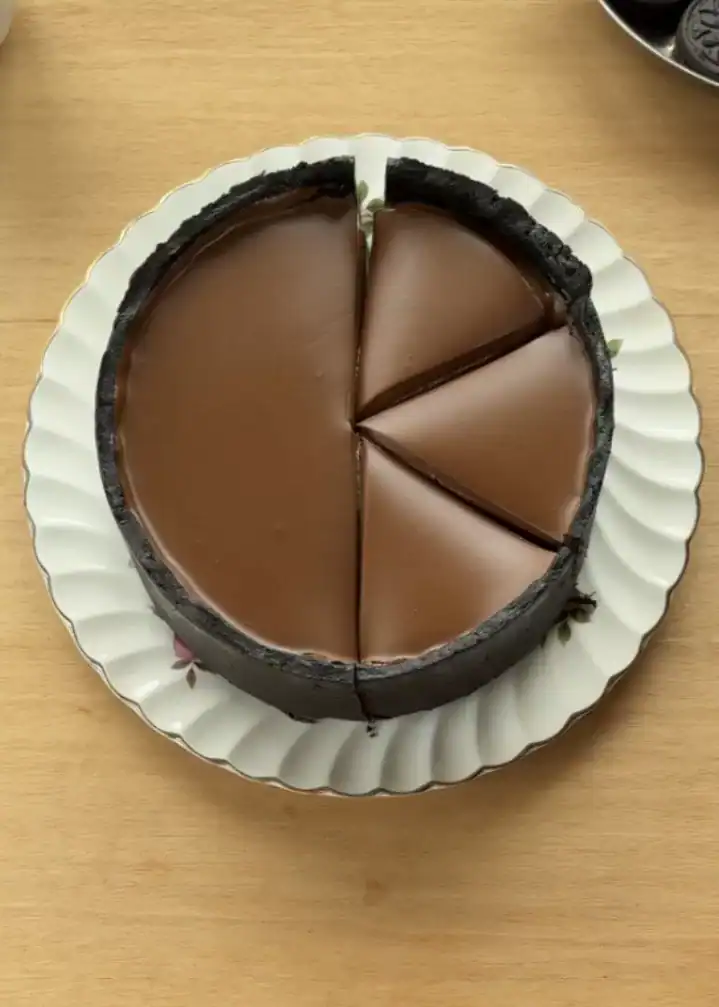
A rich, buttery layer of crushed Biscoff cookies forms the base, topped with a velvety Biscoff cheesecake filling. The dessert is then finished with a luscious layer of Biscoff spread, adding a sweet and creamy touch to each bite.
The best Biscoff cheesecake bars
Welcome to your ultimate source for delicious cheesecake recipes! If you love creamy desserts, you’re in for a delight. We’re excited to share a variety of recipes, from classic baked cheesecakes to easy no-bake versions.
Whether you’re an experienced baker or a beginner, you’ll find the perfect cheesecake to satisfy your sweet tooth right here!
What is Biscoff and where to find it?
Biscoff cookies are spiced cookies that are widely available at grocery stores and online. Known for their rich flavor and versatility, they are popular for use in a variety of dessert recipes.
In addition to the traditional cookies, Biscoff products include the well-known Biscoff spread, which is often referred to as cookie butter. This spread is characterized by its rich sweetness and can enhance the flavor of numerous desserts, adding a decadent touch.
The perfect no bake dessert
What do you love in a cheesecake dessert?
- A wonderfully smooth and creamy texture
- Just the right amount of sweetness
- A recipe that’s easy and fun to make
- A delicious treat that doesn’t need to go in the oven
If you’re nodding your head to all of these, then I have the perfect recipe for you! This delightful no-bake cheesecake is super simple to prepare, and it’s just sweet enough to satisfy your cravings. It has that dreamy, velvety texture that you can’t resist, sets up beautifully, and holds its shape perfectly. It’s the ideal dessert for any occasion, so you can enjoy a slice of happiness whenever you like!
Why this cheesecake works without gelatin
Making gelatin-free no bake cheesecakes is easier than you might think. While it can seem impossible at first, we have perfected the right method. Just follow these Simple Steps to Achieve a Firm, Creamy Cheesecake Without Using Gelatin

- Avoid Using a Whisk for the Cream Cheese: A whisk incorporates too much air and can weaken the structure of the mixture, resulting in a filling that is too soft to set properly. Always use a spatula to maintain a thick and stable filling.
- Choose the Right Cream Cheese: Whenever possible, opt for cream cheese blocks instead of the soft, spreadable kind. The block variety has a higher fat content, which helps the cheesecake set beautifully.
- Allow Enough Chill Time: Patience is essential for a perfect no-bake cheesecake. It needs time to fully set in the refrigerator—at least 8 hours, although chilling it overnight will yield the most luxurious texture and flavor.
By following these steps, you’ll achieve a firm, creamy, and sliceable cheesecake every time—without needing gelatin.
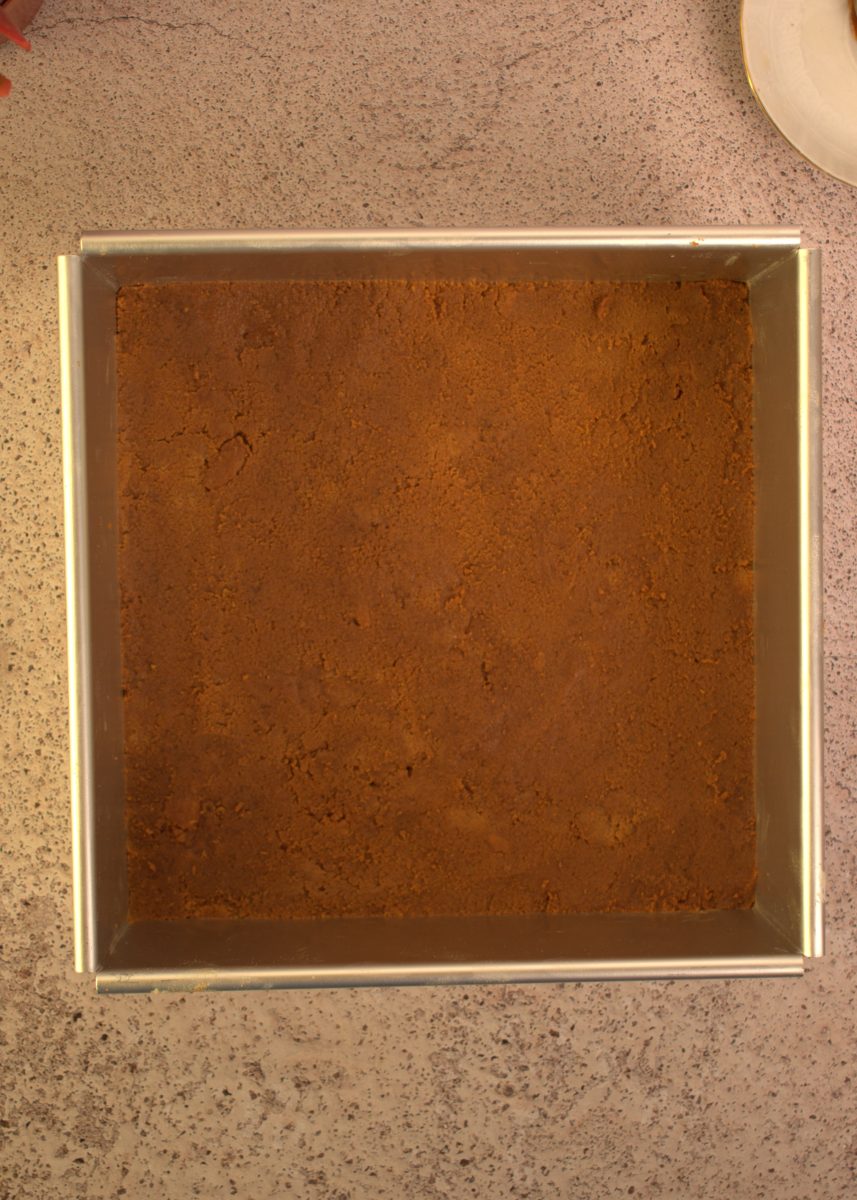
Biscoff cookie base
We found that different brands or blending methods for cookies can impact the consistency of the base. If your mixture feels too dry or crumbly, we strongly recommend adding a little extra butter to achieve the perfect texture.
To prepare the cookie base, first blend the Biscoff cookies in a food processor. Then, combine them with melted butter. You want to achieve a consistency similar to wet sand. If the mixture seems too dry, simply add a bit more butter until it holds together nicely.
Ingredients and why they work
- Biscoff cookies: Crush these cookies and mix them with butter to create the ideal crust for the cheesecake.
- Melted butter: This ingredient is used exclusively for the crust. It binds the cookie crumbs together and helps the base maintain its shape.
- Cream cheese: Ensure that the cream cheese is at room temperature to prevent lumps and achieve a smooth, creamy filling.
- Biscoff spread: This spread is mixed into the cheesecake filling for added flavor and is also used as a topping for a rich finishing touch.
- Heavy whipping cream: Whip to soft peaks. Choose cream with at least 35 percent fat content so that it whips beautifully and contributes a light, airy texture to the cheesecake.
For this recipe, there is no need to include powdered sugar, as the cheesecake itself has a perfect level of sweetness that comes from the Biscoff spread.
 Buy Now →
  Buy Now →
  Buy Now →
  Buy Now →
  Buy Now →
 What Is the Right Heavy Whipping Cream?
If you’ve ever wondered how to pick the perfect heavy whipping cream to make no-bake Biscoff cheesecake bars, you’re not alone! Sometimes, it can be a bit puzzling when certain creams just won’t whip up the way you expect.
- First things first: to whip cream successfully, you’ll want to choose one with at least 35 percent fat content. Creams like half-and-half or light cream are perfect for your coffee or cooking but just don’t have enough fat to whip up nicely.
- Now, heavy cream is wonderful but can be a little temperamental. If you whip it for too long, it can get grainy and lose that dreamy texture we all love. So, keep an eye on it and stop whipping when you see soft peaks forming—this is the magic moment when it’s just right!
- Also, keep in mind that once you fold the whipped cream into your dessert, it will continue to thicken and set. That’s why it’s super important to know when to stop whipping—getting that smooth and fluffy texture will really take your dishes to the next level! Enjoy your whipping adventures!

Pro tips to make a Biscoff cheesecake
- Use high-fat cream: Make sure your heavy whipping cream has at least 35 percent fat to help achieve a wonderfully stable and creamy texture.
- Chill your bowl: It really helps to use a cold, dry, and clean bowl when whipping the cream; this will give you perfect soft peaks.
- Whip carefully: Be gentle when whipping the cream—just whip it until soft peaks form. Overwhipping can cause it to break when you fold it into the cream cheese mixture.
- Handle cream cheese properly: Always work with cream cheese that is at room temperature and use a spatula for mixing. Avoid using a whisk, as it can introduce too much air and make the filling too soft.
- Chill: Allow your cheesecake to set for at least eight hours; for the best texture and flavor, overnight chilling is the way to go!
- Warm up the Biscoff spread if necessary: If the spread is too cold, it may create lumps in the filling, so warming it slightly can help.
- Adjust the crust if needed: If your cookie base seems too dry, just add a little more butter until you reach the perfect consistency. Enjoy your baking!
Perfect the decoration for your desserts
We often get asked how to achieve that gorgeous, shiny top layer on your Biscoff cheesecake bars, and it’s really simpler than you might think!
- Start by warming up your Biscoff spread just a little until it’s nice and runny.
- Pour it over your cheesecake, but instead of using a spatula to spread it, gently tilt the pan so the spread coats the entire surface evenly.
- Once it looks just right, pop the cheesecake in the refrigerator for about 10 minutes.
- You’ll be left with a perfectly set top that has a lovely, matte finish. Enjoy your baking!
Special tools you need
- Mixing Bowls: Use various sizes to easily combine ingredients and keep elements separate when necessary.
- Spatula (Silicone or Rubber): Ideal for folding cream into the cream cheese mixture and for scraping bowls clean.
- Whisk or Electric/Stand Mixer: Use this for whipping cream to soft peaks. A stand mixer with a whisk attachment is best for achieving a smooth, airy texture.
- Measuring Cups or Kitchen Scale: These tools ensure accurate measurements for consistent results.
- Food Processor: This is perfect for crushing biscuits finely and evenly to create a smooth, sturdy base.
- Square Pan with a Detachable Bottom: This design allows for easy removal of the cheesecake without damaging the sides.
 Buy Now →
  Buy Now →
  Buy Now →
 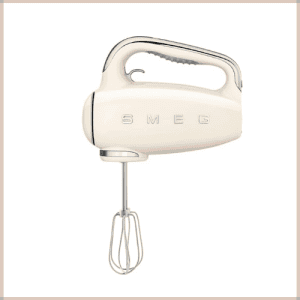 Buy Now →
 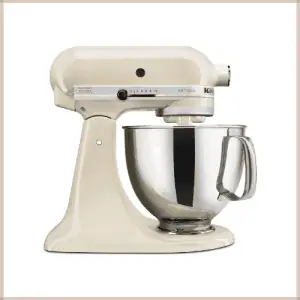 Buy Now →
 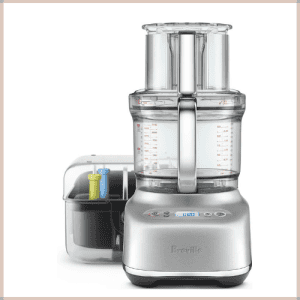 Buy Now →
  Buy Now →
  Buy Now →
  Buy Now →
 How to serve the perfect slice
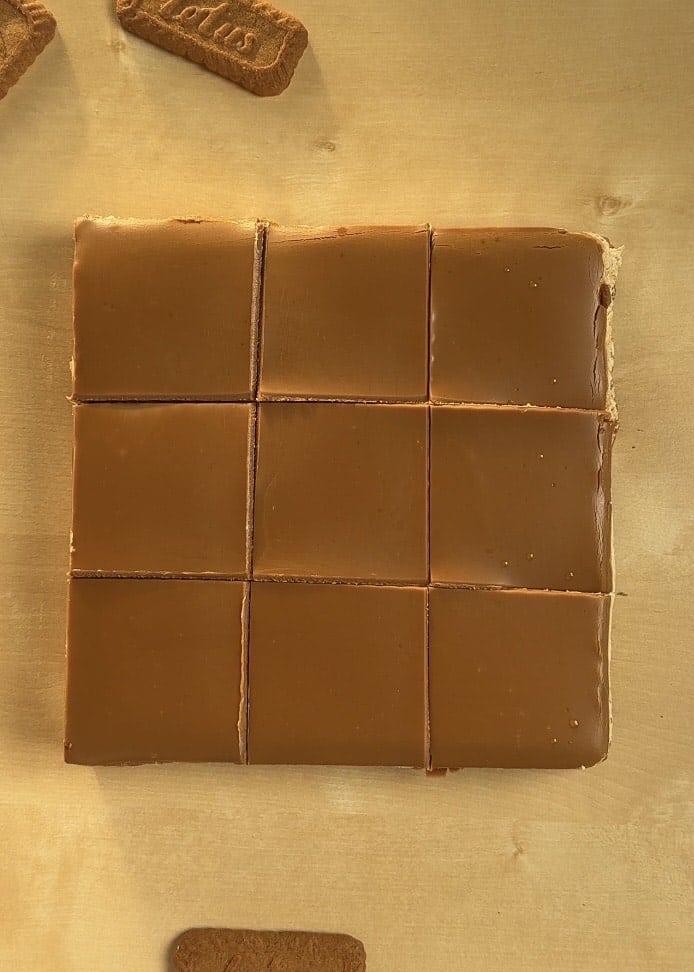
Hey there! I might sound a little quirky, but I love to measure my cheesecake slices to keep things neat! Since I’m using a 20 cm x 20 cm pan, I like to mark 6.6 cm on each side to guide my cuts.
A long knife, like a bread knife, works wonders for making clean slices. I’ve found that dipping the knife in warm water and giving it a quick wipe with a paper towel after each cut really helps to get those smooth edges.
With this little trick, you’ll end up with 9 perfectly even cheesecake squares that are as delightful to look at as they are to eat!
How to store Biscoff cheesecake bars
To ensure the best quality and freshness of your no-bake Biscoff cheesecake, store it in the refrigerator.
Fridge: It’s important to keep the cheesecake covered; use plastic wrap or place it in an airtight container to prevent it from absorbing any unwanted odors from other foods. Under proper refrigeration, the cheesecake will remain fresh for approximately 4 days.
Freeze: If you wish to store it for a longer period, you can freeze the cheesecake. First, wrap it tightly in plastic wrap, making sure that there are no gaps for air to enter. For added protection against freezer burn, wrap it again with aluminum foil or place the wrapped cheesecake in a durable airtight container. When you’re ready to enjoy it again, thaw the cheesecake in the refrigerator overnight.
This method helps to maintain its creamy texture and flavors, allowing you to indulge in this delicious dessert as if it were freshly made.

Biscoff cheesecake bars
Enjoy these easy no-bake Biscoff cheesecake bars! With a buttery cookie crust, creamy cheesecake filling, and delicious Biscoff topping, this simple recipe requires no oven and makes a stunning treat. Perfect for dessert lovers!
- Total Time20 minutes
- Yield9 bars
- DietVegetarian
Ingredients
For the base
- 1 3/4 cups Biscoff cookies (200 g)
- 1/4 cup melted butter (55 g)
Filling:
- 2 cups cream cheese (500 g)
- 1 cup Biscoff spread (225 g)
- 1 cup heavy whipping cream (230 g, 35%)
For decoration:
-
2/3 cup Biscoff spread (140 g)
Instructions
Prepare the crust
- Crush the Biscoff cookies in a food processor until fine.
- Combine the crumbs with melted butter until the mixture reaches a wet sand-like consistency.
- Press the mixture evenly into the bottom of a 20 cm x 20 cm (8 in x 8 in) square pan with a detachable bottom. Chill in the fridge while preparing the filling.
Make the cheesecake filling
- In a mixing bowl, soften the cream cheese at room temperature.
- Gently fold in Biscoff spread using a spatula. Avoid using a whisk to prevent over-aerating the mixture.
- In a separate cold bowl, whip the heavy cream to soft peaks.
- Carefully fold the whipped cream into the cream cheese mixture until fully incorporated, keeping it light and airy.
Assemble the cheesecake
- Pour the filling over the chilled cookie crust and smooth the top with a spatula.
- Refrigerate for at least 8 hours, or overnight, to allow the cheesecake to set properly.
Decorate
- Warm the Biscoff spread slightly until runny.
- Pour it over the set cheesecake and tilt the pan to cover evenly—do not spread with a spatula.
- Chill in the refrigerator for about 10 minutes until the top sets with a smooth, matte finish.
Serve
- Using a long bread knife, cut the cheesecake into 9 squares. For clean cuts, dip the knife in warm water and wipe it dry between each cut.
- Each square will be approximately 2 2/3 in x 2 2/3 in (6.6 cm x 6.6 cm).
- Serve chilled and enjoy!
- Prep Time: 20 minutes
- Category: Dessert
- Method: No bake
- Cuisine: International / American-style dessert
Nutrition
- Serving Size: 1 square
- Calories: 450
- Sugar: 20g
- Sodium: 300 mg
- Fat: 30g
- Saturated Fat: 12g
- Unsaturated Fat: 10g
- Trans Fat: 0 g
- Carbohydrates: 35
- Fiber: 1
- Protein: 8g
- Cholesterol: 70 mg


the best place to learn how to make delicious desserts and much more!!!