
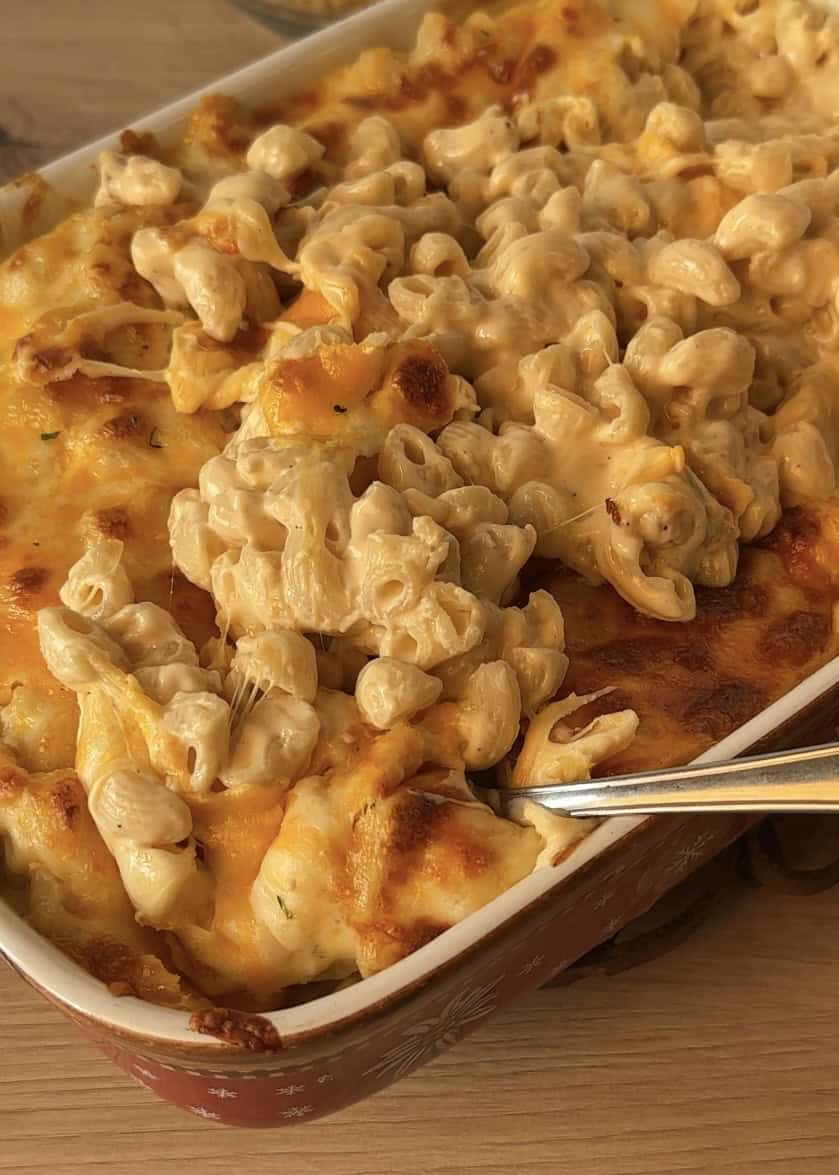
Let’s make the ultimate creamy, homemade mac and cheese today. This is the perfect, crowd-pleasing dish for your Thanksgiving table. It’s a classic recipe that will impress anyone.
Everyone loves good homemade mac and cheese. It’s more flavorful and just better. This recipe was a massive hit—it was so good our dad started eating it right in the middle of us recording!
If you need help with this year’s Thanksgiving recipes, don’t worry; we’ve got you covered. We can teach you just about any dish you could want to bring to your table. But today, we’re going for a timeless classic.
DON’T buy pre-shredded cheese!
Don’t buy pre-shredded cheese! This is a really common mistake everyone makes, and it can prevent your sauce from being perfectly smooth.
Pre-shredded cheese is coated with different products (like potato starch or cellulose) to prevent clumping and make it last longer. This coating stops the cheese from melting properly into your sauce!
For this recipe, it’s very important you invest in a cheese grater if you haven’t already. I just ordered mine after making this recipe because I cannot take another year of grating cheese by hand!!
You have options: a manual grater is much cheaper and gets the job done, while an electrical one will be even better and faster (though slightly more expensive).
cheese grater
 Buy Now →
 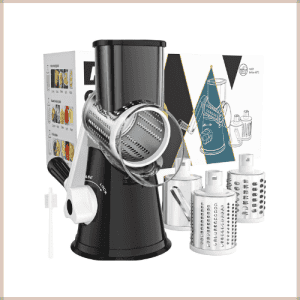 Buy Now →
 How to AVOID a split cheese sauce
A split, grainy cheese sauce is a common kitchen disaster, but it’s 100% avoidable. The number one rule is simple: Never boil cheese.
When cheese is heated too aggressively, its proteins tighten up and squeeze out the fat and water, which causes that unpleasant, greasy separation.
Here’s your foolproof, three-step method for a velvety-smooth sauce every time:
- Timing is Everything: Turn Off the Heat. The most critical step happens the moment before you add the cheese. As soon as your base sauce (the béchamel) is thick and bubbly, turn off the heat. The residual heat in the pot is perfectly sufficient to melt the cheese gently without shocking it.
- Prepare Your Cheese. Never add cold cheese to your hot sauce. The drastic temperature change makes it very difficult for the cheese to melt smoothly, resulting in a grainy or clumpy texture. For the best results, shred your cheese about an hour before you need it and let it come to room temperature. Be sure to cover it with plastic wrap. This is the secret to a seamlessly creamy sauce.
- Melt slowly. Add your room-temperature cheese to the hot sauce and stir continuously until it’s fully melted and incorporated. If you find a few stubborn pieces aren’t melting, you can place the pot back on the burner over the lowest possible setting. Warm it gently while stirring non-stop, and be patient—never let it even approach a boil.
What type of cheese to use for Mac and Cheese
For the best, creamiest results, I recommend you only use cheeses that are known for their excellent melting qualities.
The Best Melting Cheeses:
Gouda, Smoked Gouda, Havarti, Mozzarella, Colby Jack, Cheddar, Provolone, Monterey Jack, Emmental, and Gruyère.
Want to get creative? For a different twist, you can experiment with Brie or even Blue Cheese. Just make sure to adjust the quantities, as a strong blue cheese will have a much more powerful flavor than a mild mozzarella!
Choose your favorite cheese
 Buy Now →
  Buy Now →
  Buy Now →
 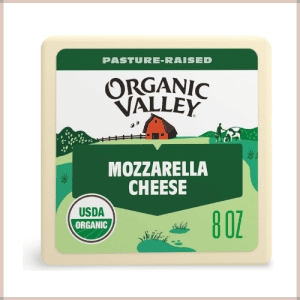 Buy Now →
  Buy Now →
  Buy Now →
  Buy Now →
  Buy Now →
  Buy Now →
  Buy Now →
 For this recipe, we are going to be using mozzarella, smoked Gouda, and cheddar. This blend creates a fantastic flavor and also makes it easier for our friends in European countries to follow along, as cheeses like Colby Jack can be much harder to find there.
Storage for Mac and Cheese
I highly recommend making your mac and cheese fresh on the same day you plan to enjoy it. This is because the macaroni will continue to absorb the cheese sauce over time, which can make it dry.
If you need to make it ahead, you have to plan for this:
- Make it EXTRA Saucy: Prepare the recipe with more sauce than you think you need.
- Reheat Gently: When reheating, add a small splash of heavy cream or milk to loosen it up. Warm it over low heat, stirring frequently to avoid splitting the sauce at the last minute.
- Fridge: You can keep it in an airtight container in the refrigerator for up to 3 days.
What about freezing?
You can freeze it, but I do not recommend it. Pasta doesn’t hold its texture well after freezing and tends to become mushy when thawed. So, while it’s possible, the result just isn’t the same.
Best pasta to make mac and cheese
The type of pasta you use can truly take your mac and cheese from good to a top-level dish! You want a shape that can grab and hold onto all that creamy sauce.
- Elbow Pasta: This is the absolute classic for a reason. You can find it everywhere, it’s easy to use, and it’s just what everyone pictures when they think of mac and cheese.
- Cavatappi: This one is ideal if you can find it! Its corkscrew shape is perfect for trapping loads of sauce inside every twist, ensuring you get cheesy goodness in every single bite.
- Shells: They’re cute, I love them! Their little cup-like shape acts as a perfect little pocket to scoop up and hold the creamy cheese sauce.
- Cellentani: This is like elbow pasta’s fancy cousin. Its long, corkscrew shape is a sauce-trapping champion, making for a really fun and satisfying texture.
Ingredients to make mac and cheese
Here is the list of ingredients we have used to make this mac and cheese. You can find the exact quantities in the recipe card at the bottom of this post, provided in both cups and grams.
- Pasta: We are using elbow pasta for this recipe as it’s a classic, easy to find, and delicious. You can use any other short pasta like cavatappi, shells, or gemelli.
- Butter: We will use it to make our roux. You could use oil instead, but butter provides the best flavor.
- Garlic Clove: We are using fresh garlic to add a deep, aromatic flavor to the sauce. Feel free to skip it if you don’t like garlic.
- Evaporated Milk & Heavy Cream: This combination creates the perfect rich and saucy base for our mac and cheese. You can use regular milk instead of evaporated milk, but the sauce will be less creamy. For the heavy cream, I like to use a variety with 35% fat, but you can use one with a lower fat content.
- Flour: We will use all-purpose flour to thicken our sauce and create the roux.
- Spices: As this is a classic mac and cheese, it is not overspiced. We are using salt, black pepper, white pepper, smoked paprika, garlic powder, and onion powder. Feel free to skip using some spices if you don’t like them.
- Dijon Mustard: This is essential! It doesn’t make the sauce taste like mustard; it simply enhances the overall cheesiness and adds a wonderful depth of flavor.
- Cheese: We are using a powerful combination of three cheeses for the ultimate flavor and melt: Mozzarella (for its fantastic melt), Cheddar (for its sharp, classic flavor), and Smoked Gouda (for a subtle, smoky depth).
ingredients for your mac and cheese
 Buy Now →
  Buy Now →
  Buy Now →
  Buy Now →
  Buy Now →
  Buy Now →
  Buy Now →
Buy Now →
Buy Now →
Buy Now →
Buy Now →
Buy Now →
Buy Now → 
Mac and cheese overview
1. Prep is Key: You’ll start by grating your own blend of mozzarella, cheddar, and smoked gouda, letting it come to room temperature for the smoothest melt. Simultaneously, you’ll par-cook the elbow pasta so it stays perfectly al dente.

2. A simple, flavorful blonde roux made with butter, garlic, and flour forms the foundation of the sauce.

3. This is then transformed into a luxuriously creamy base by whisking in evaporated milk and heavy cream, which is seasoned with spices and a hint of Dijon mustard for depth.

4. Off the heat, you’ll gradually stir in the room-temperature cheeses until they melt into a velvety, smooth sauce.

6. The cooked pasta is then folded in until every piece is coated.
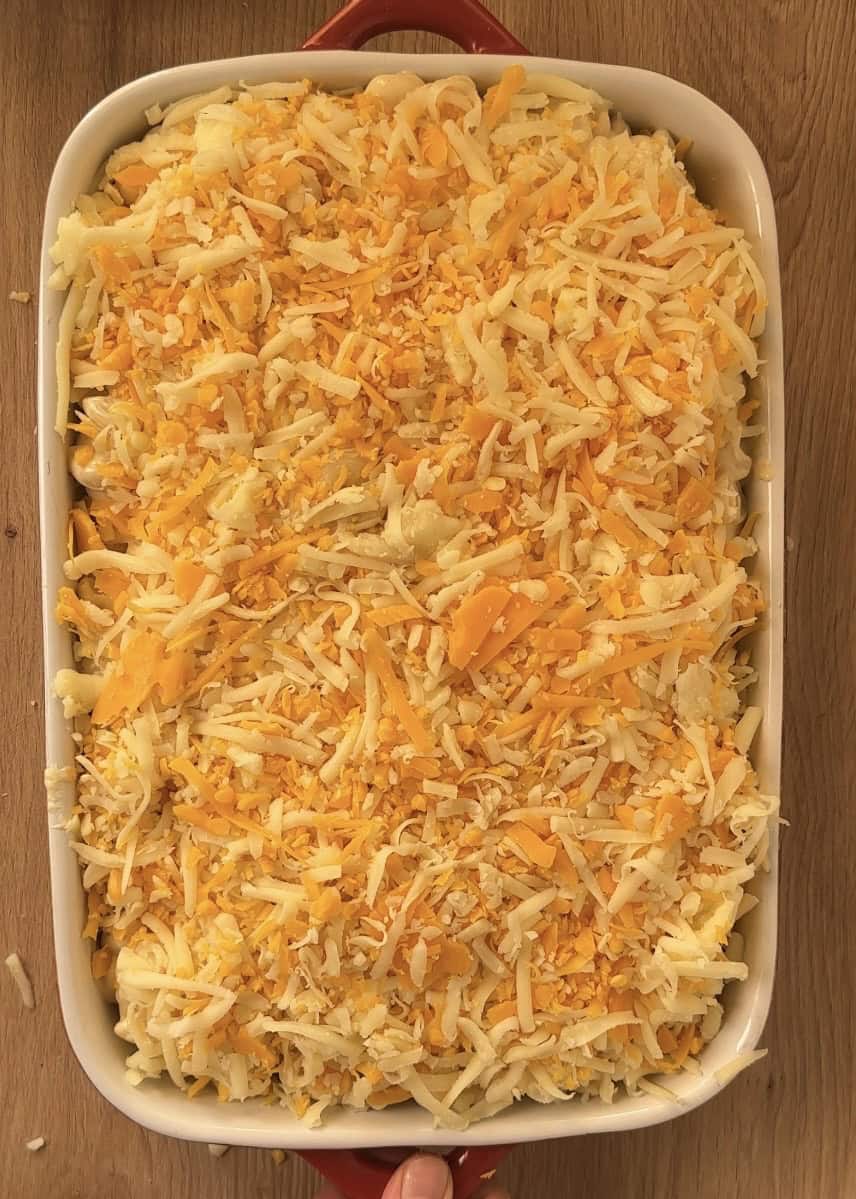
7. The mac and cheese is transferred to a baking dish, topped with the reserved cheese
7. It’s then broiled until the top is irresistibly golden brown and bubbly.
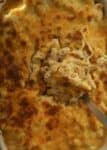
Toasted or no toasted mac and cheese
For a quick and easy dinner, you can absolutely serve this mac and cheese straight from the pot—no toasting required. It’s creamy, delicious, and ready in a flash.
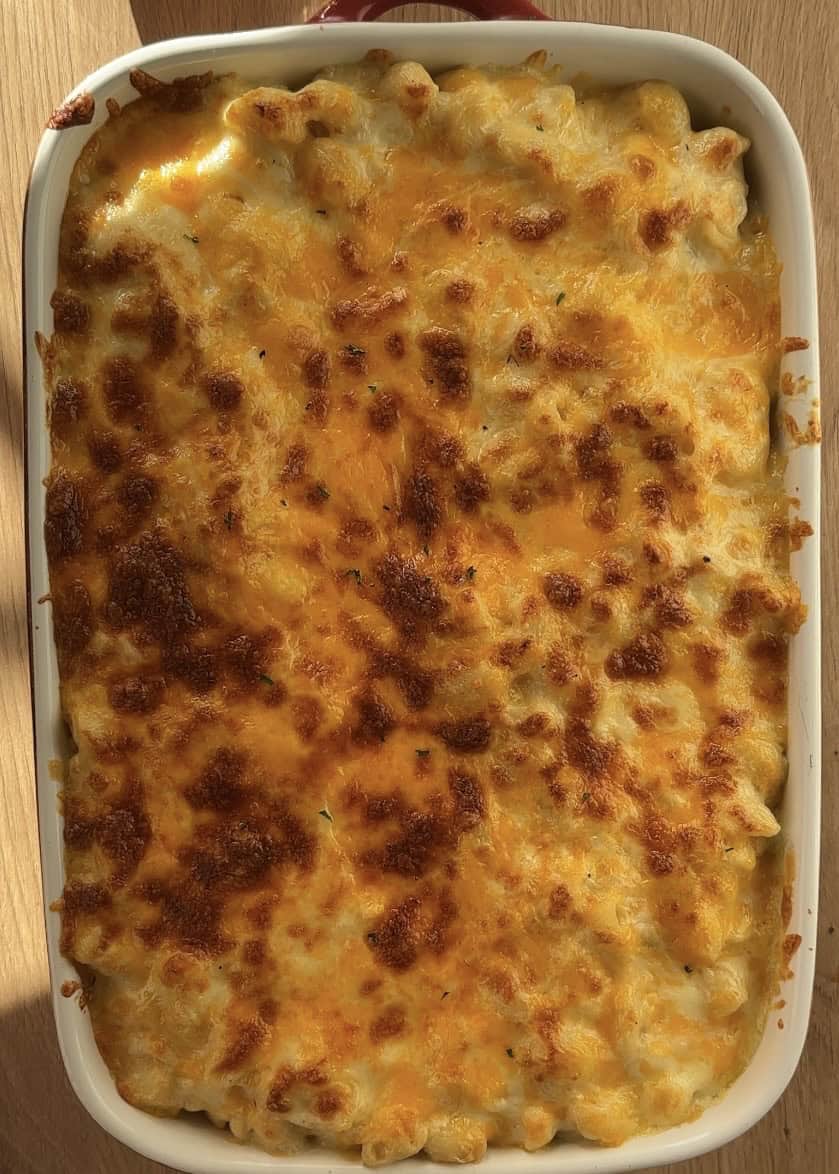
However, if you want to truly elevate this recipe, I highly recommend taking an extra few minutes to toast the top. Simply sprinkle on a generous handful of grated cheese and pop it under the broiler/grill until the top is golden, bubbly, and wonderfully toasty.
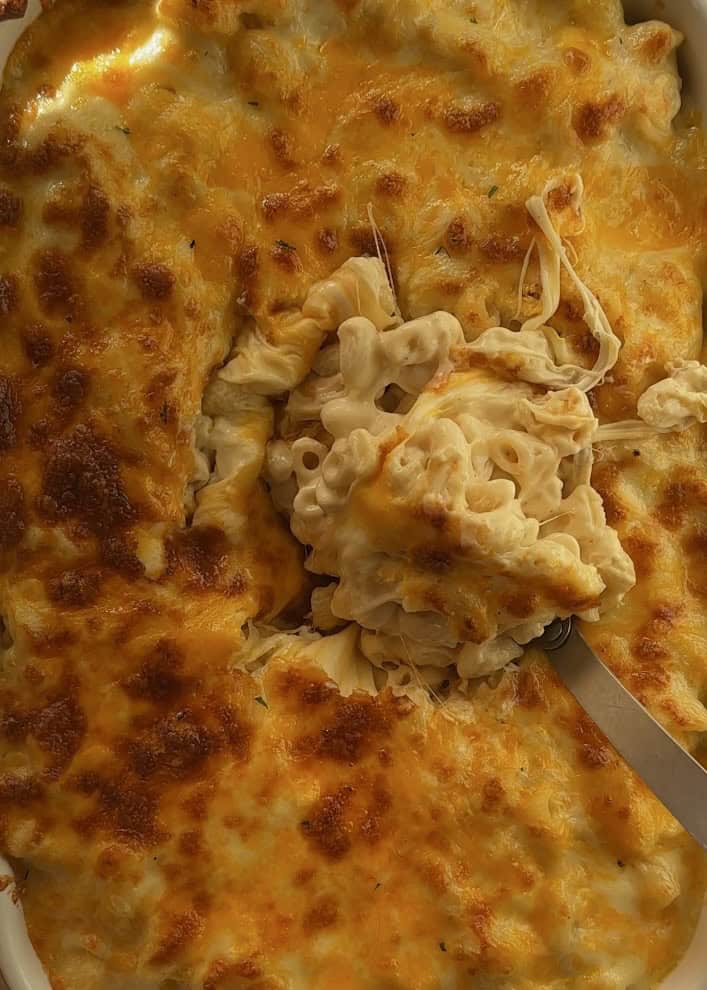
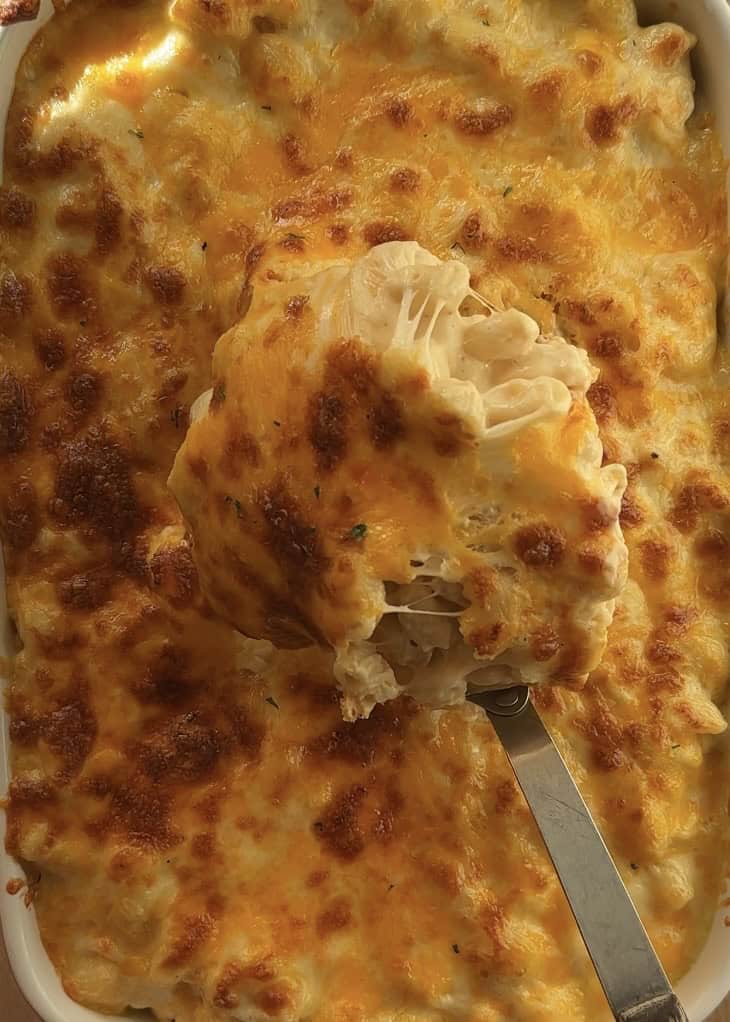
Honestly, that crispy, cheesy top is my favorite part of any mac and cheese, and I always fight for the corner pieces with the most crust. It’s the best thing ever! This recipe is perfectly creamy, which makes it ideal for grilling.
For a special event like Thanksgiving dinner, I highly recommend you toast it. It transforms it from a simple side dish into a show-stopping centerpiece… unless you know for a fact that everyone at your table dislikes a crispy top (but can you even trust those people?).
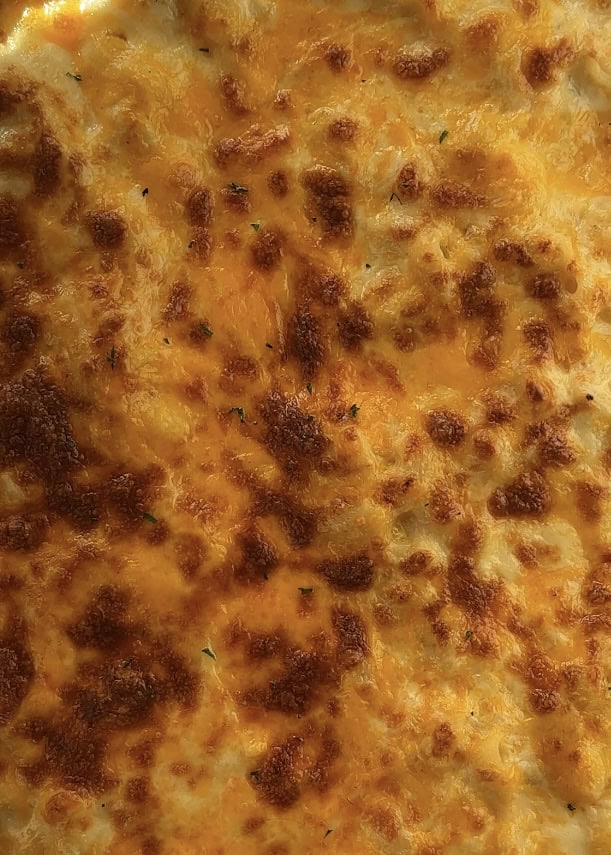
I mean, seriously. Look at this crust. Are you really going to share that? I wouldn’t blame you if you hid it all for yourself.
Special tools you need!
To prepare this delicious and creamy mac and cheese, you will need the following tools:
- Large Pot: You need one that is big enough to cook the pasta and later mix it with the sauce, so you don’t have to use extra bowls.
- Whisk: Essential for making a smooth sauce. You can use a sturdy wooden spatula instead if you prefer.
- Oven-Safe Pan: It needs to be both deep and wide enough to hold all the mac and cheese and fit under the broiler.
- Grater: An electric grater is fantastic for speed, or even a manual handle grater, but a standard box grater works perfectly well.
- Garlic Mincer: For easily mincing your fresh garlic cloves.
tools!
 Buy Now →
  Buy Now →
 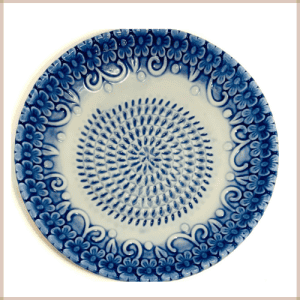 Buy Now →
 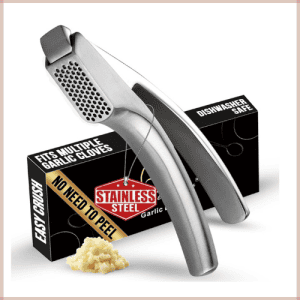 Buy Now →
 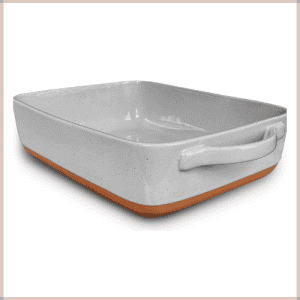 Buy Now →
Buy Now →
Buy Now →
Buy Now →
Buy Now → Different toppings you can use
Take your mac and cheese to the next level with these delicious toppings:
- Bread Crumbs: Mix with a little melted butter and sprinkle on top before broiling for an extra crunchy, golden finish.
- Fresh Parsley: A simple sprinkle of chopped parsley right before serving adds a pop of color and fresh flavor.
- Bacon: Cook and crumble bacon, then sprinkle it over the cheese before broiling. Watch it closely so it doesn’t burn! You can also add it fresh after broiling.
- Hot Honey Chicken: Serve your mac and cheese as the ultimate side dish to some delicious, spicy hot honey chicken for a full meal.
BEST tips!
Here are my top tips to ensure your mac and cheese turns out perfectly every single time:
- Undercook Your Pasta. Always cook your pasta for 1-2 minutes less than the package instructions. It will continue to cook and absorb sauce in the oven, preventing it from becoming mushy.
- Never Boil the Cheese. Once you add the cheese to the sauce, the heat must be OFF. Boiling cheese will cause the fats to separate, creating a greasy, grainy sauce instead of a smooth and creamy one.
- Shred Your Own Cheese. Pre-shredded bags of cheese are coated with starches to prevent clumping, which prevents them from melting smoothly. For the creamiest sauce, always shred your own cheese from a block.
- Make it Extra Saucy for Make-Ahead. If you plan to make this dish ahead of time, prepare some extra sauce or don’t mix it until you are gonna bake it. The pasta will continue to absorb the sauce as it sits in the fridge.
- Let Cheese Come to Room Temp: Using room-temperature shredded cheese helps it melt evenly and quickly into the sauce, reducing the risk of a grainy texture.
- Broil Carefully: All ovens are different! Stay close and watch the topping while it broils, as it can go from perfectly golden to burnt in a matter of seconds.
Creamy homemade mac and cheese
- Prep Time: 25 minutes
- Cook Time: 25 minutes
- Total Time: 50 minutes
- Yield: 8-10 servings
- Category: Main Course, Side Dish
- Method: Baking, Stovetop
- Cuisine: American
- Diet: Vegetarian
Description
The only mac and cheese recipe you’ll ever need. Incredibly creamy, packed with three cheeses, and perfect for making ahead. A show-stopping Thanksgiving side dish that everyone will remember.
Ingredients
- 500 g (5 cups) elbow pasta
- 800 ml (3 ⅓ cups) evaporated milk
- 300 g (1 ¼ cups) heavy cream
- 600 g (6 cups) mozzarella cheese
- 350 g (3 cups) cheddar cheese
- 450 g (4 cups) smoked gouda cheese
- 2 tbsp butter
- 2 tbsp all-purpose flour
- 2 garlic cloves
- 1 teaspoon salt
- 1 tsp dijon mustard
- ½ teaspoon black pepper
- ¼ teaspoon white pepper
- 1 teaspoon smoked paprika
- ½ teaspoon onion powder
- ½ teaspoon garlic powder
- Fresh parsley for decoration (optional)
Instructions
Prep the Cheese & Pasta
- Grate all the cheeses. Leave them at room temperature; do not put them back in the fridge.
- Cook the pasta in well-salted water, following the package instructions but for 2 minutes less than the recommended time (it will finish cooking in the oven). Drain thoroughly.
Sauté Aromatics & Make the Roux
- Mince the garlic cloves.
- In a large pot over medium-low heat, melt the butter and cook the garlic until fragrant, being careful not to burn it.
- Add the flour and cook, stirring constantly with a spatula or whisk, until you have a light “blonde roux.” Do not let it brown.
Create the Cheese Sauce
- Whisk in the evaporated milk and heavy cream until smooth.
- Add the Dijon mustard, salt, black pepper, white pepper, smoked paprika, onion powder, and garlic powder.
- Keep stirring until the sauce thickens slightly.
Melt the Cheese & Combine
- Turn off the heat. Add the grated cheeses in two parts, reserving a handful for the top. Stir until the sauce is completely smooth and the cheese is fully melted.
- Taste the sauce and adjust seasoning if needed.
- Add the cooked, drained pasta to the pot and stir until evenly coated.
Assemble and Broil
- Preheat your oven’s broiler (grill) setting.
- Transfer the mac and cheese to an oven-safe dish. Sprinkle the reserved cheese evenly over the top.
- Place the dish under the broiler until the top is golden brown and bubbly. This can take anywhere from 2 to 10 minutes, so watch it closely to prevent burning.
Serve
- Let it cool for a few minutes before serving. Garnish with fresh parsley if desired. Enjoy!
Notes
- Always shred your own cheese from a block. Pre-shredded cheese contains anti-caking agents that can make your sauce grainy and prevent it from melting smoothly.
- Letting the shredded cheese sit out before using it is a small step that makes a huge difference! It melts more evenly and quickly, helping you avoid a broken sauce.
- Undercooking the pasta is crucial! It will continue to absorb liquid and cook in the hot sauce and oven, ensuring it doesn’t become mushy.
- Never boil the sauce after adding the cheese. The high heat can cause the proteins to tighten and squeeze out the fat, resulting in a greasy, split sauce. Always melt the cheese with the heat off.
Nutrition
- Serving Size: 1 portion
- Calories: 780
- Sugar: 13g
- Sodium: 950mg
- Fat: 42g
- Saturated Fat: 25g
- Unsaturated Fat: 13g
- Trans Fat: 0.5g
- Carbohydrates: 62g
- Fiber: 2g
- Protein: 36g
- Cholesterol: 125mg
ARCHER'S FOOD
Easy and delicious recipes


Wait this is so good I just made it for a quick dinner and everyone is obsessed! Will be making again
Hello Lia,
Thank you so much, I’m so glad everyone loved it!
Tested this out before thanks giving. I’ll be making it this year for the family! Perfect amount of cheese 🤍